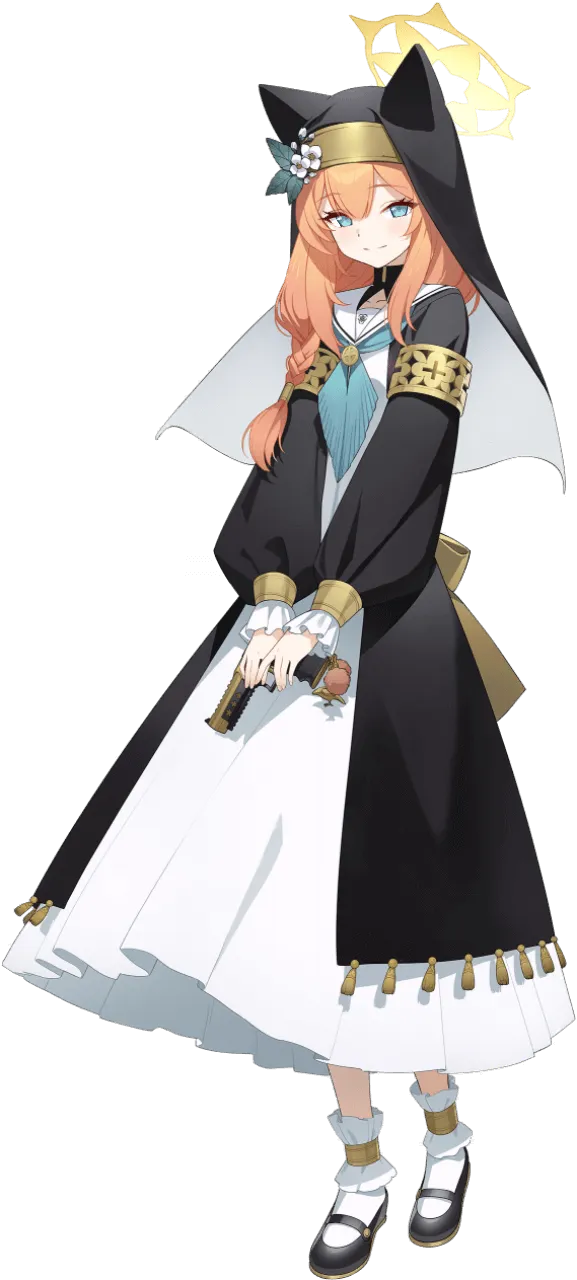
이번에 10번째로 만들어 볼 캐릭터는 이오치 마리
이번에 만드는 피규어는 원본 일러스트가 있고 그 작가님께 허락 맡고 진행하게 됐음
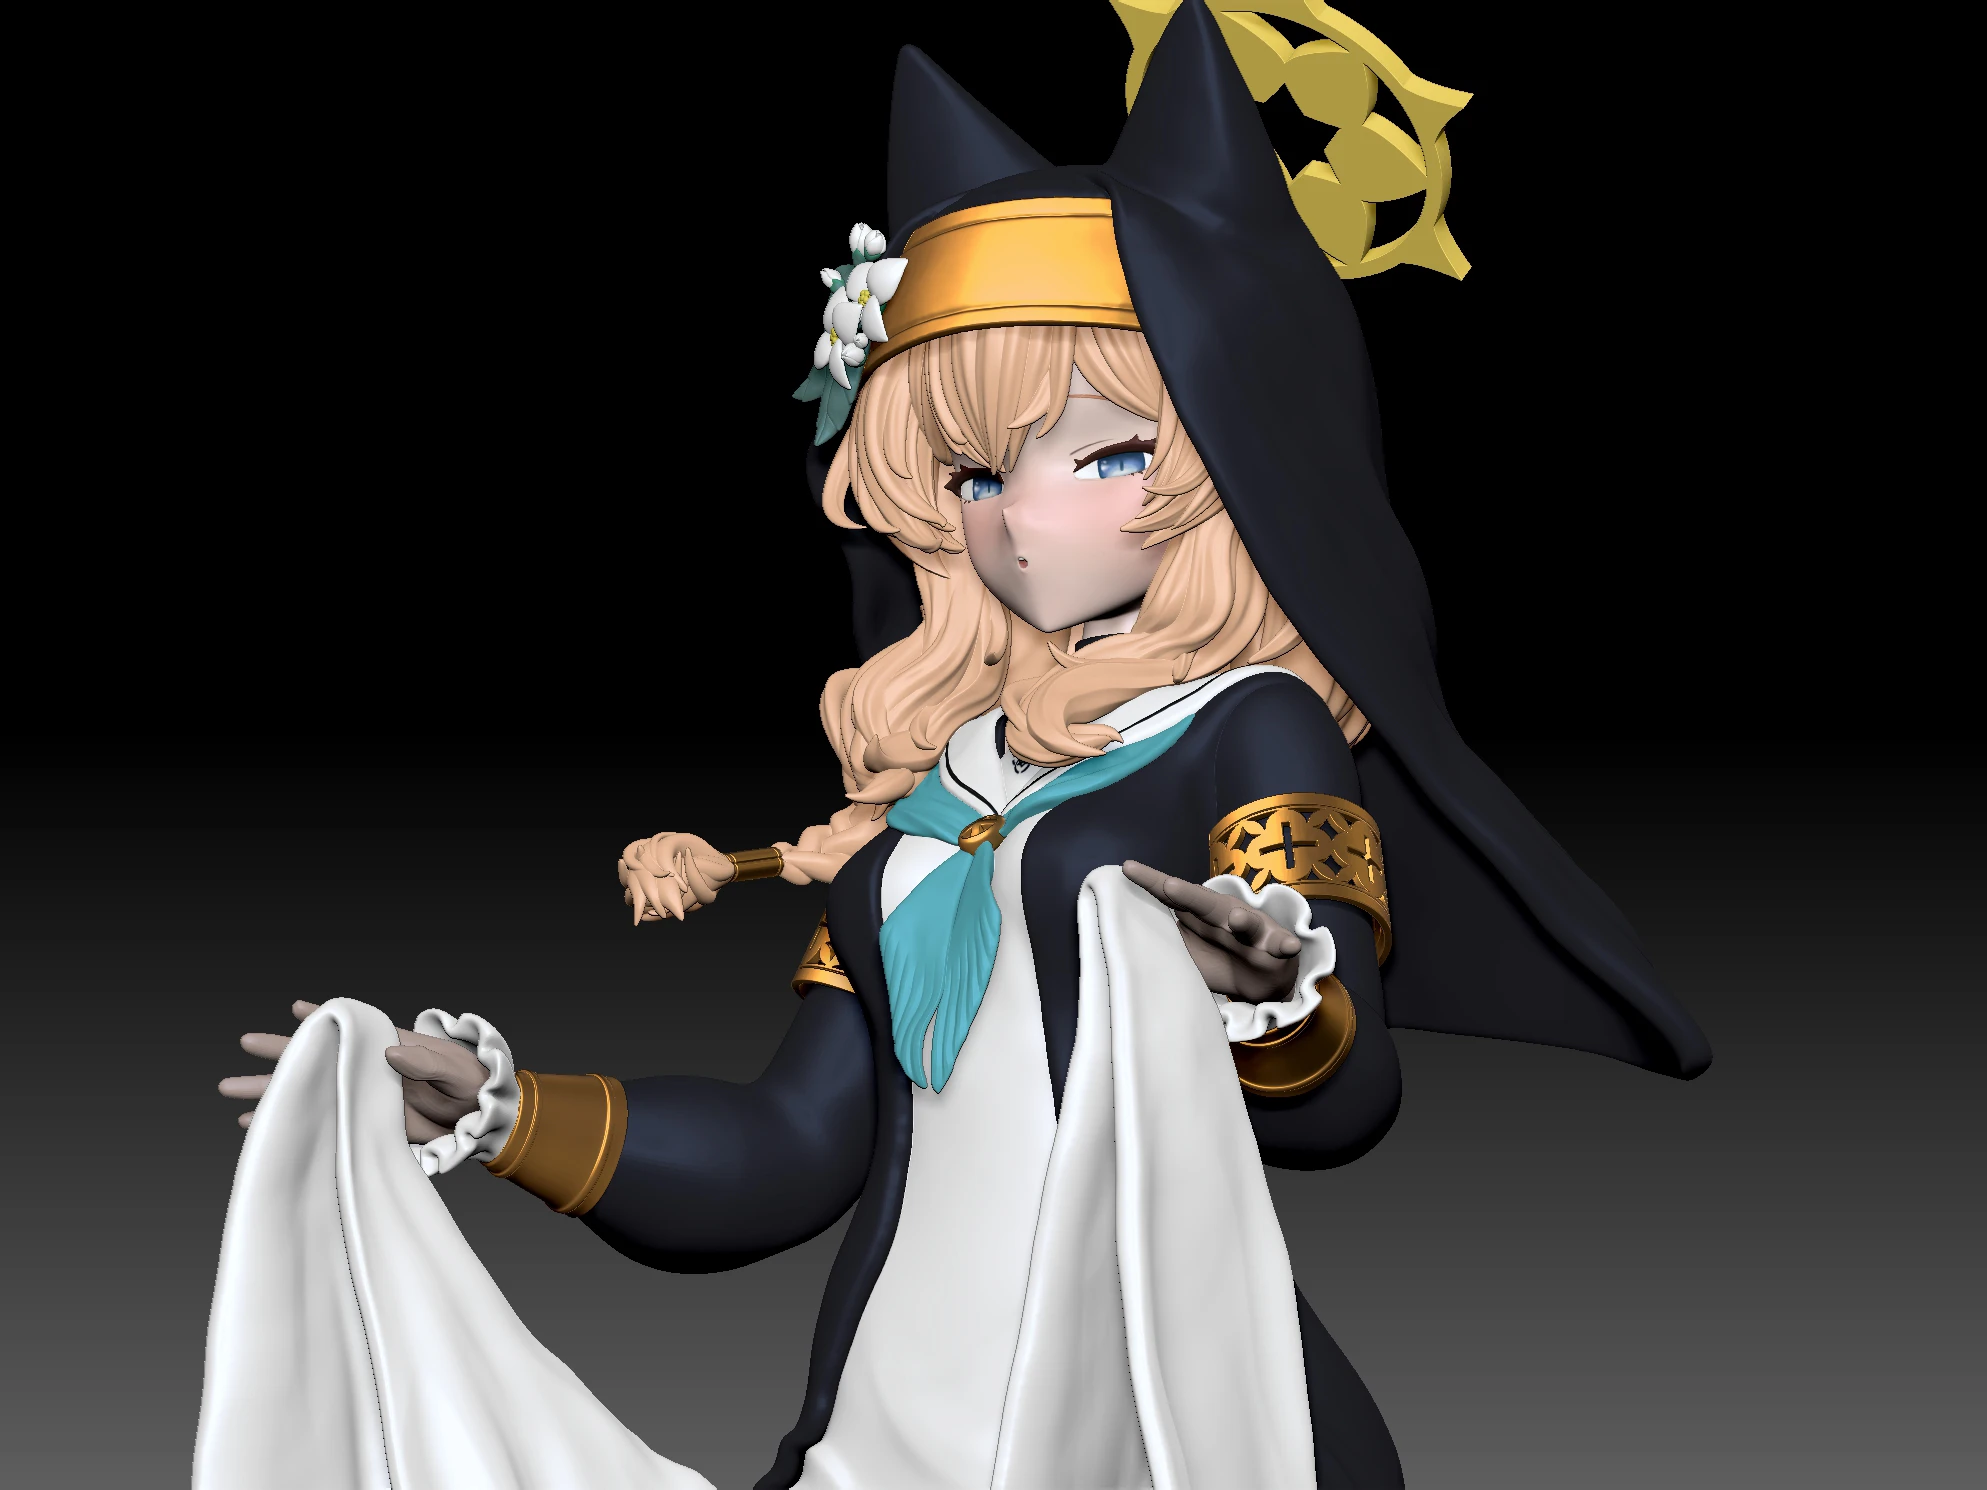
근데... 이거 렌더링만 우선 트위터에 올렸는데 반응이 너무 좋아서 빨리 보여주려고 후딱 가져옴
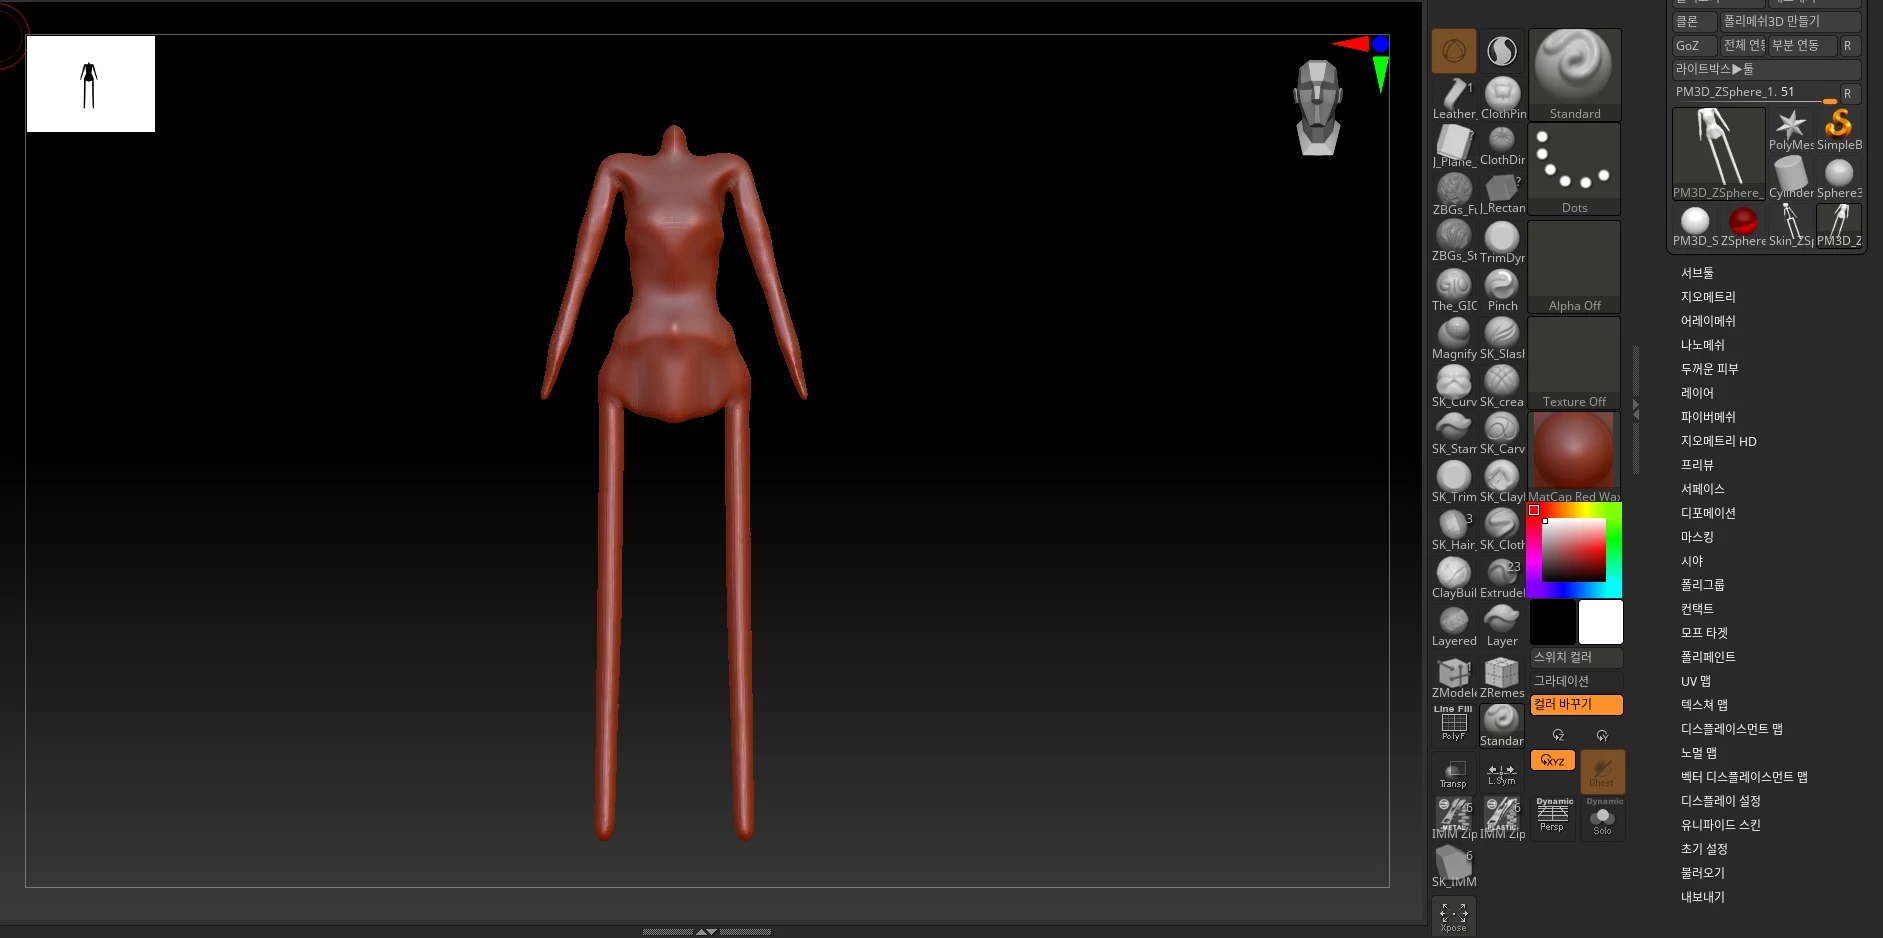
우선 하프라이프 스토커에서 시작함
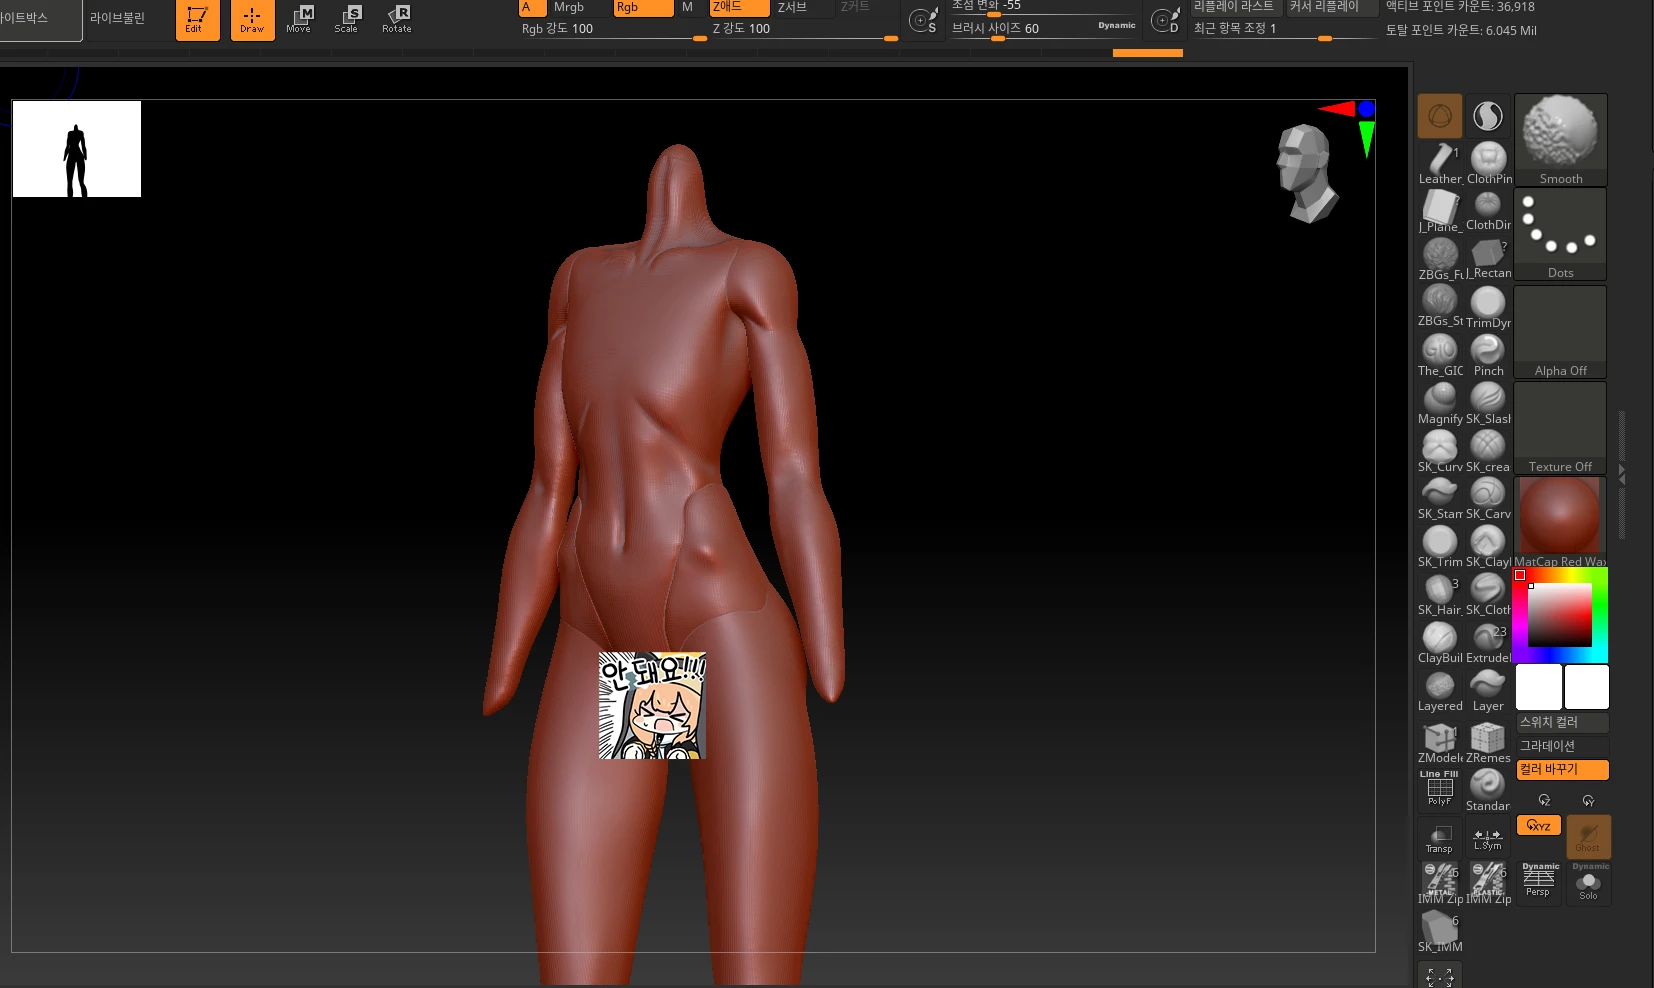
스컬핑하면서 몸 대충 윤곽 만들어놓고
기존 아키라 만들었을 때 보다 카툰스럽게
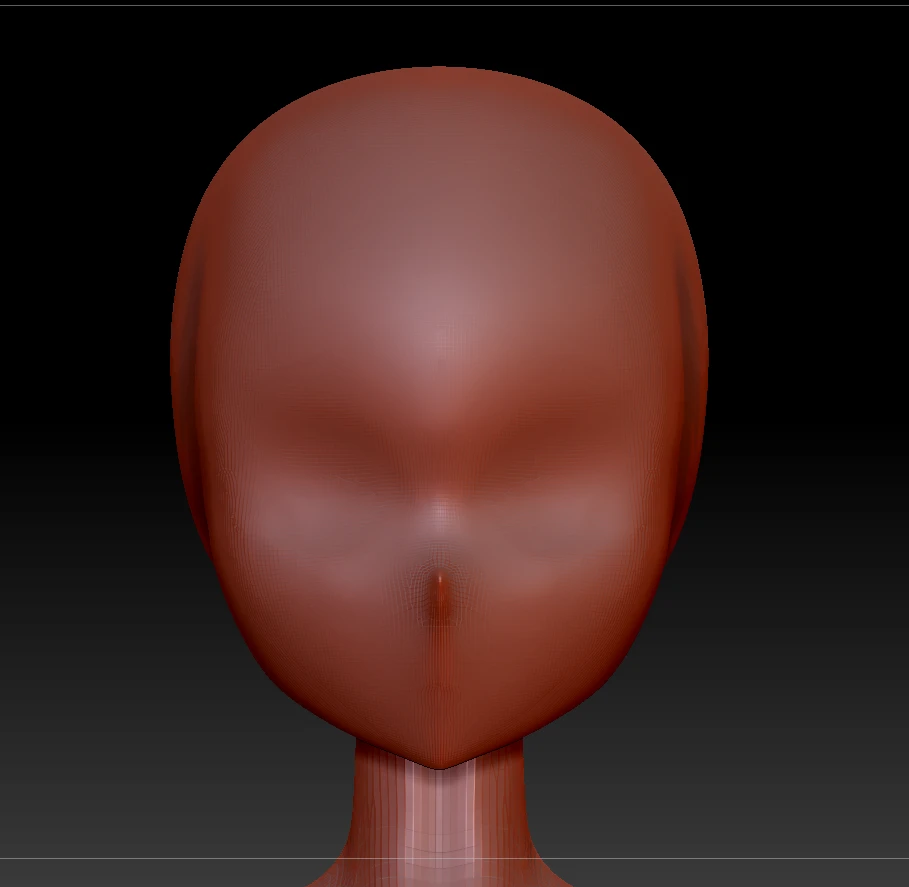
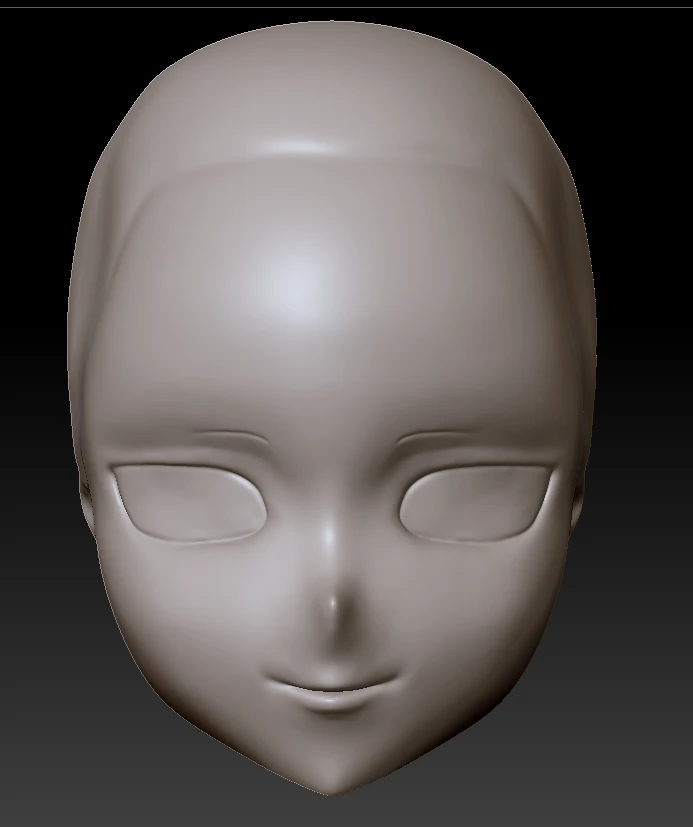
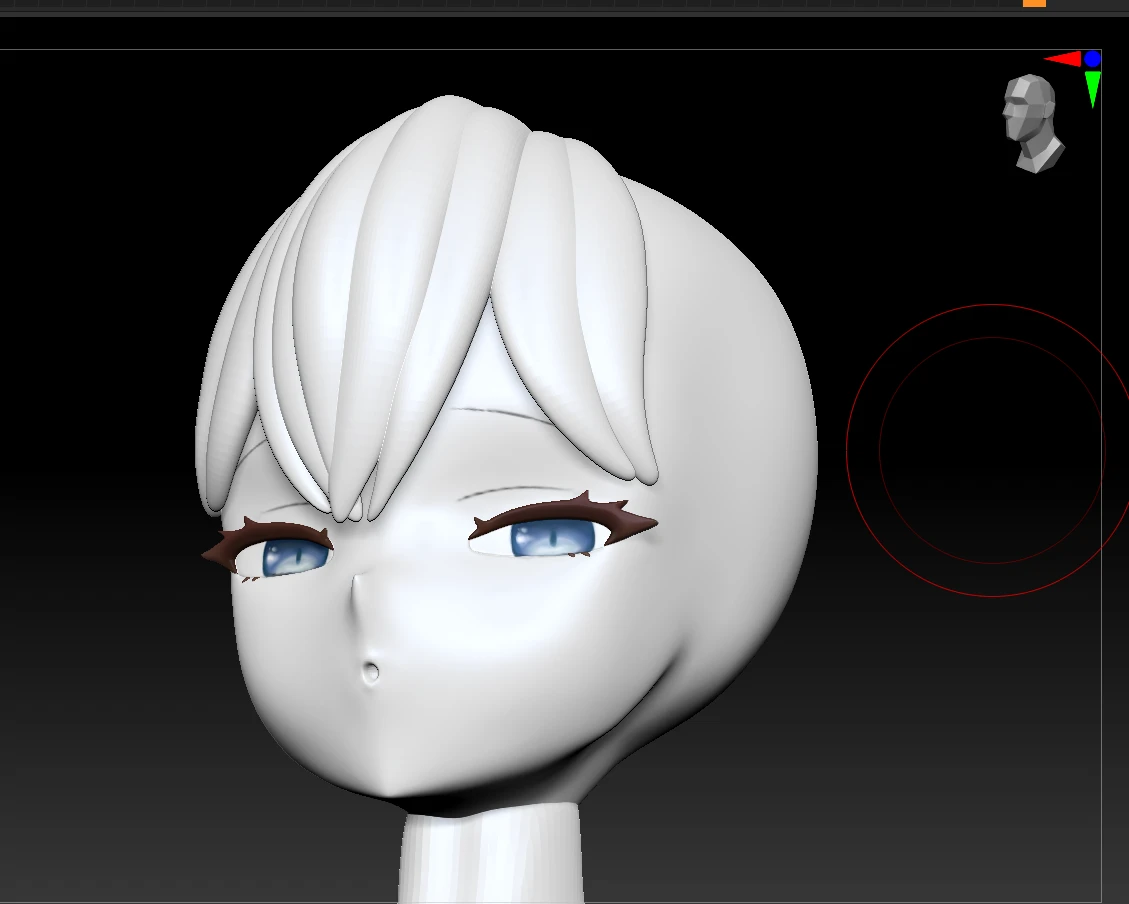
얼굴 조형 새롭게 해봄
순수한 눈을 조금 바꿔주고
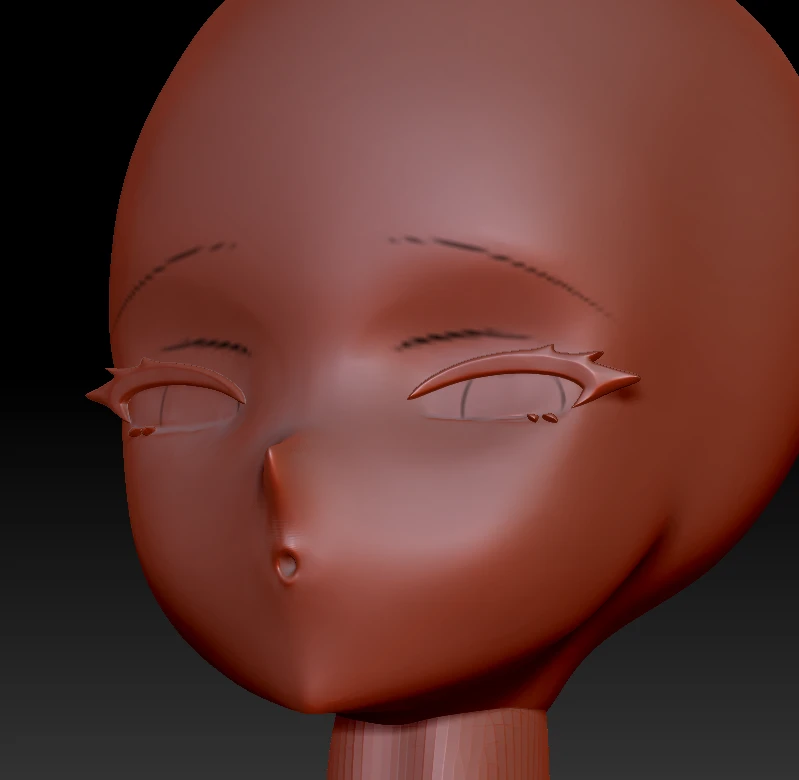
피규어로 출력가능하게 디테일 조형해줌
미리 폴리페인트로 칠해놓고 앞머리부터
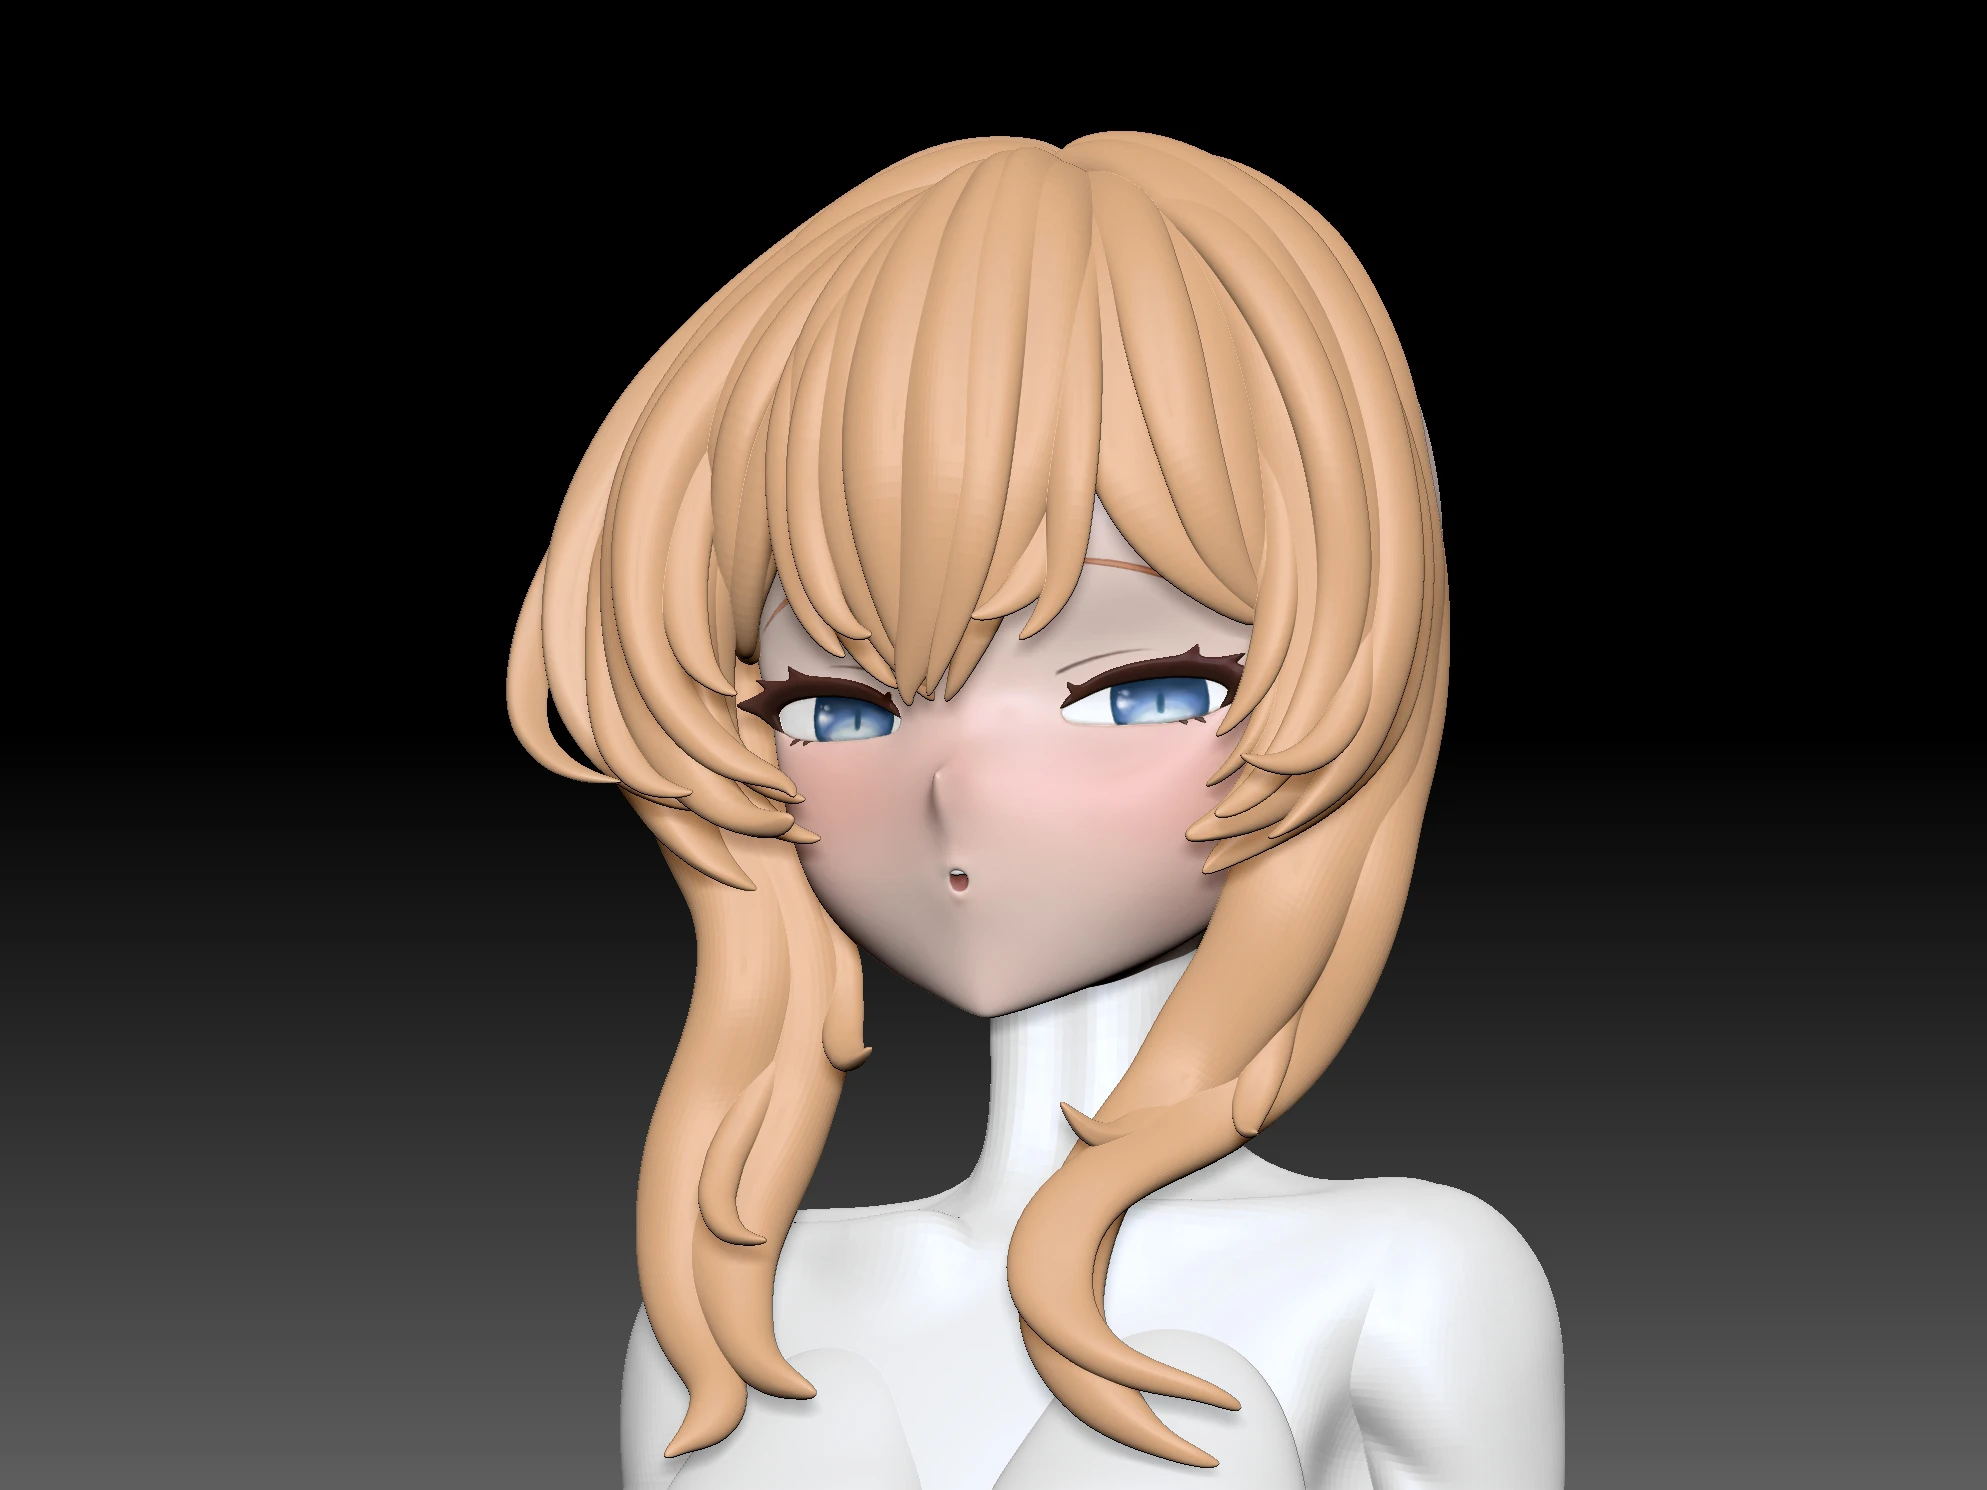
한올한올 다 만들면 됨
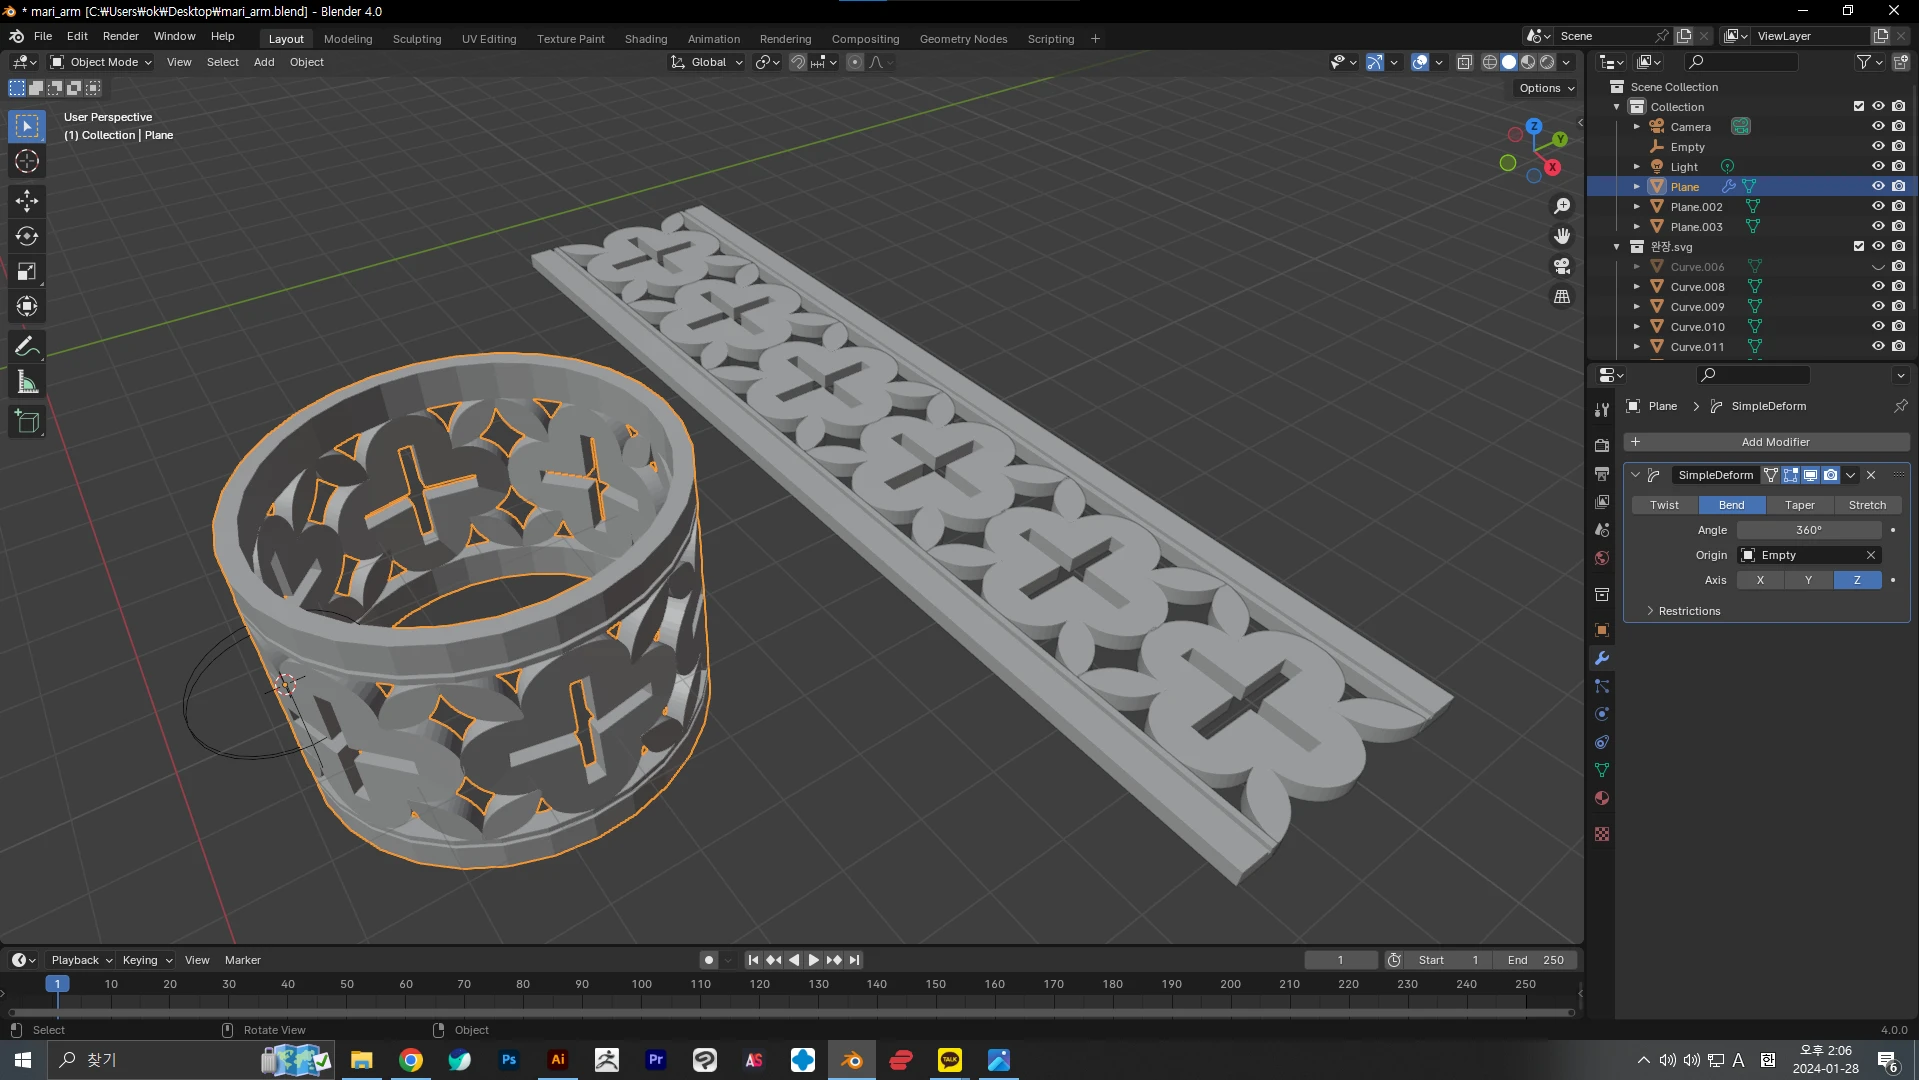
블렌더로 넘어와서 마리 완장 만들어서
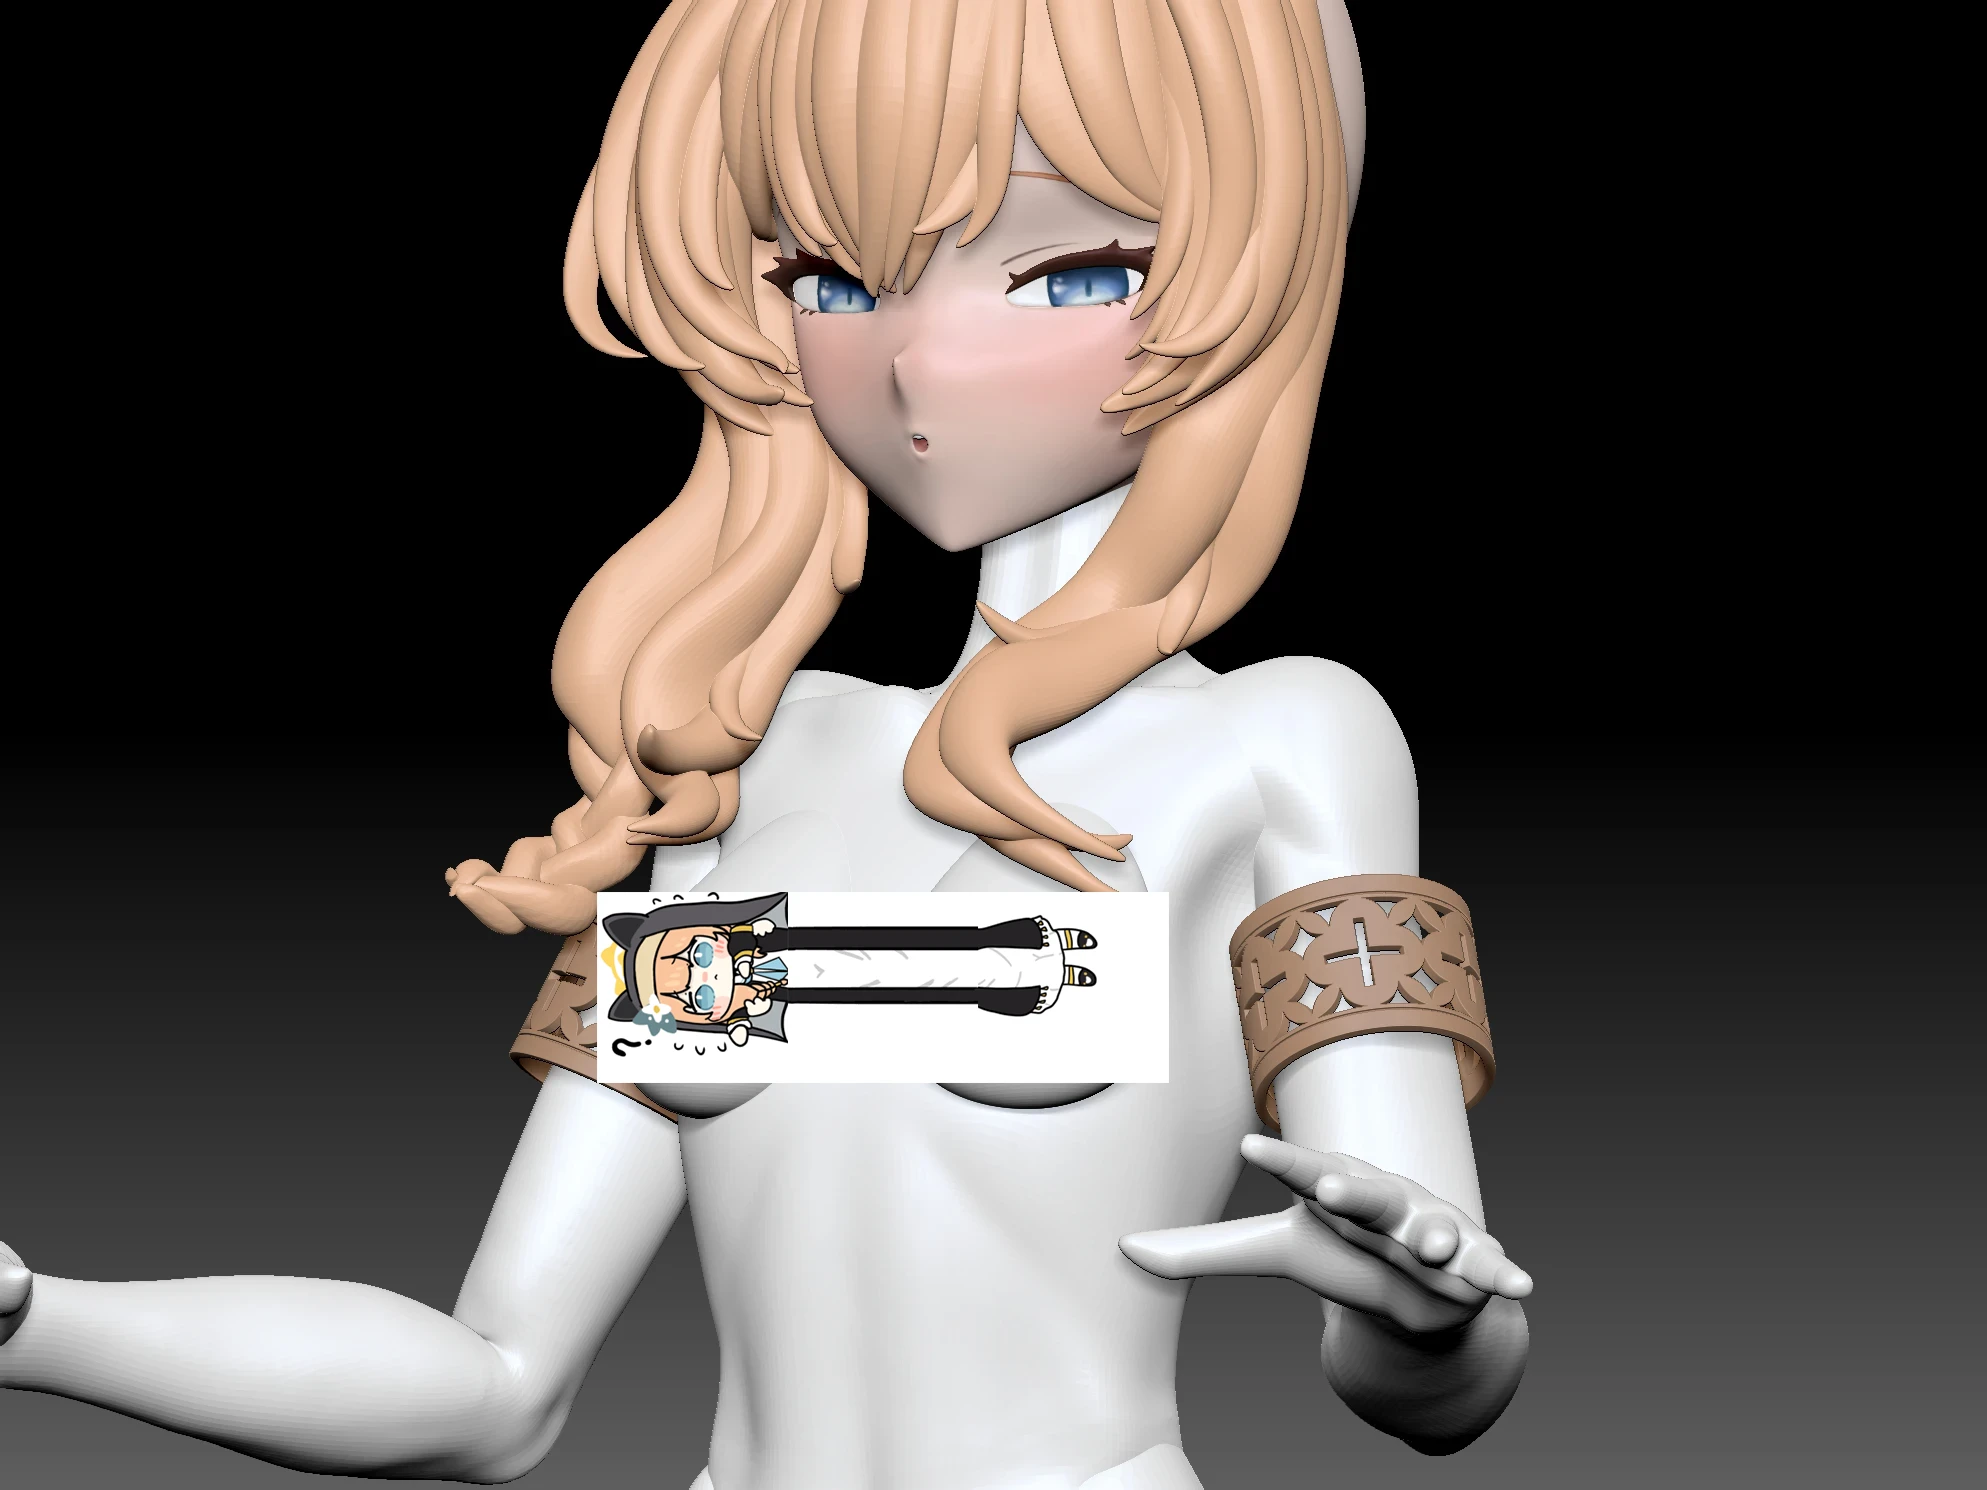
미리 붙여놓음
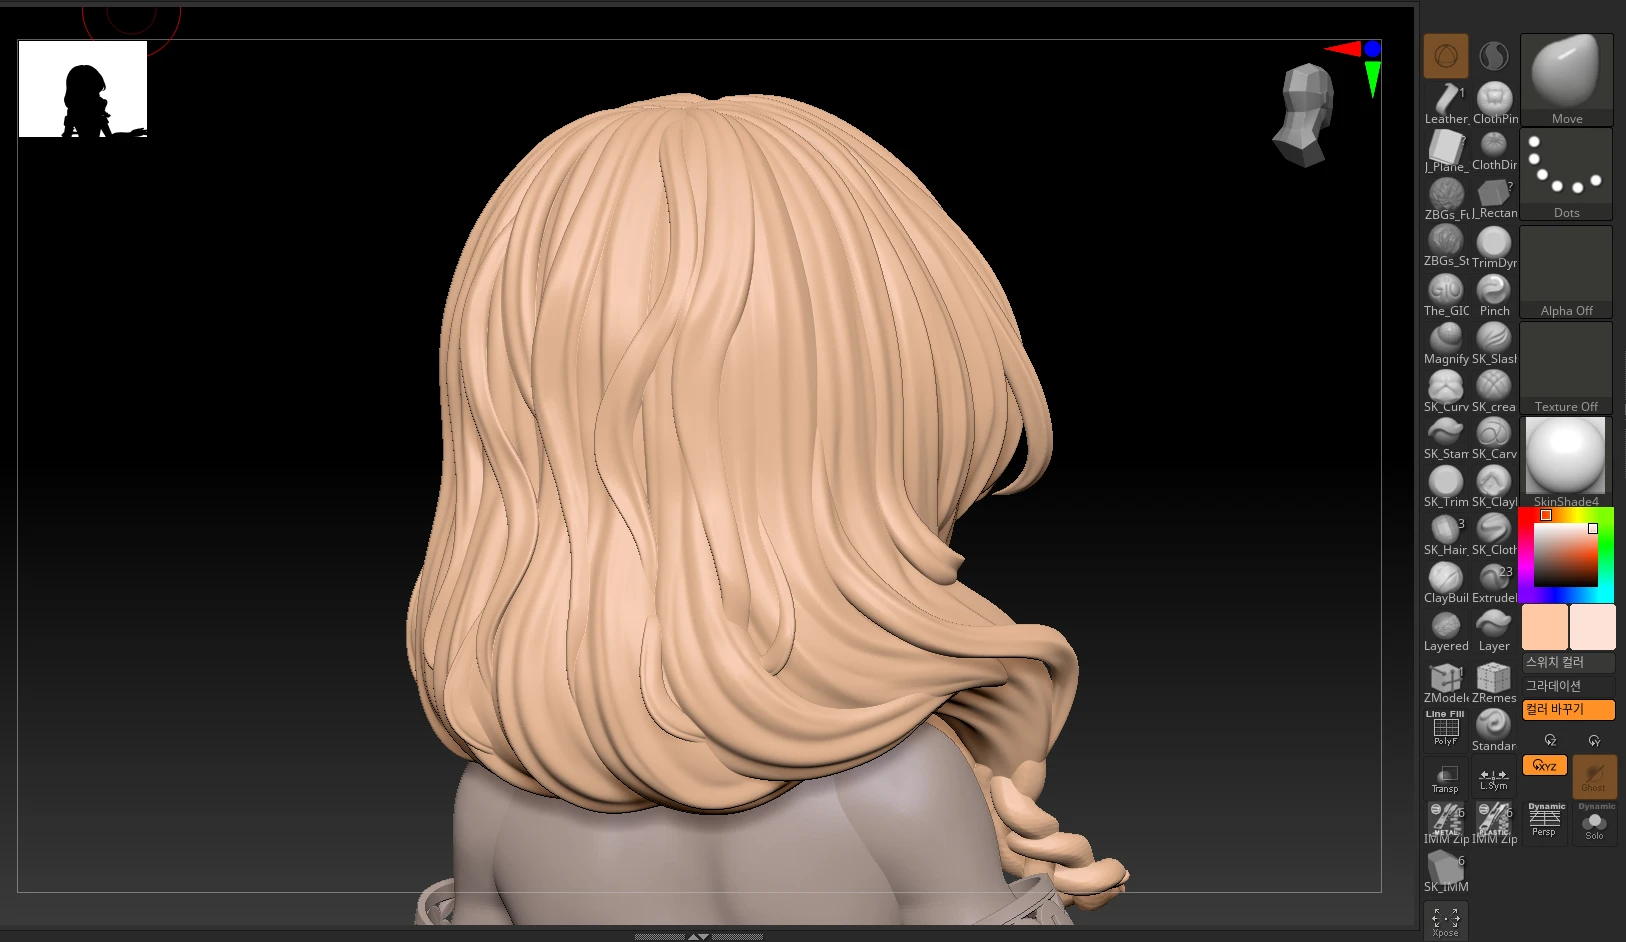
뒷머리 하고
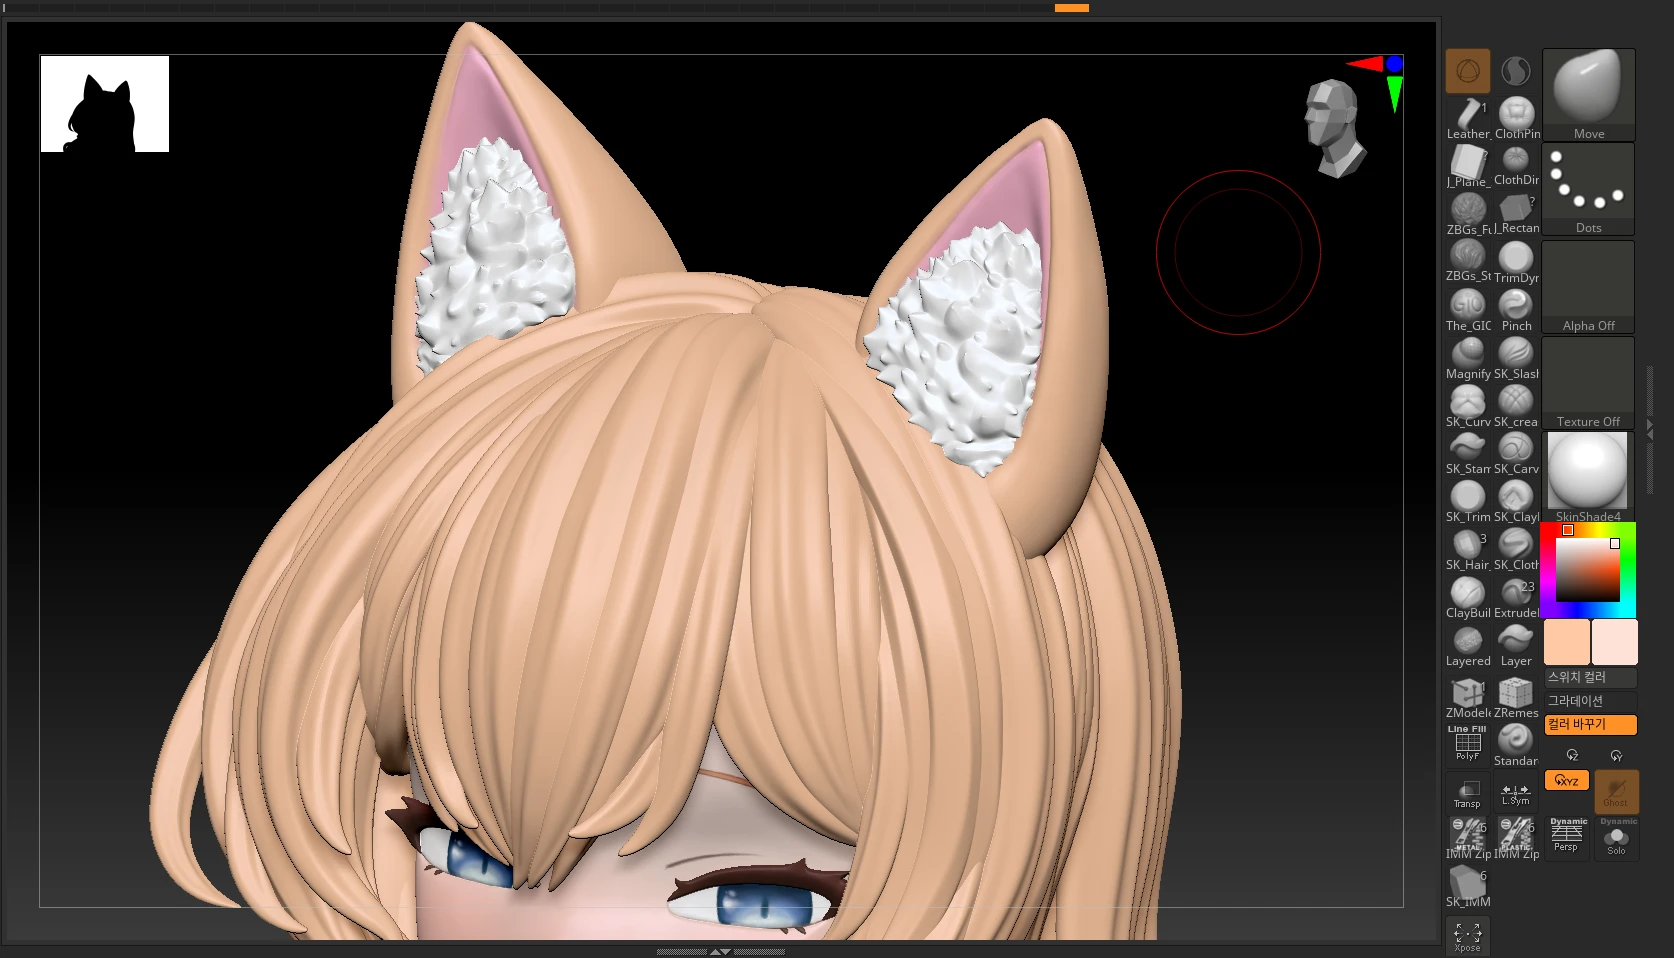
고양이 귀 만들어놓고
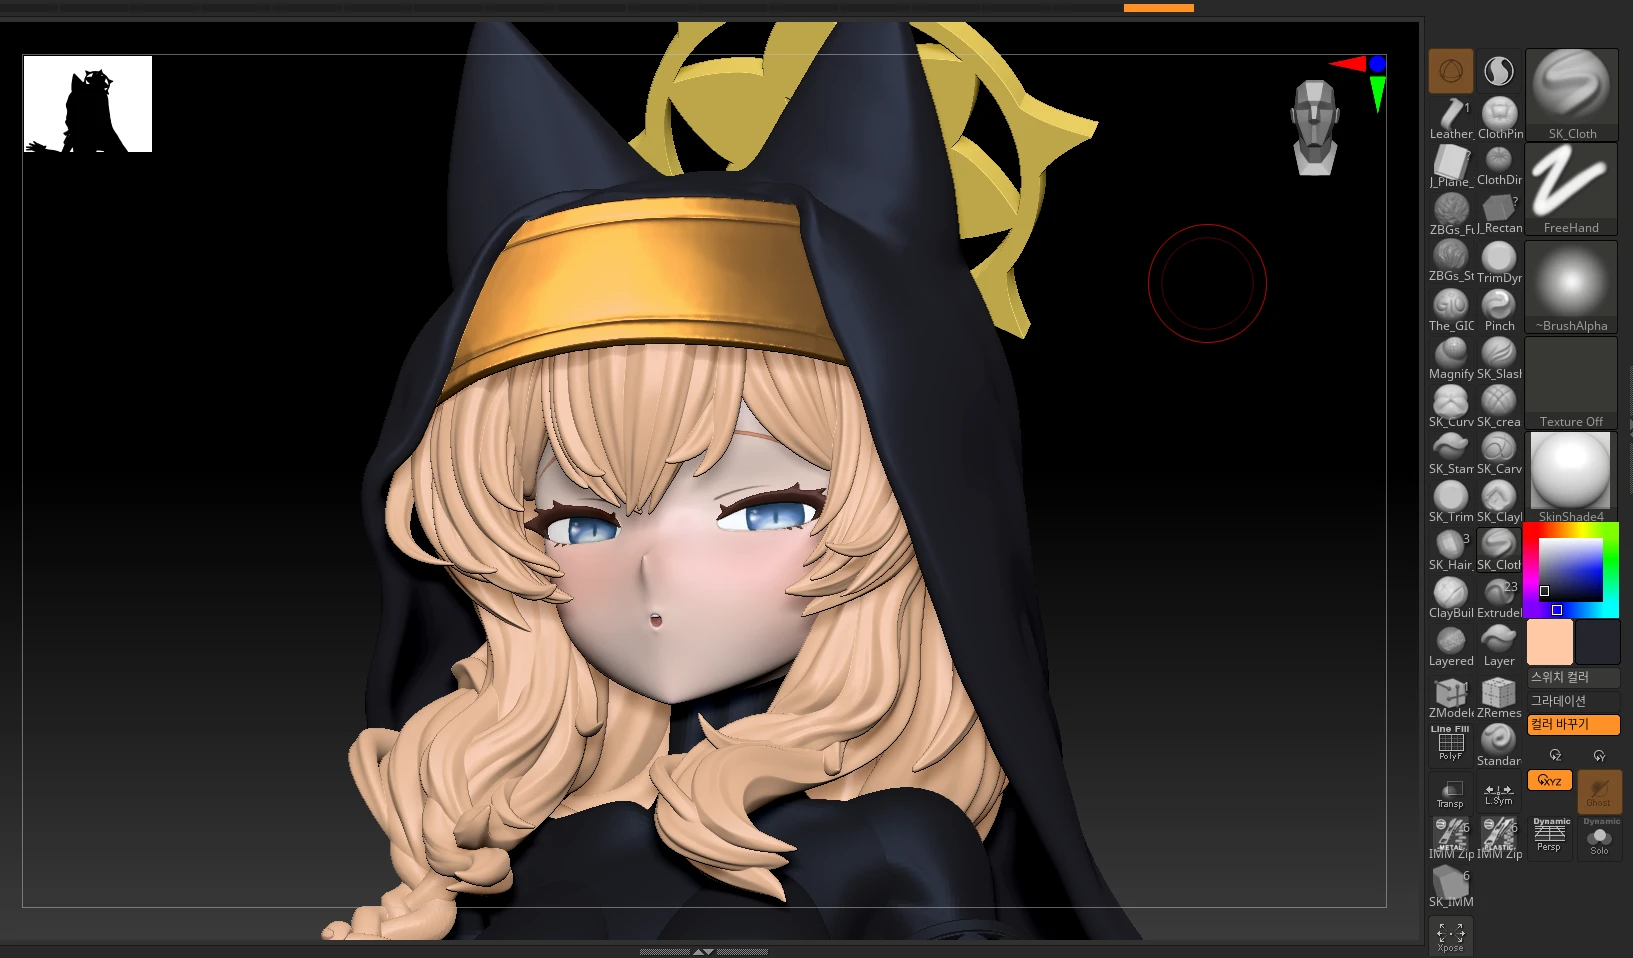
수녀 베일도 만들어줌

꽃도 하나씩 만들고
이제 수녀복을 덩어리로 시작해서
디테일한 악세사리 추가
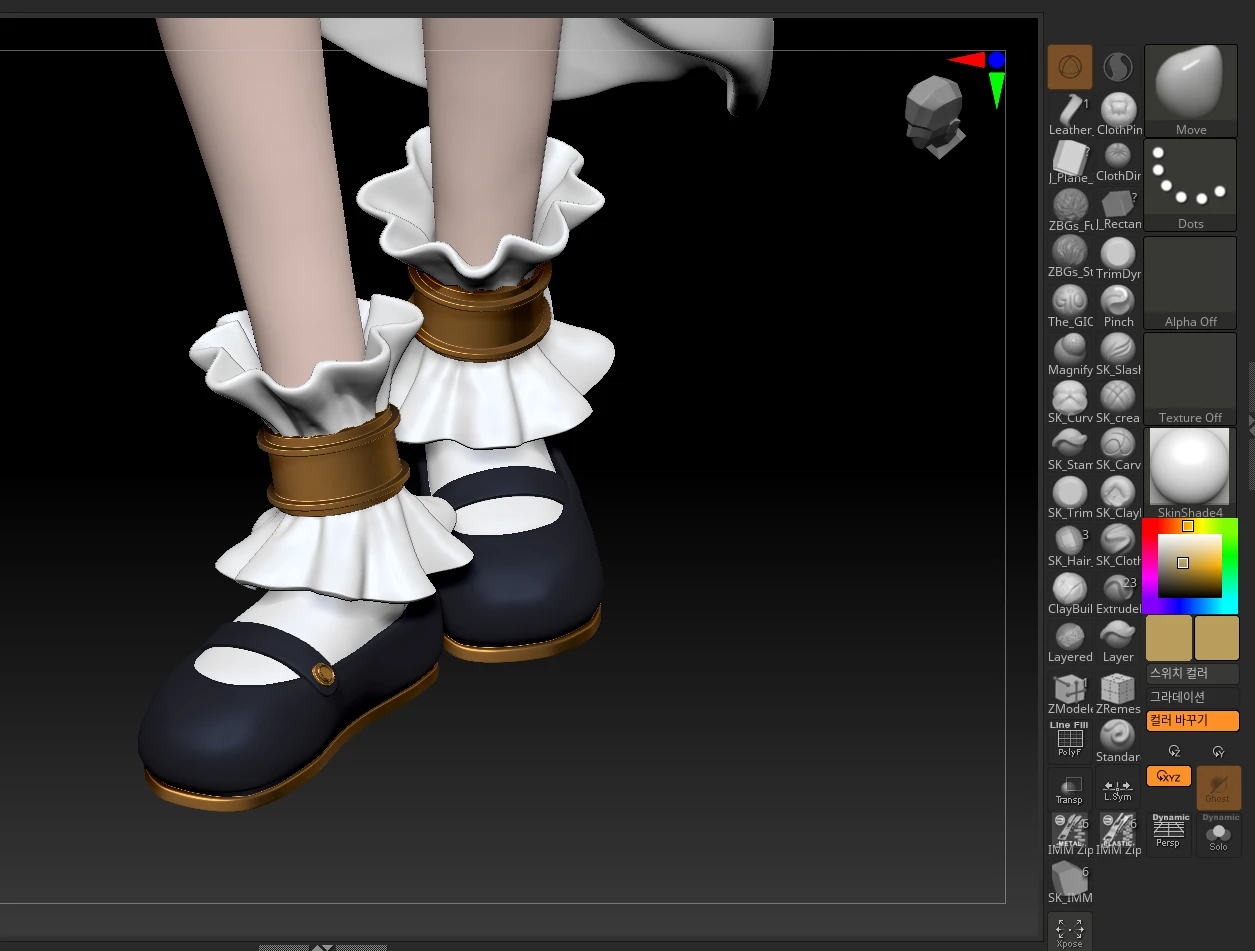
구두와 장식도 추가
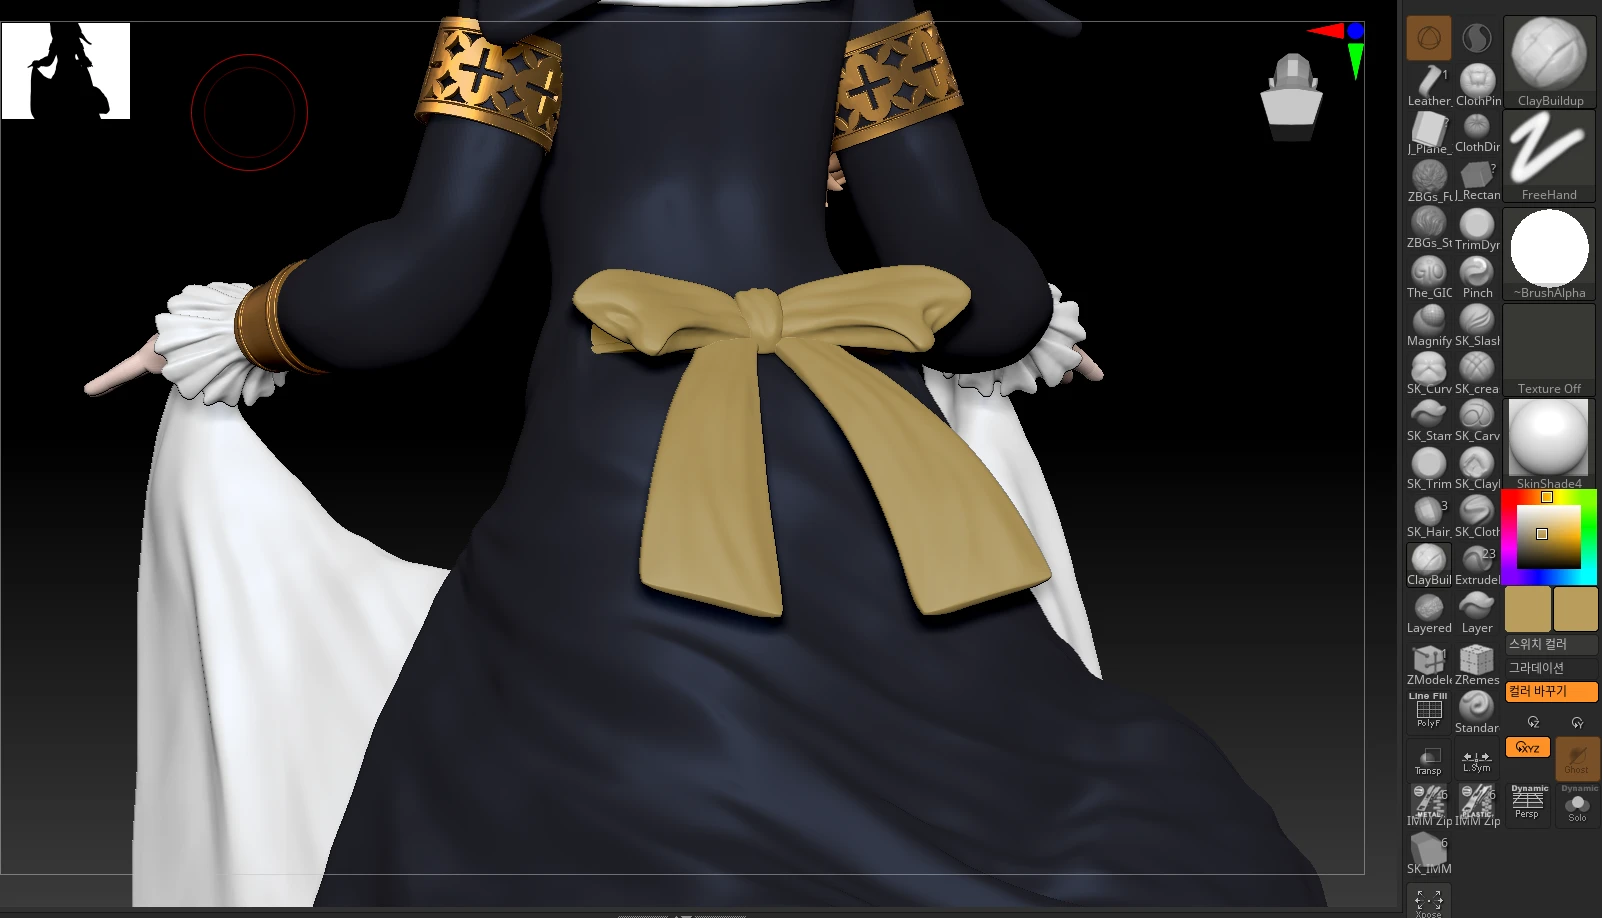
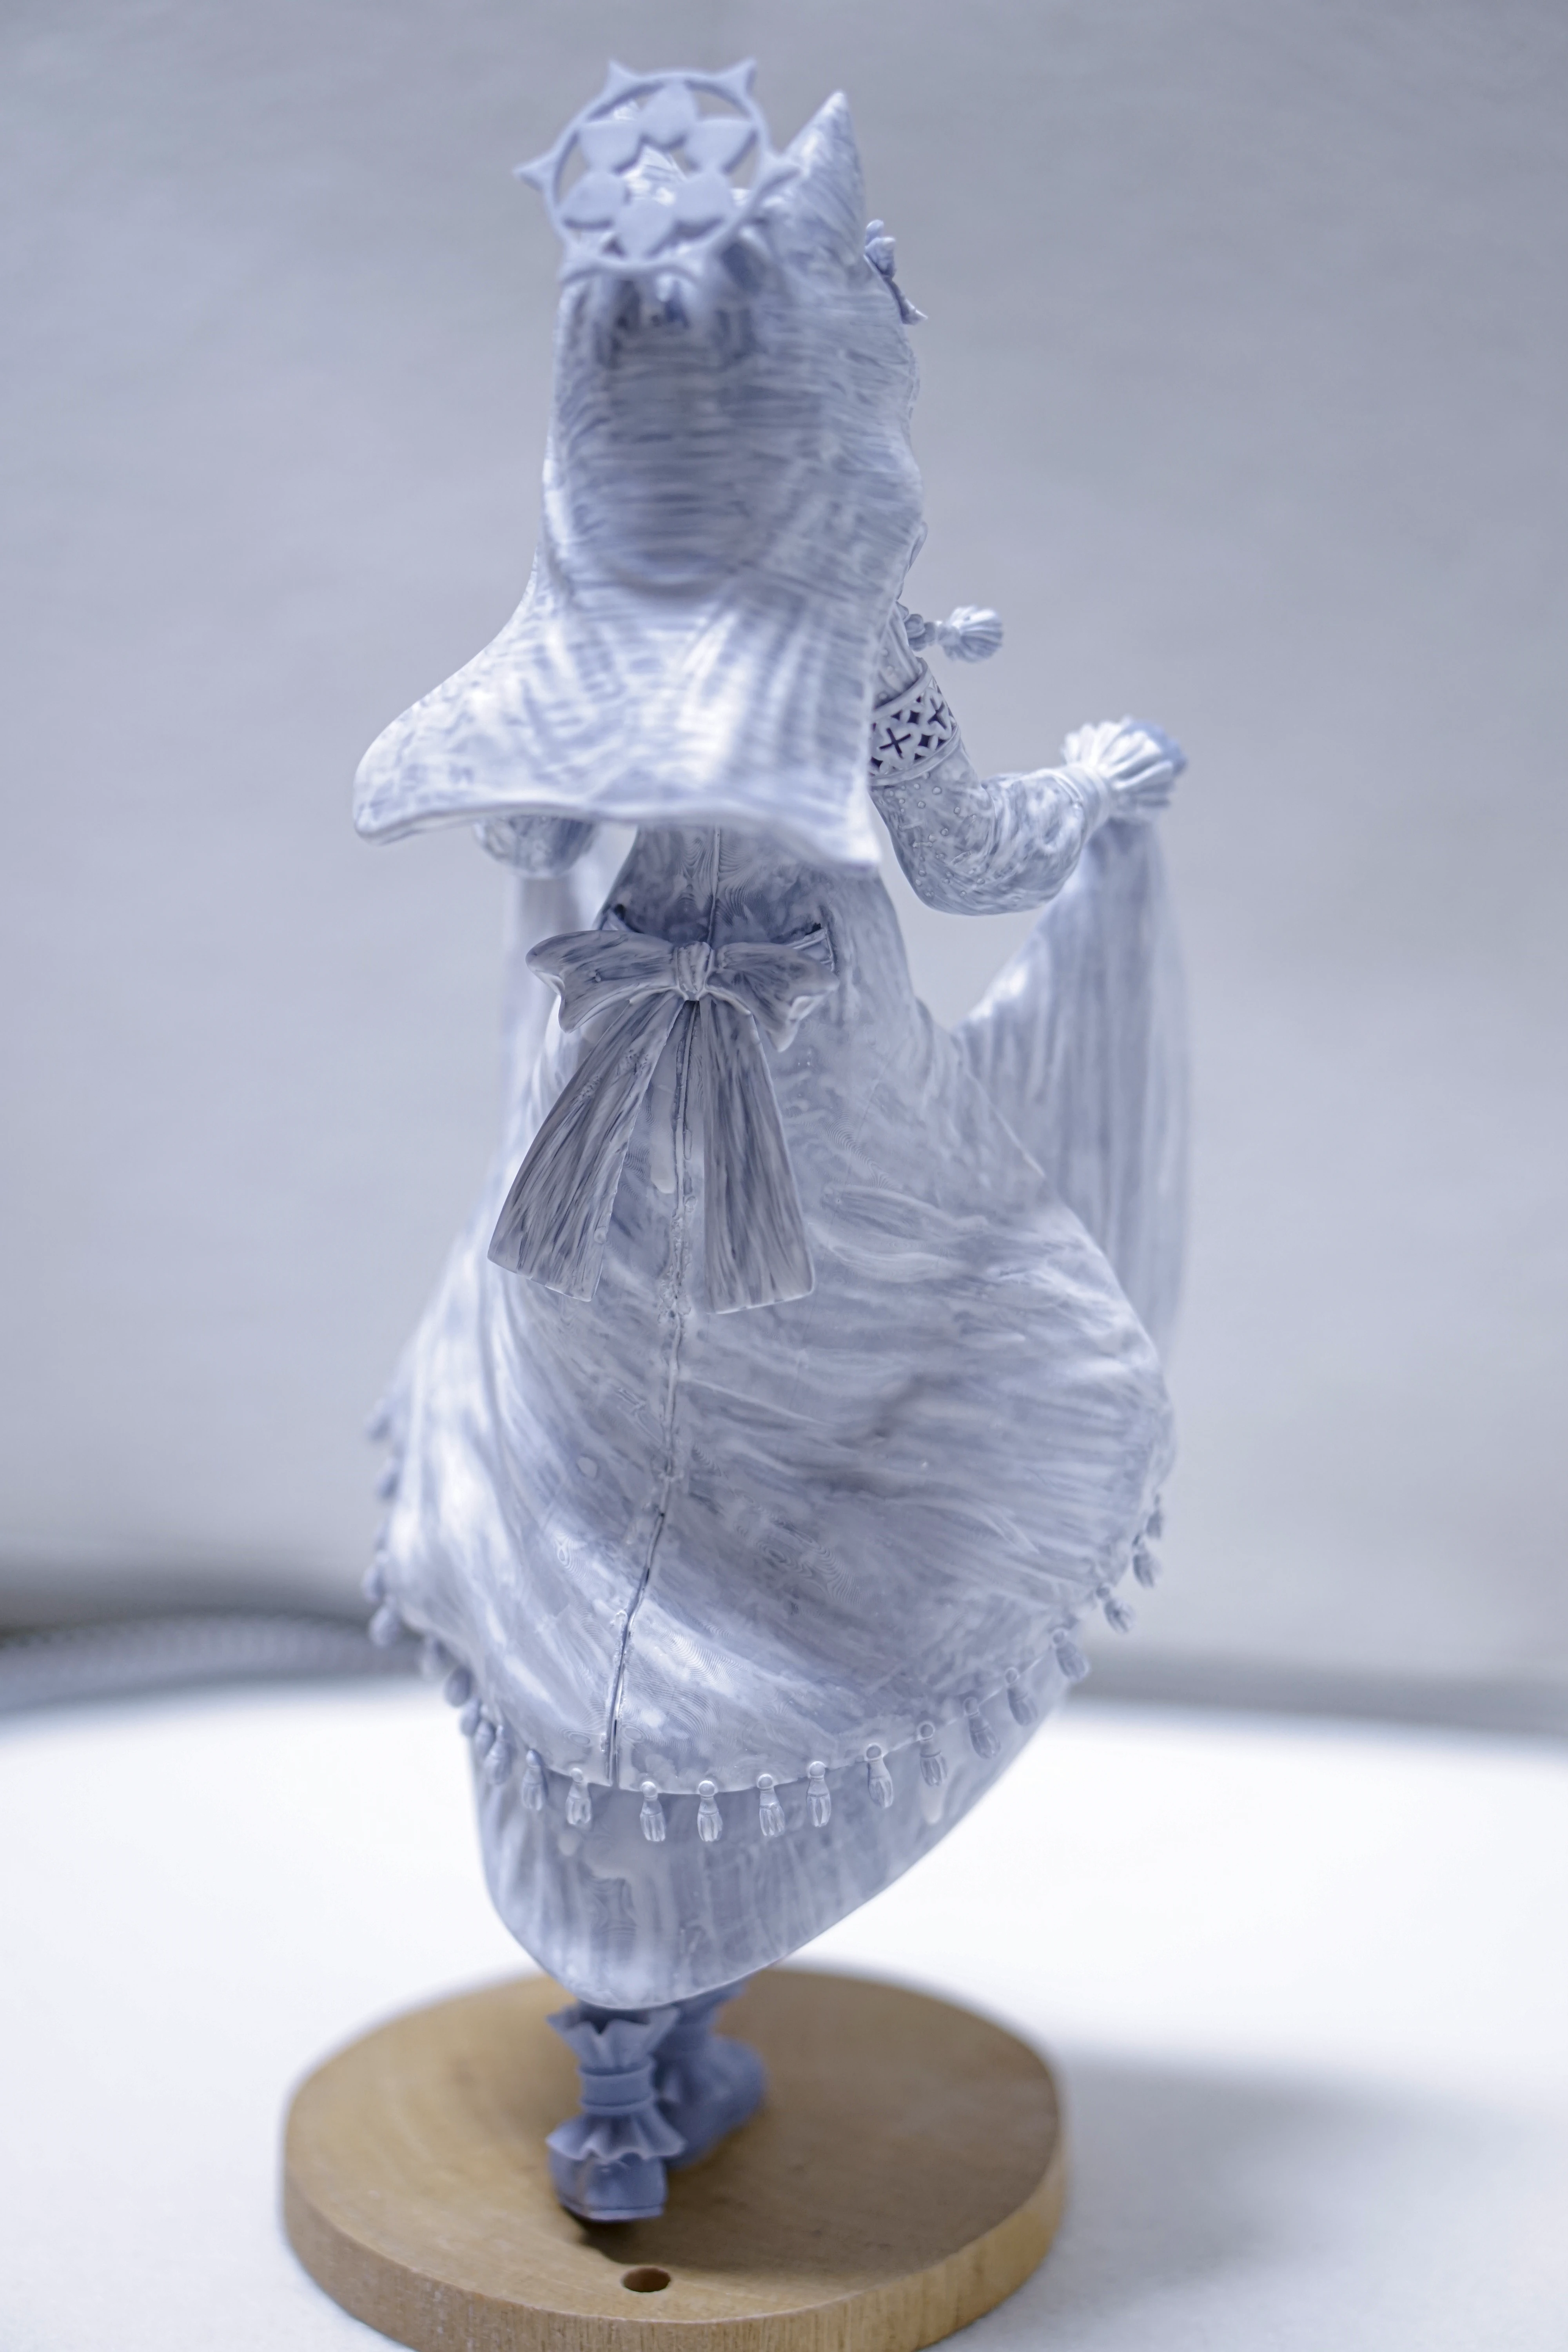
리본하고
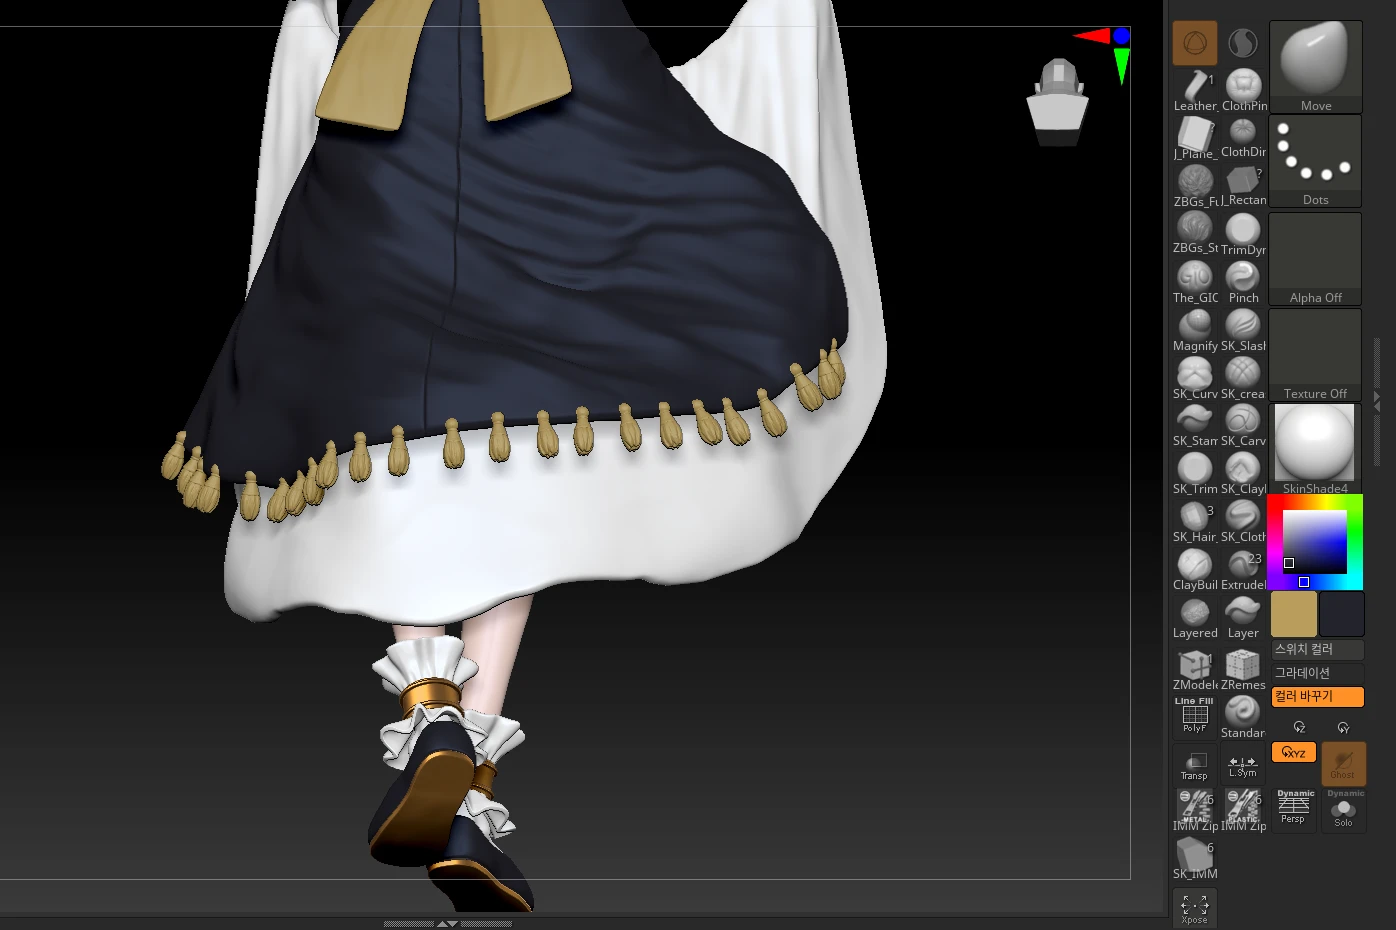
가운 털장식

딴 머리 끝머리 처리 및 손과 전체 디테일 올리고

마지막으로

더워서 잠시 흘러간 것까지 만들면
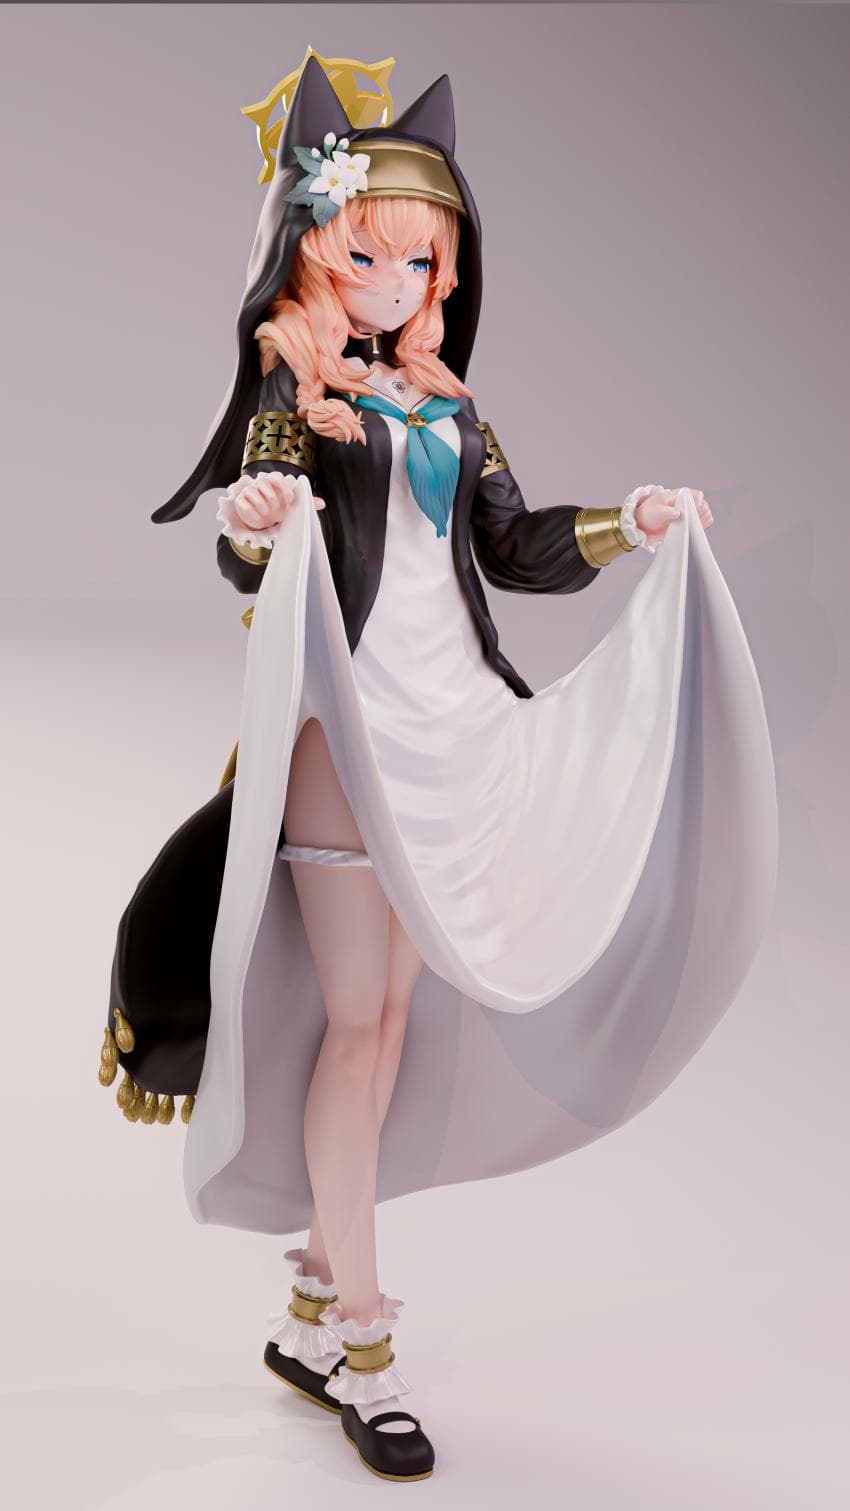
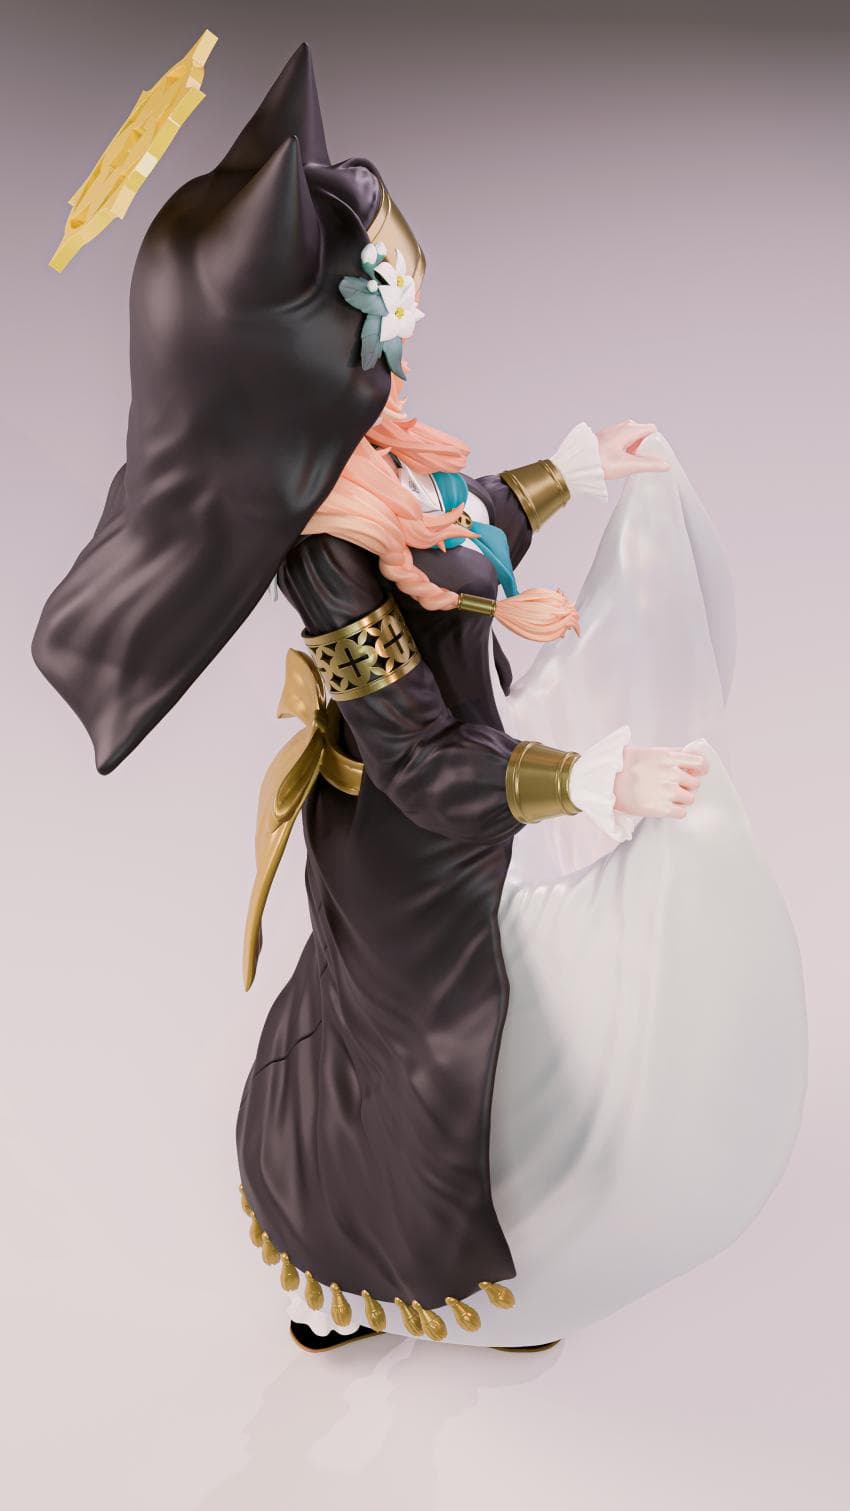
완성
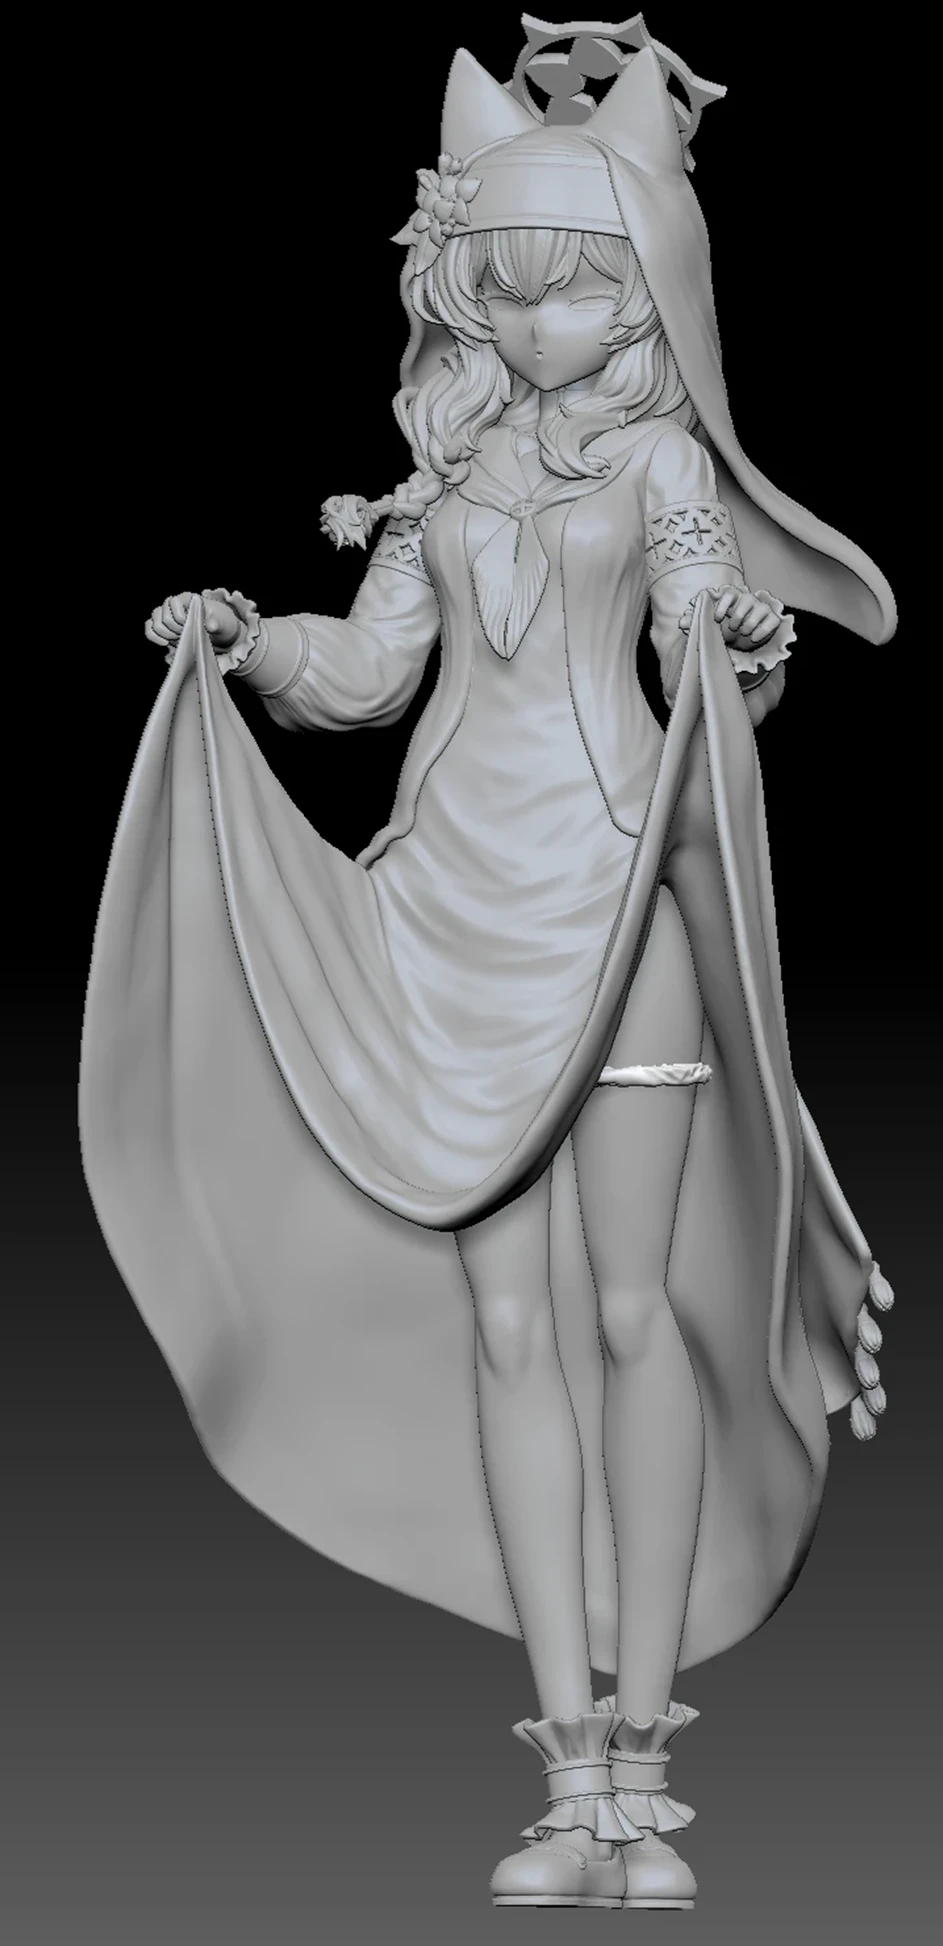
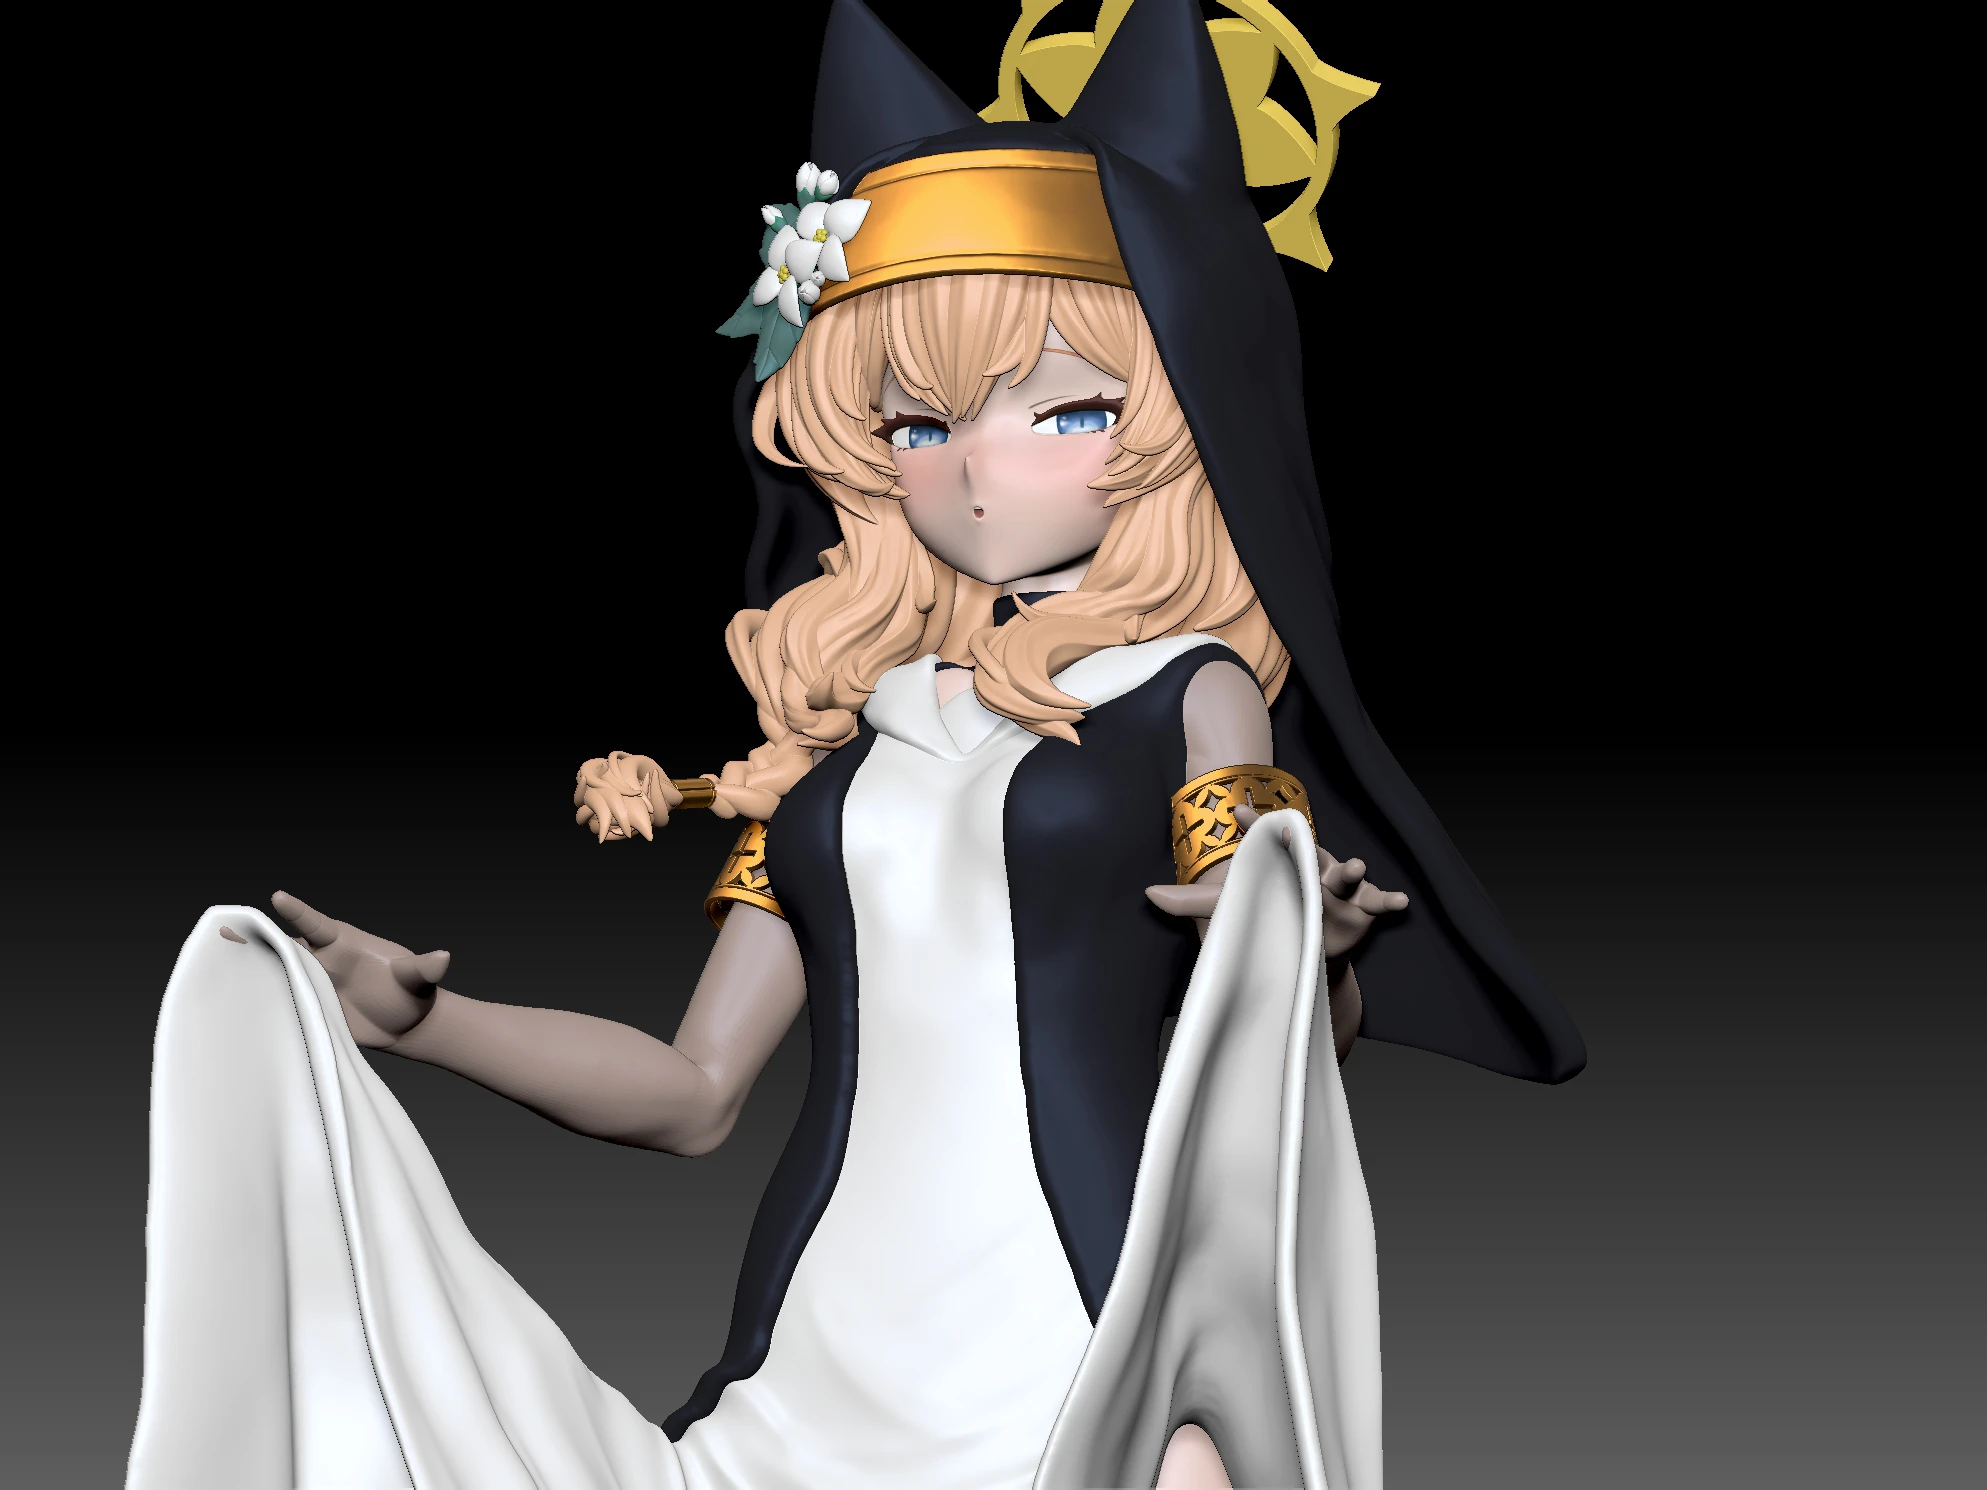
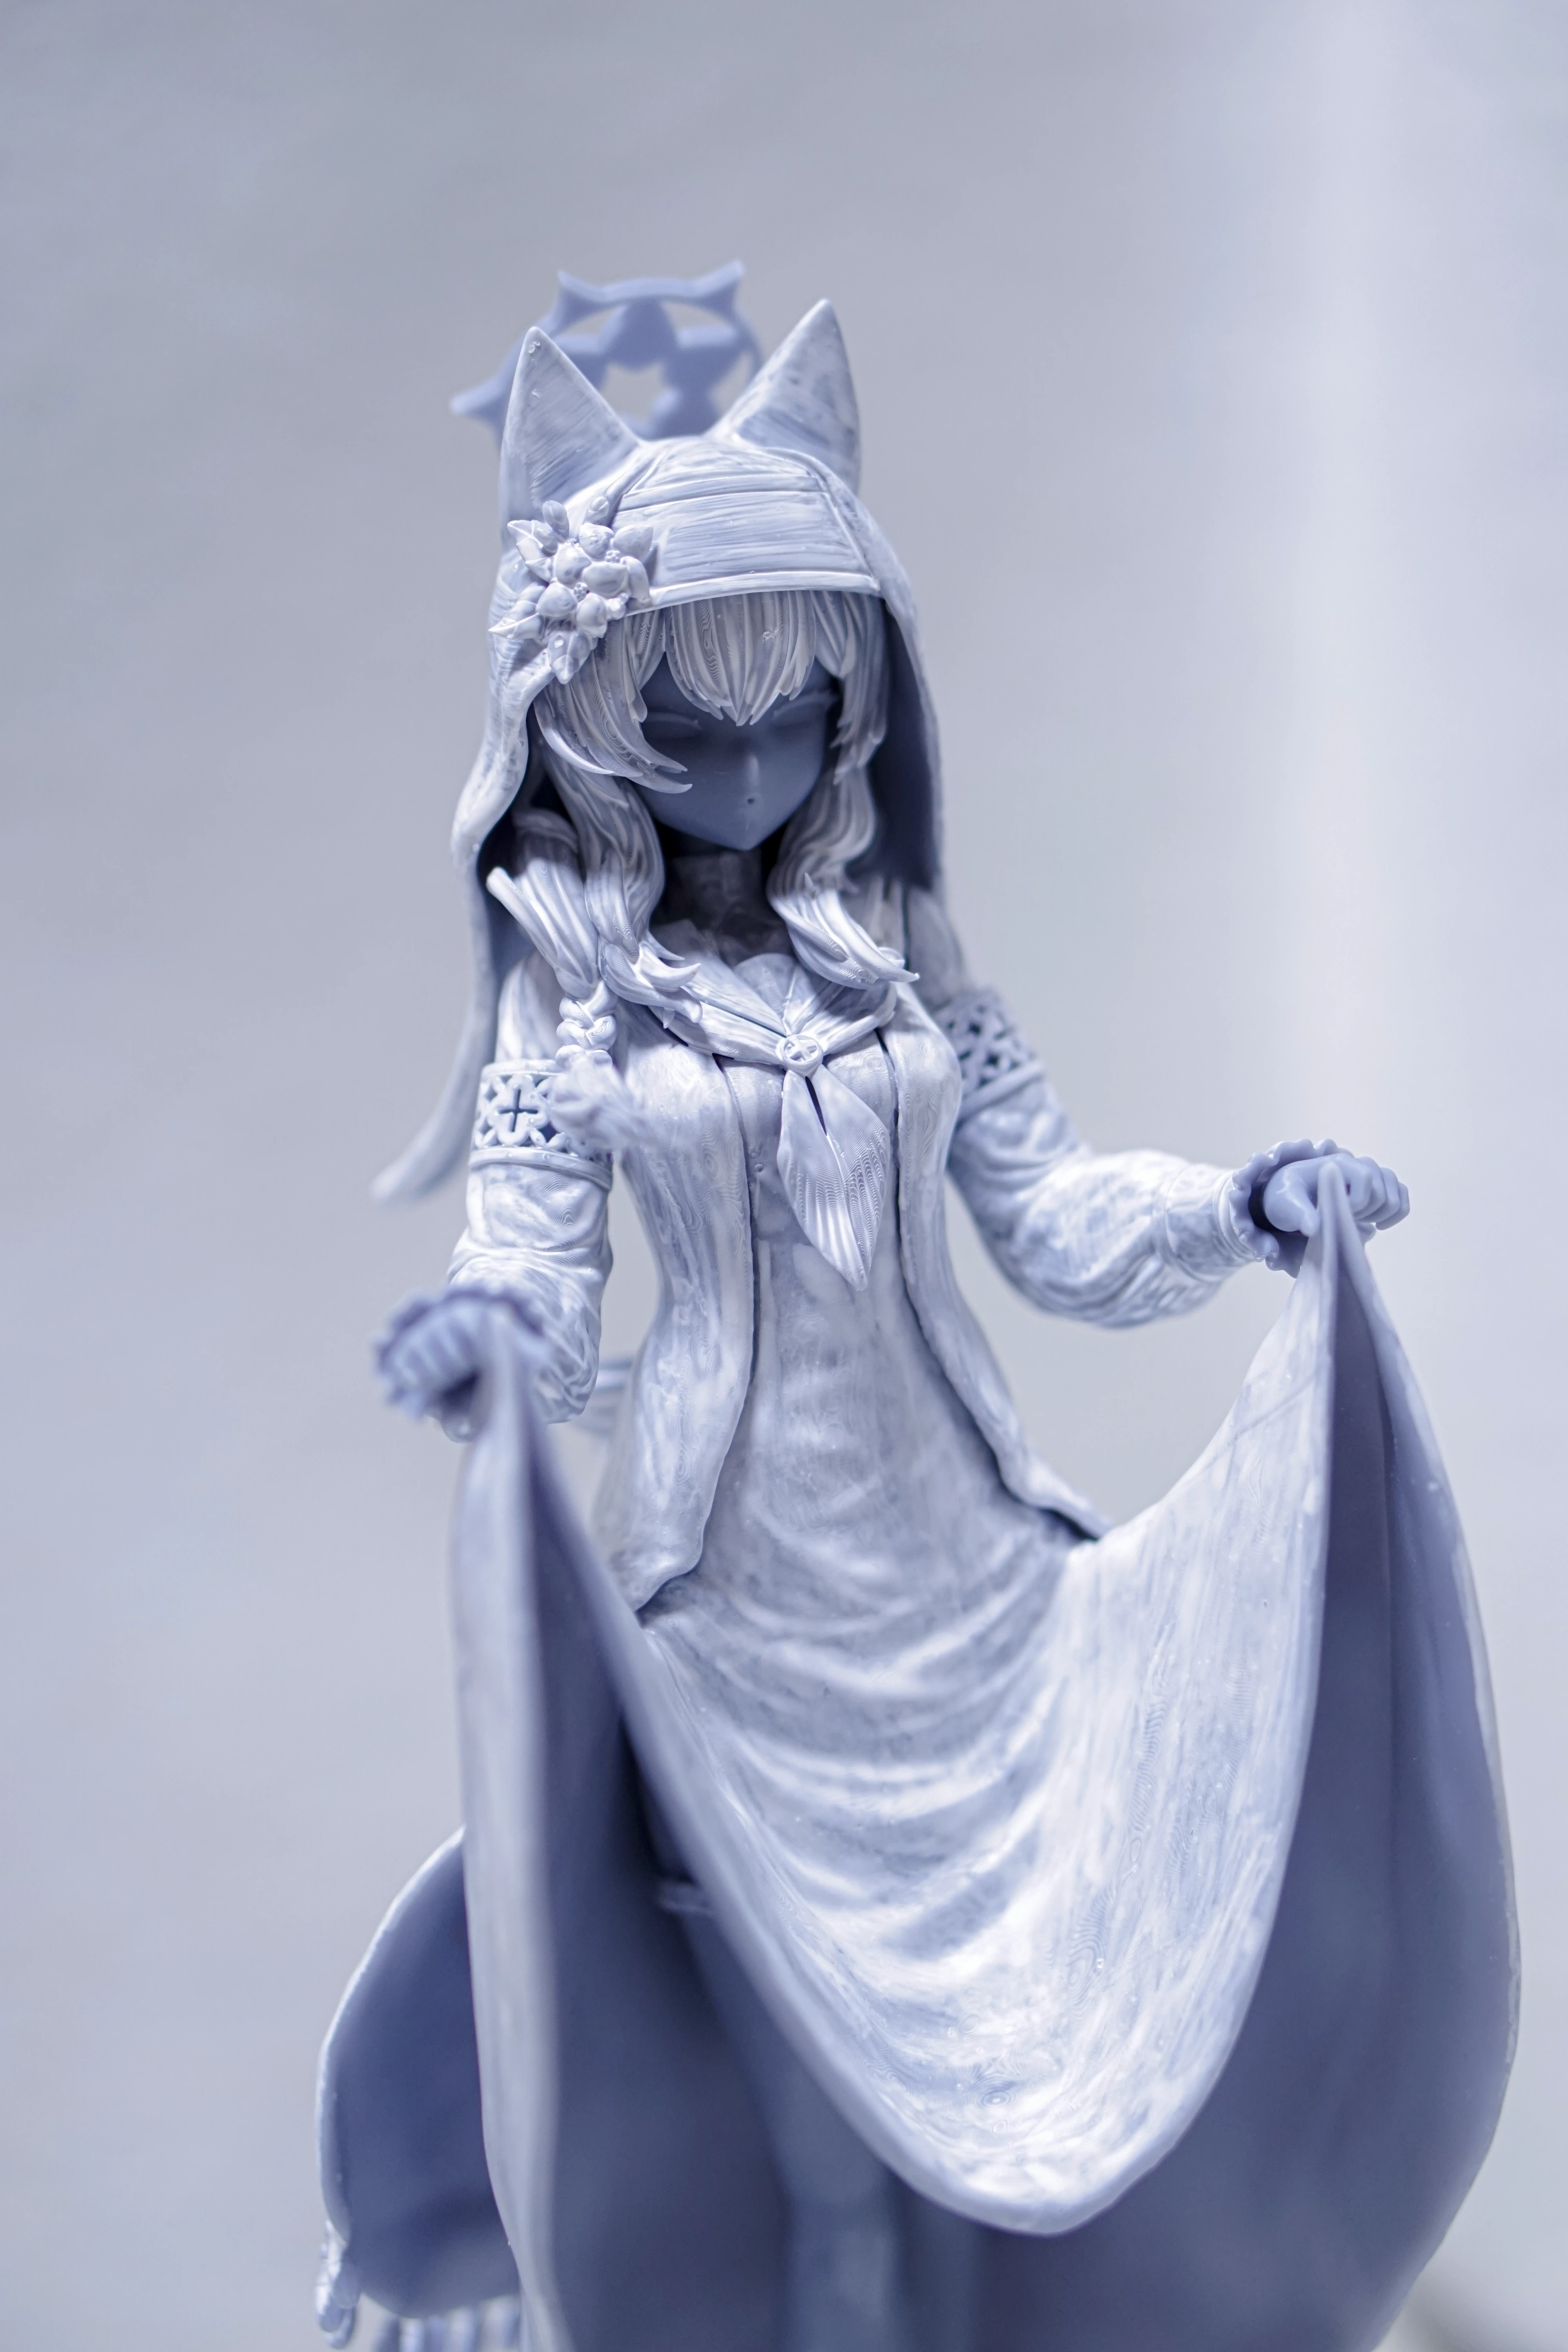
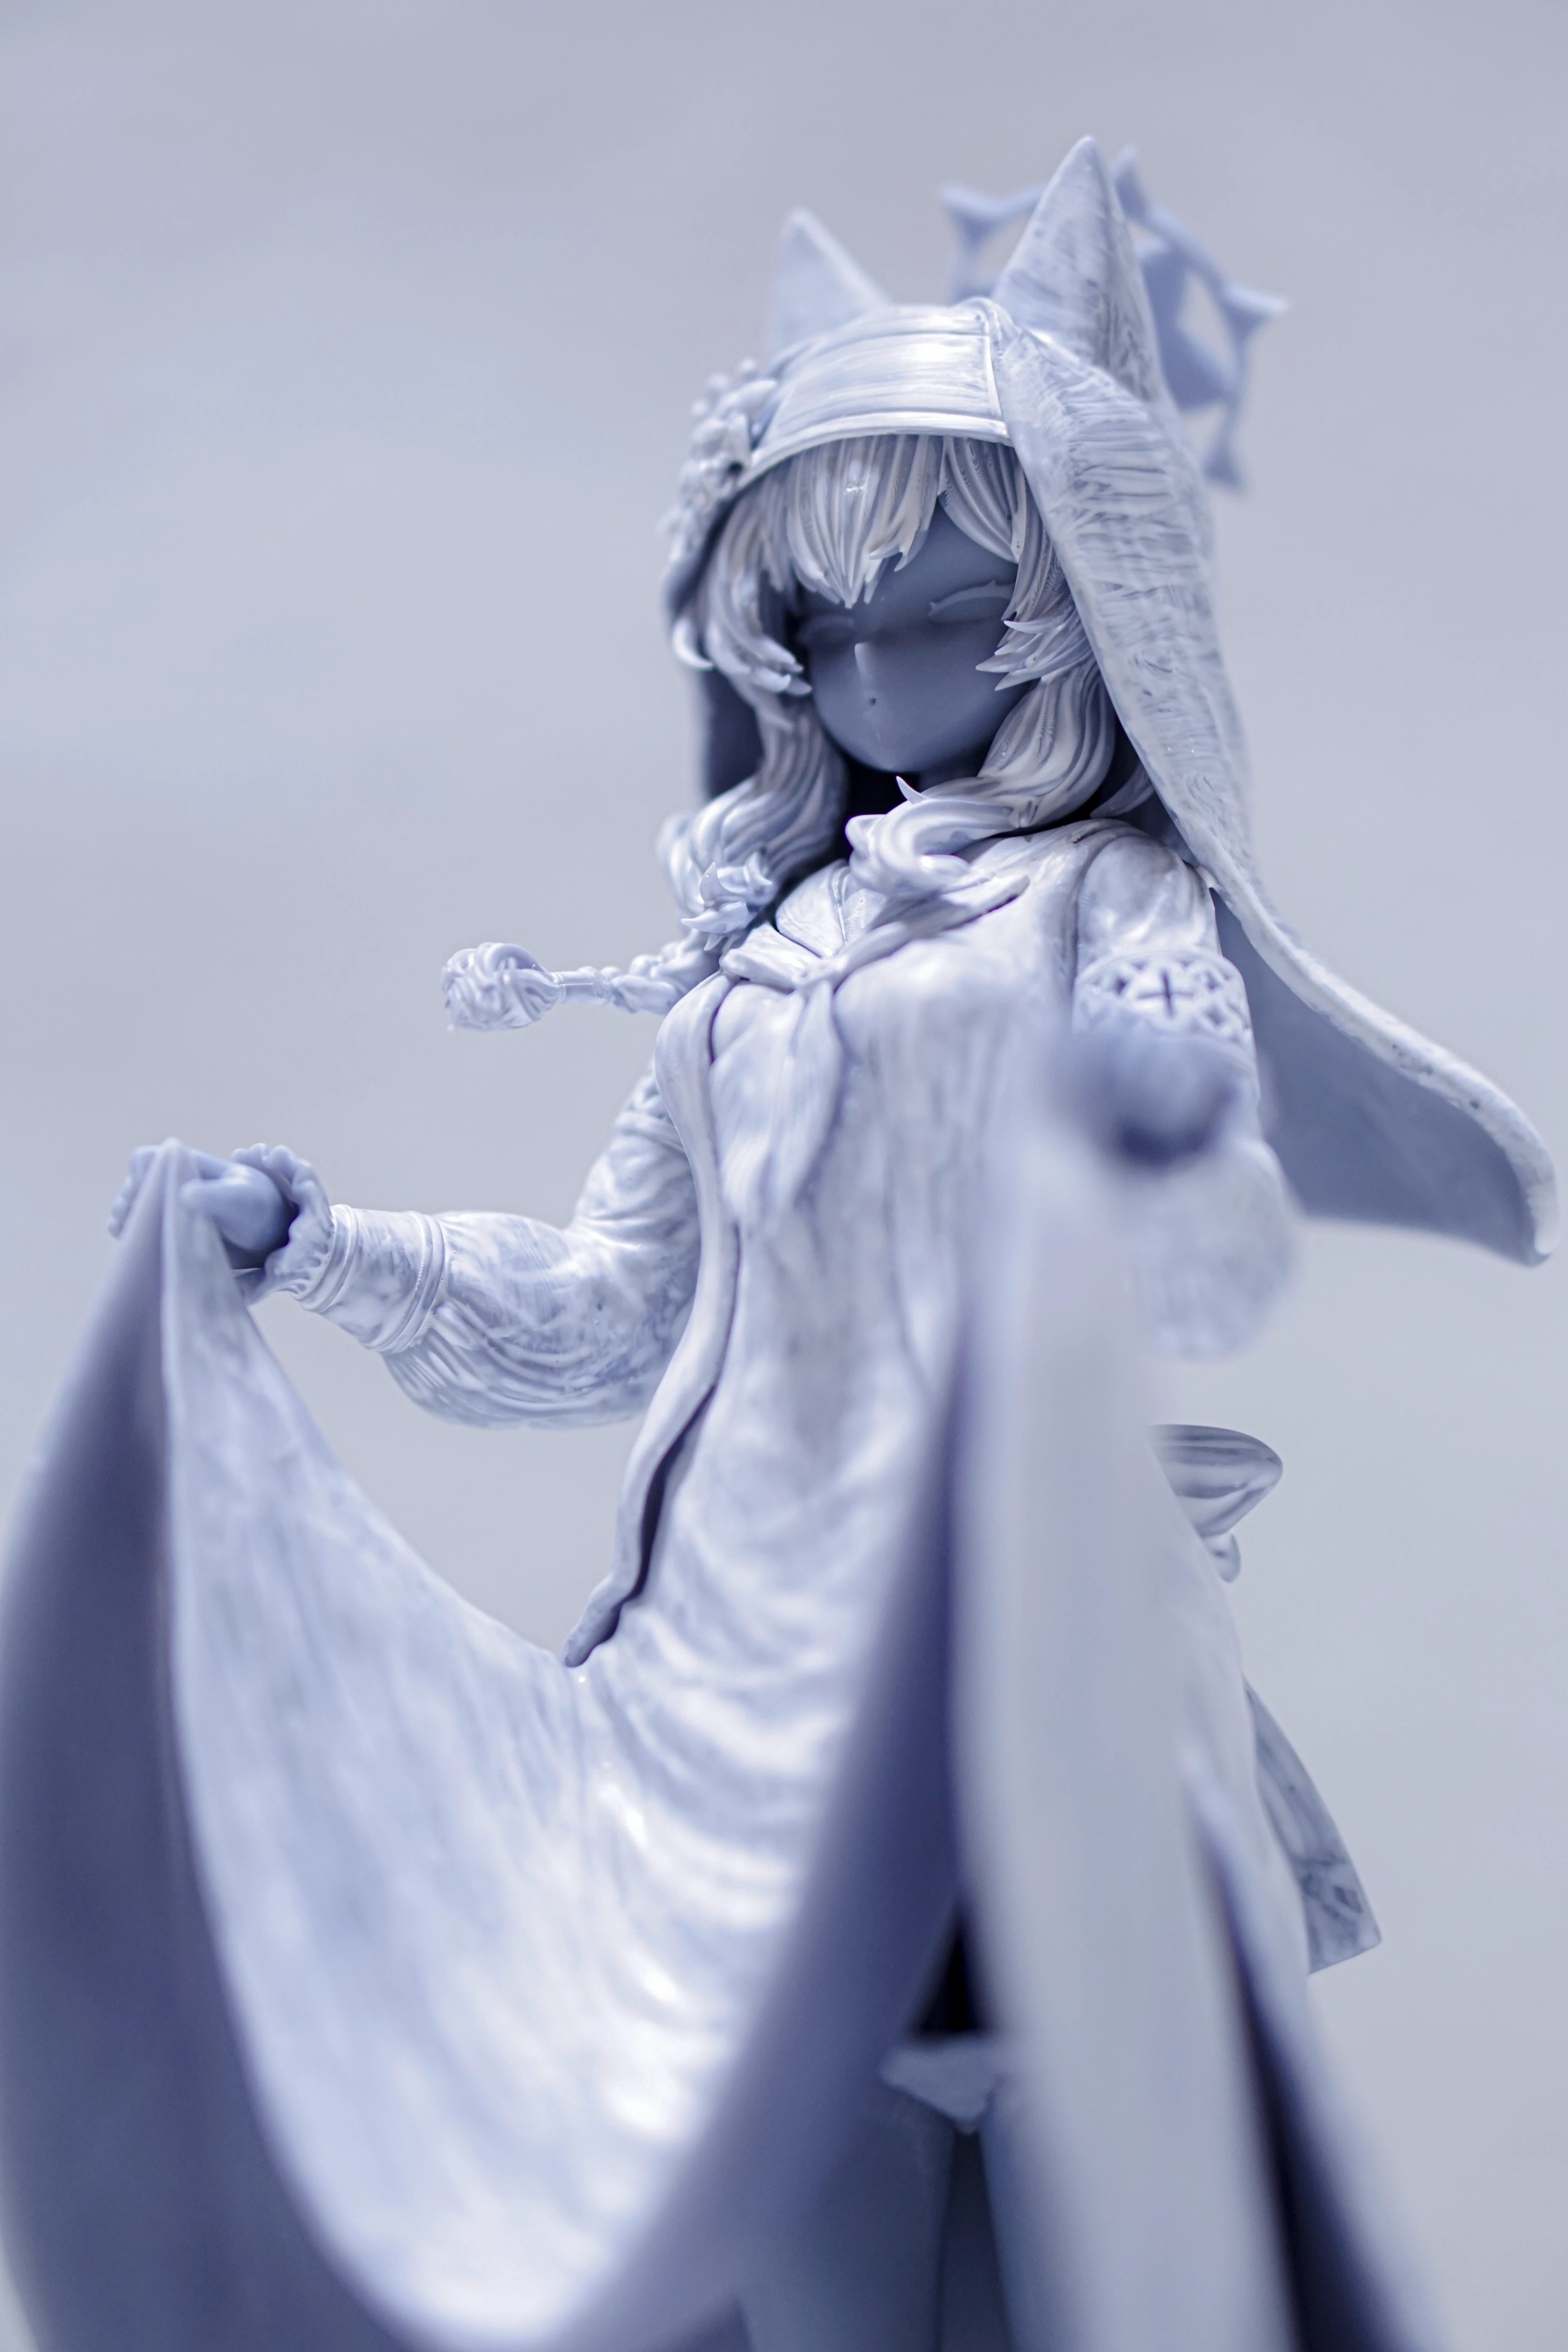
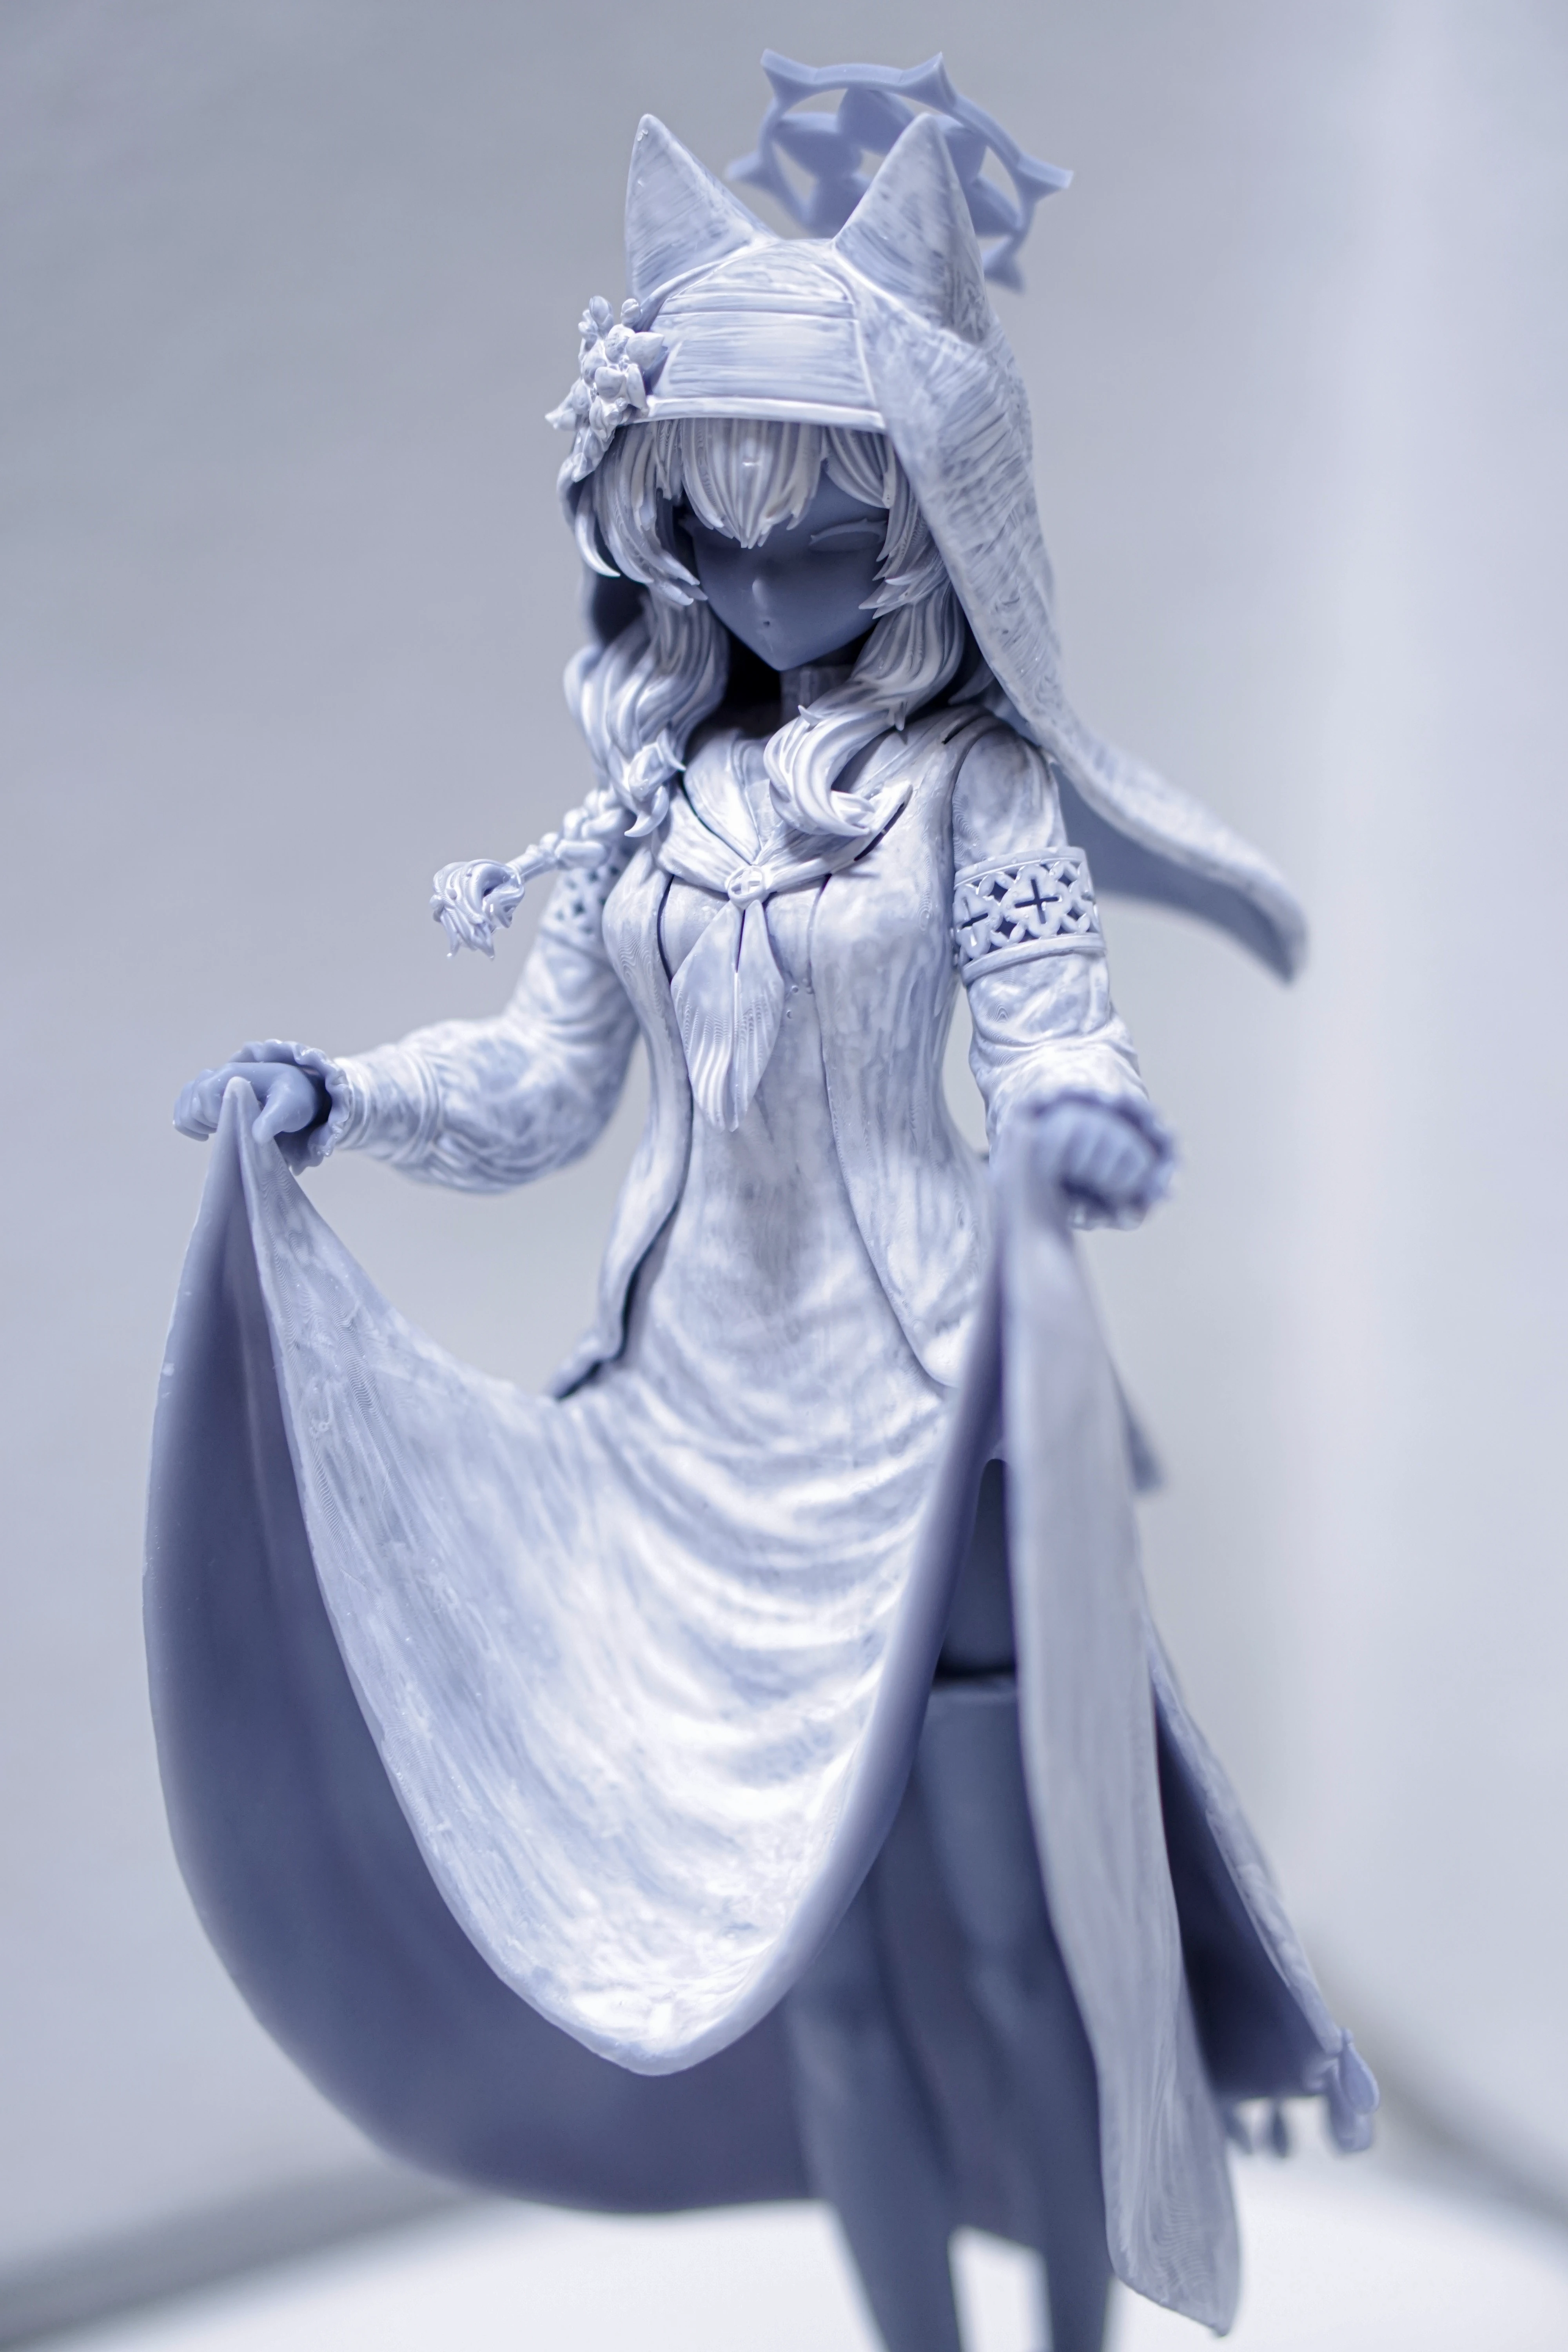
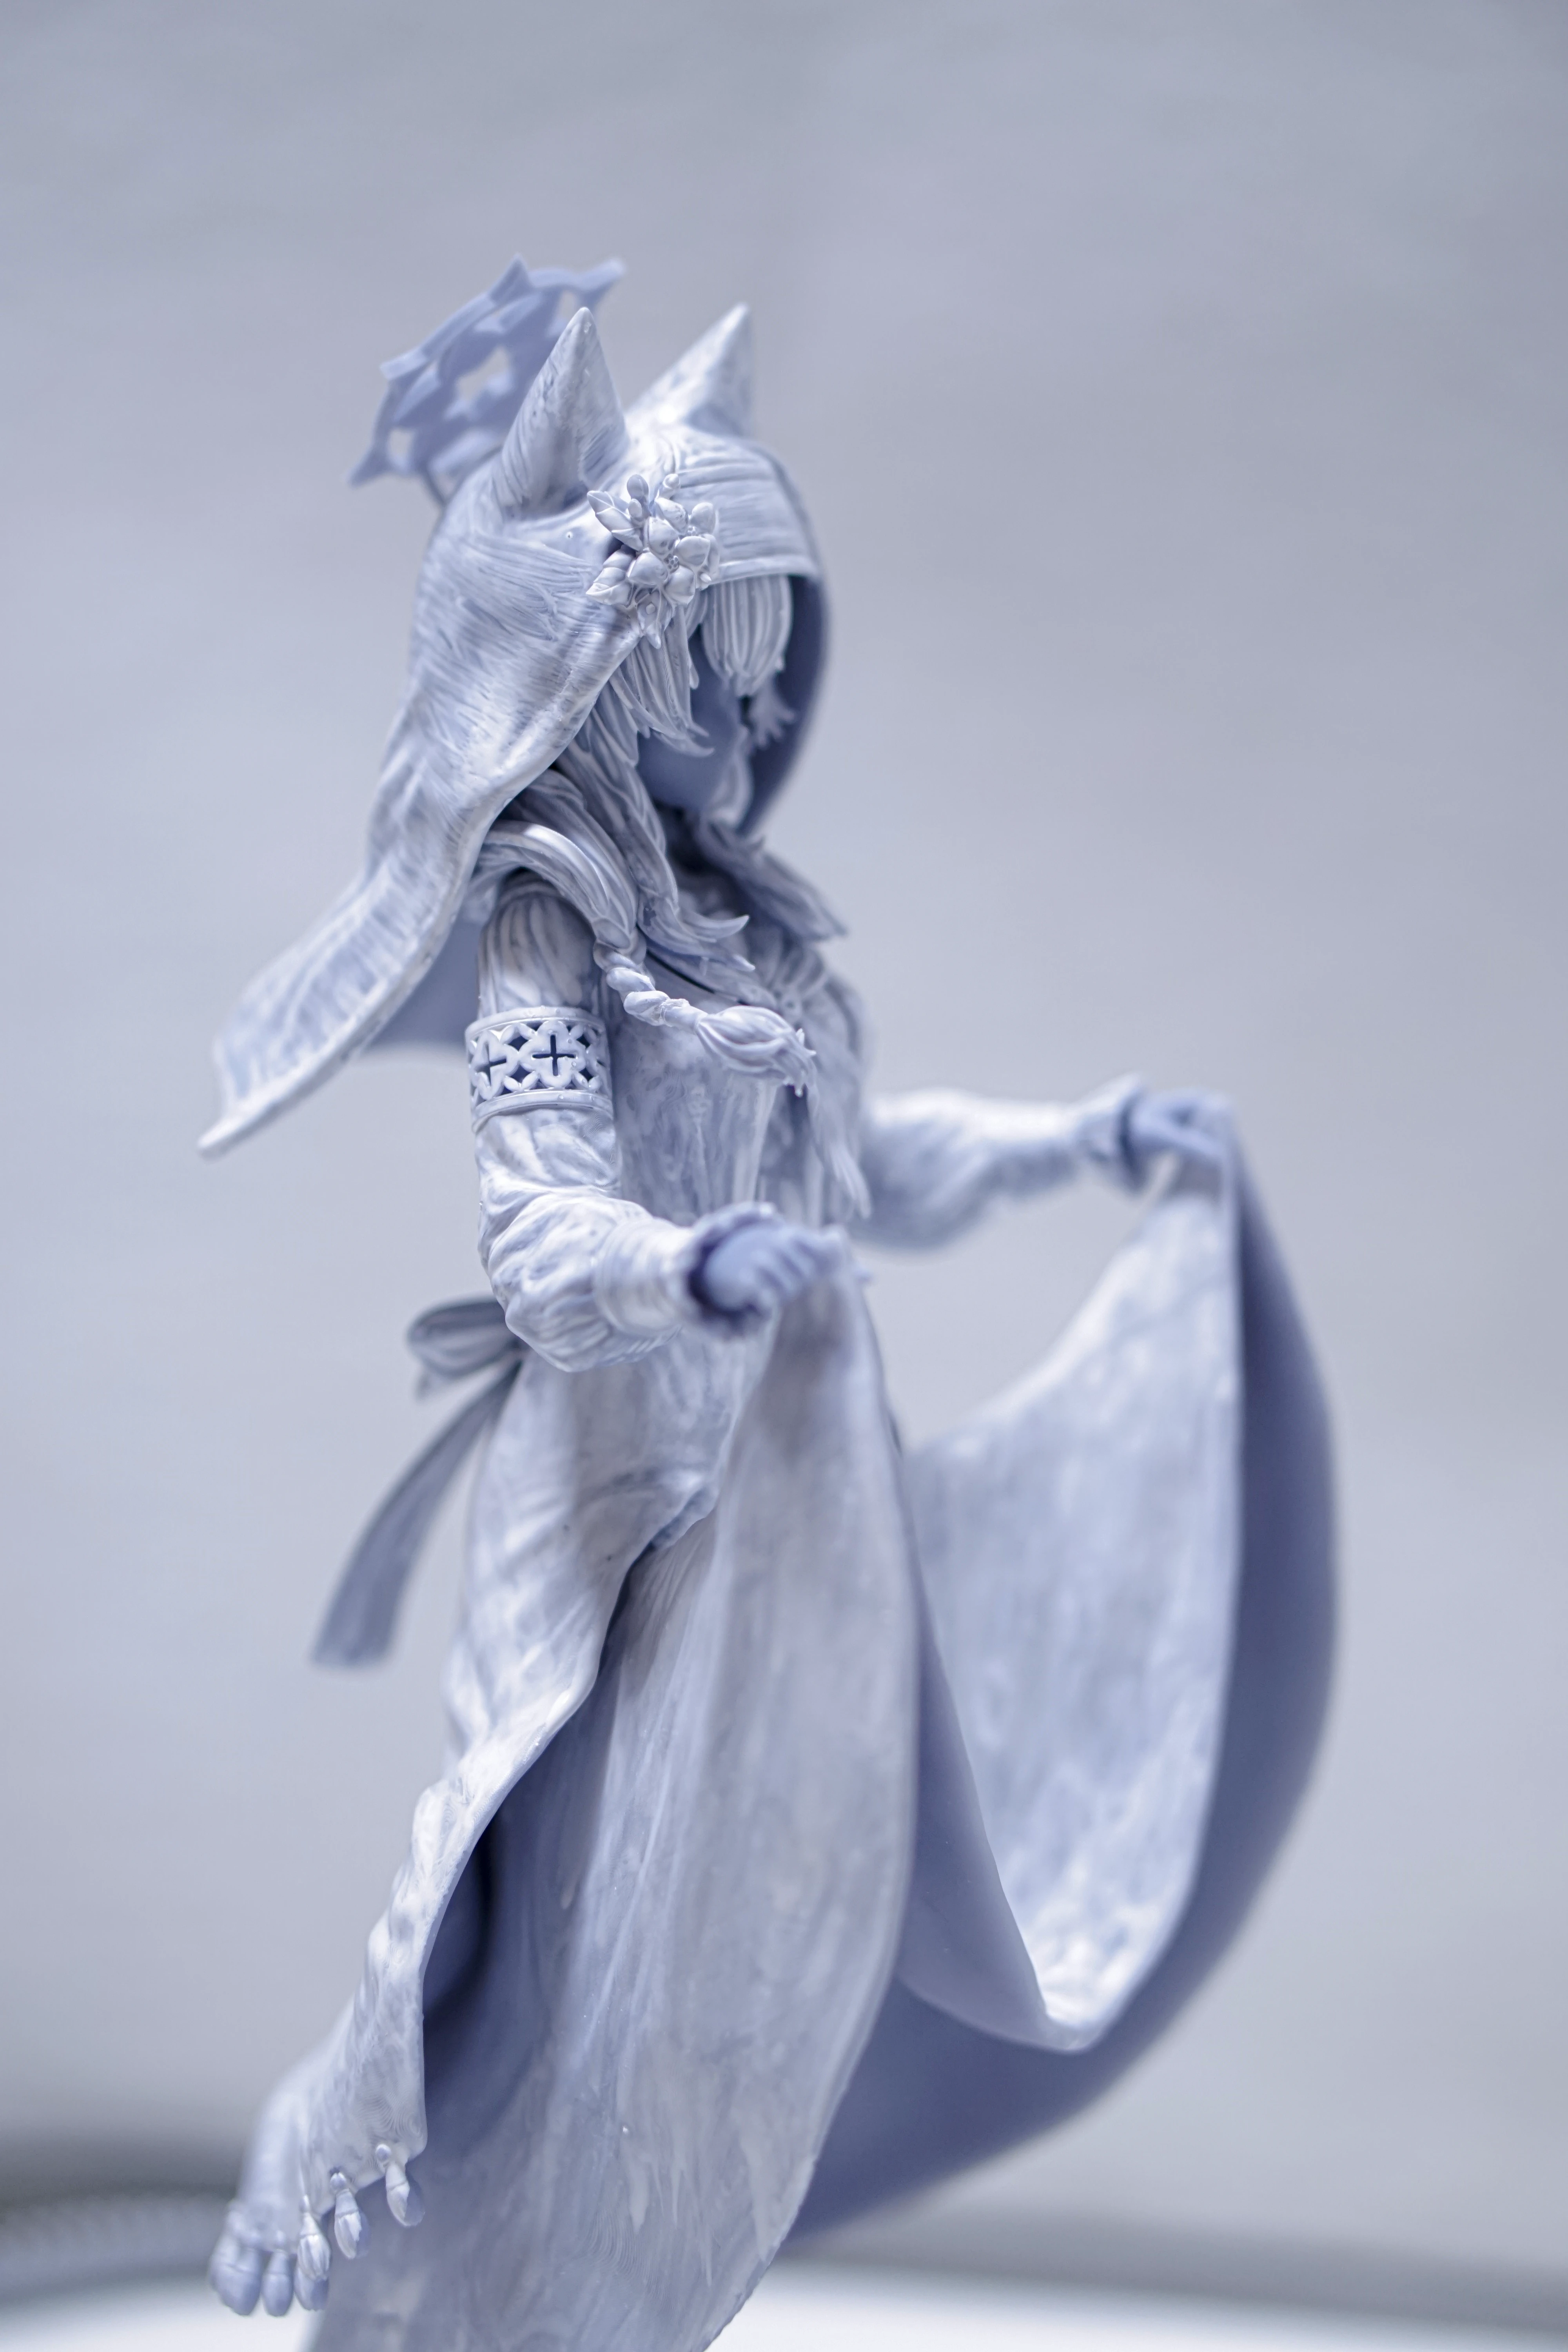
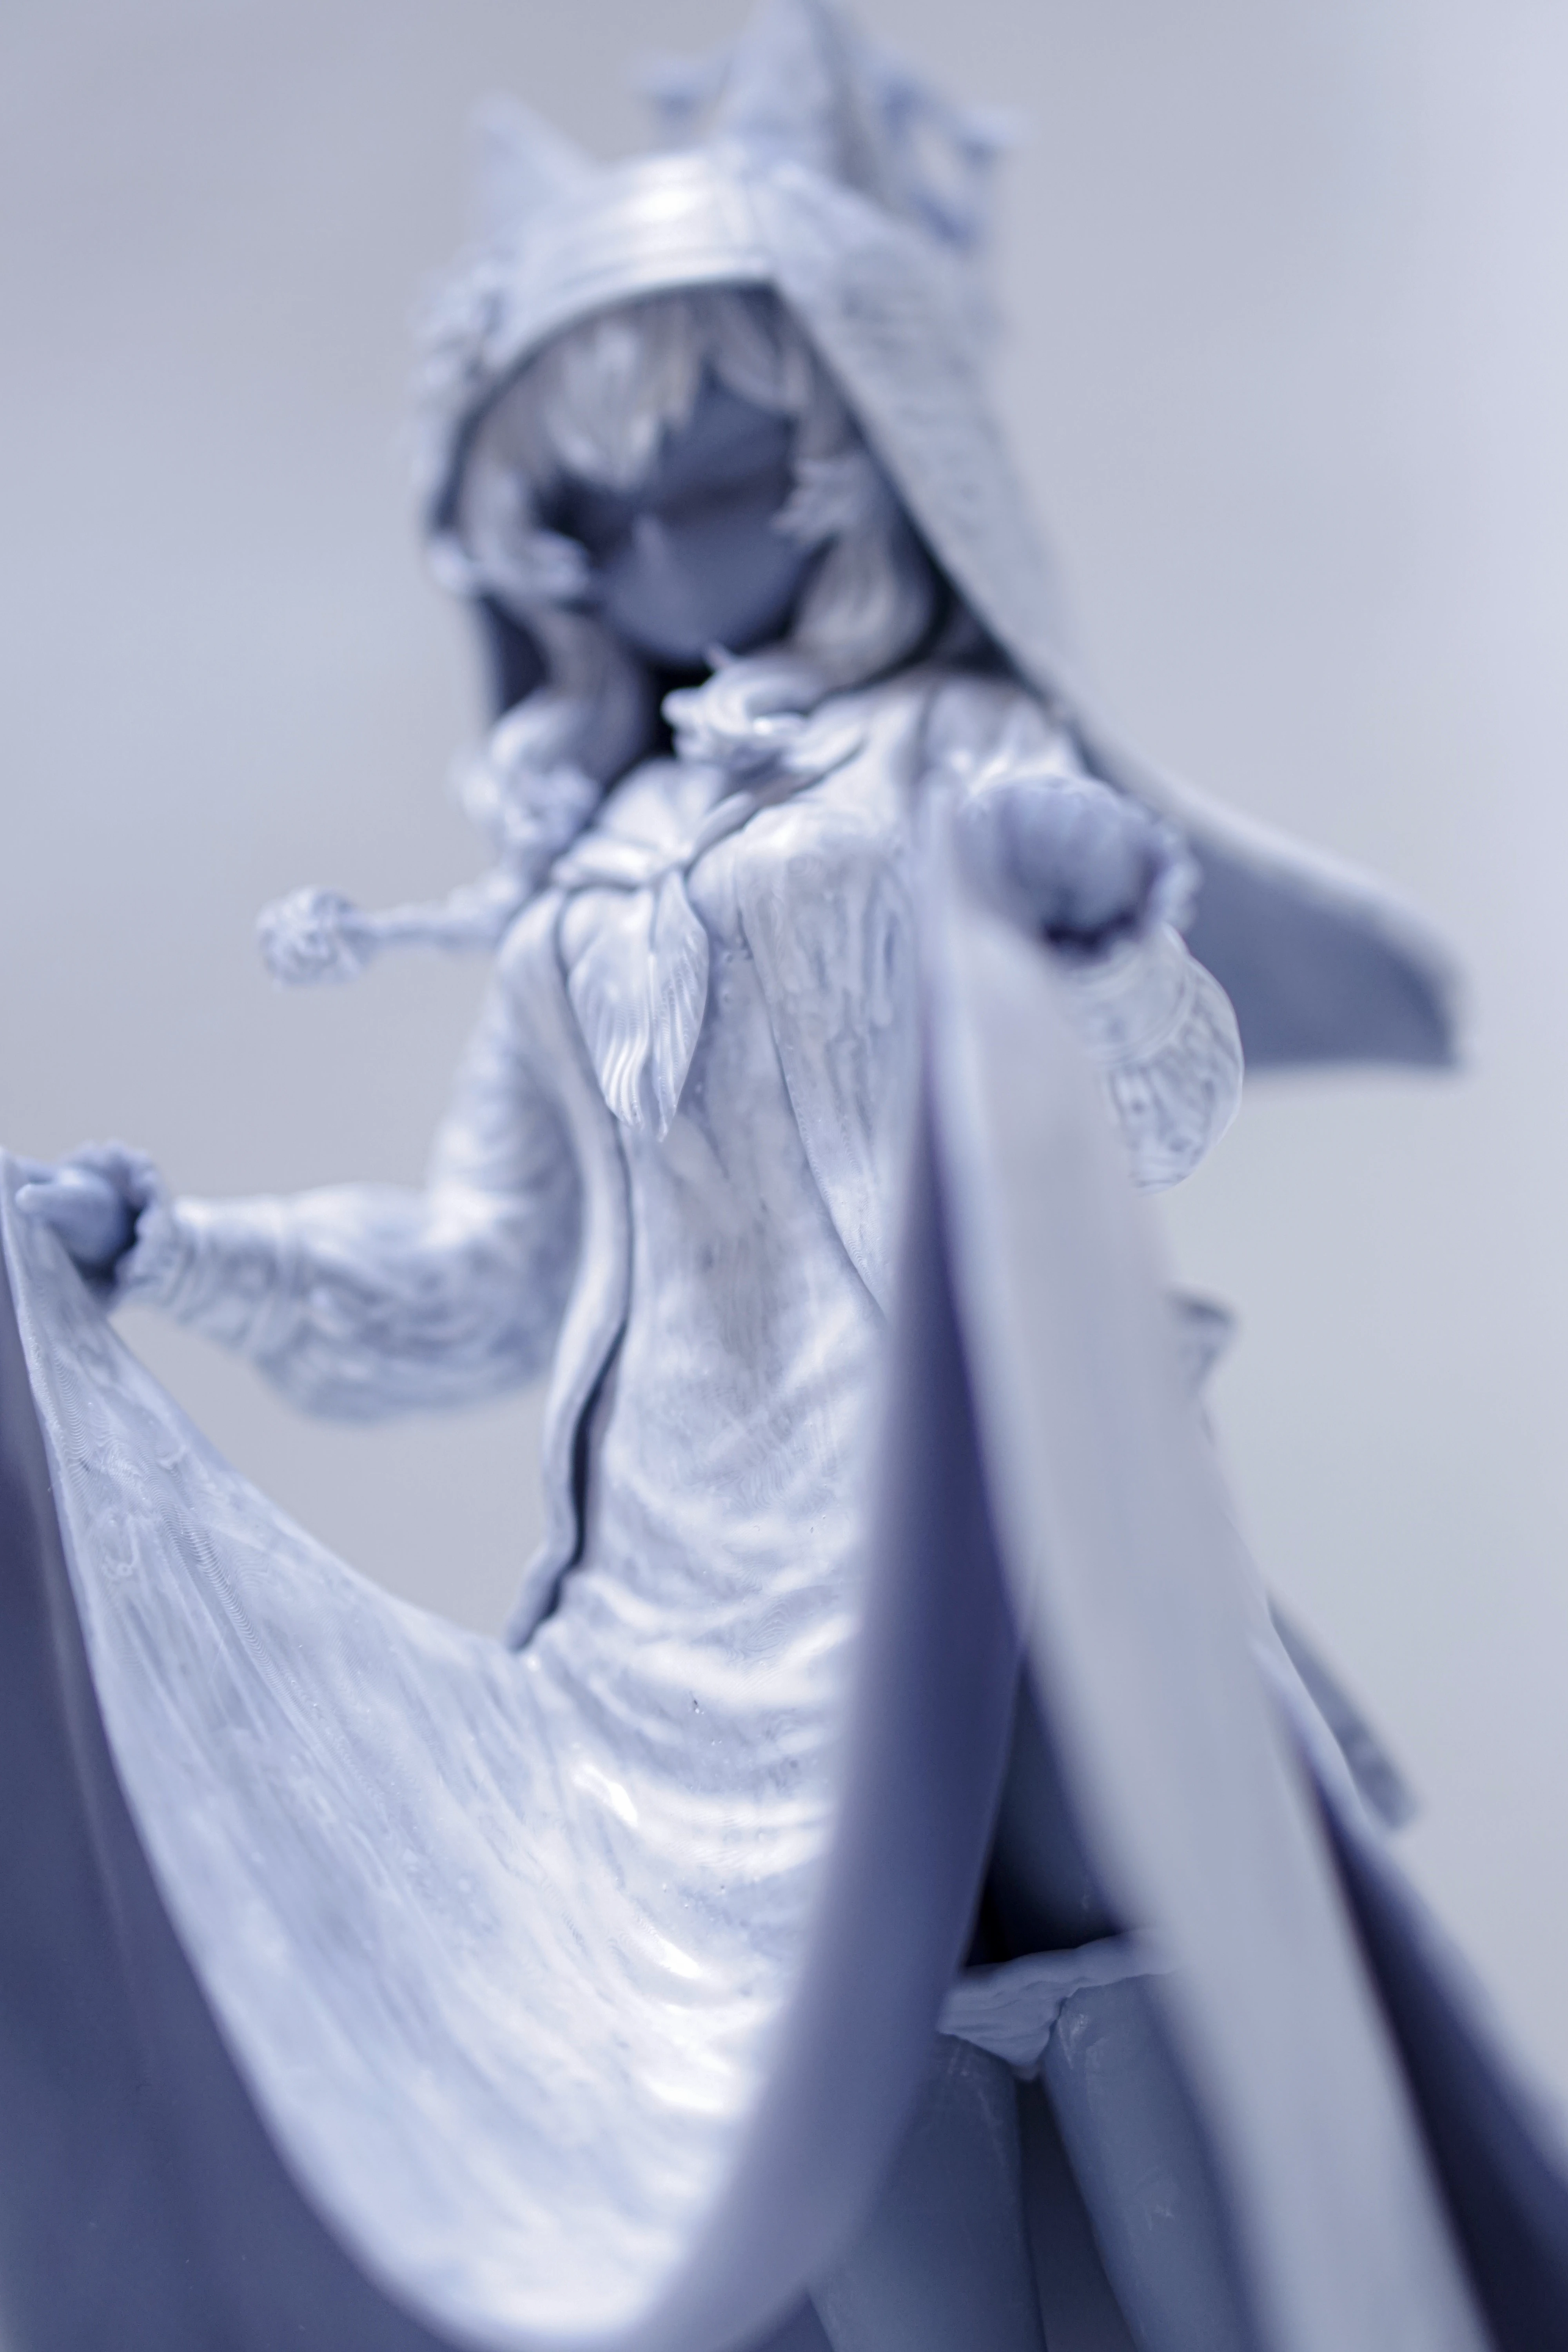
회색샷
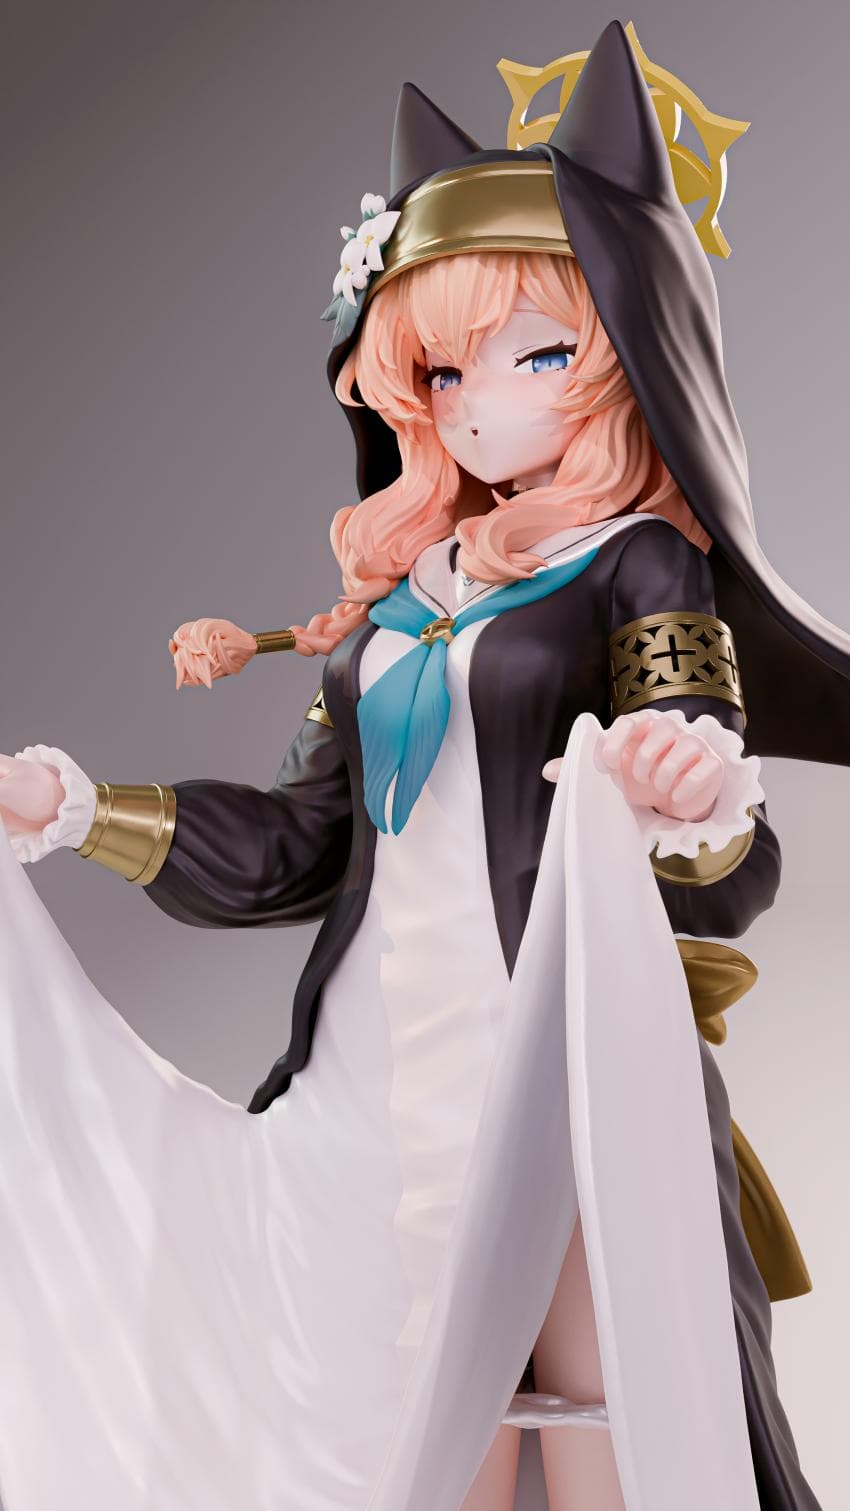
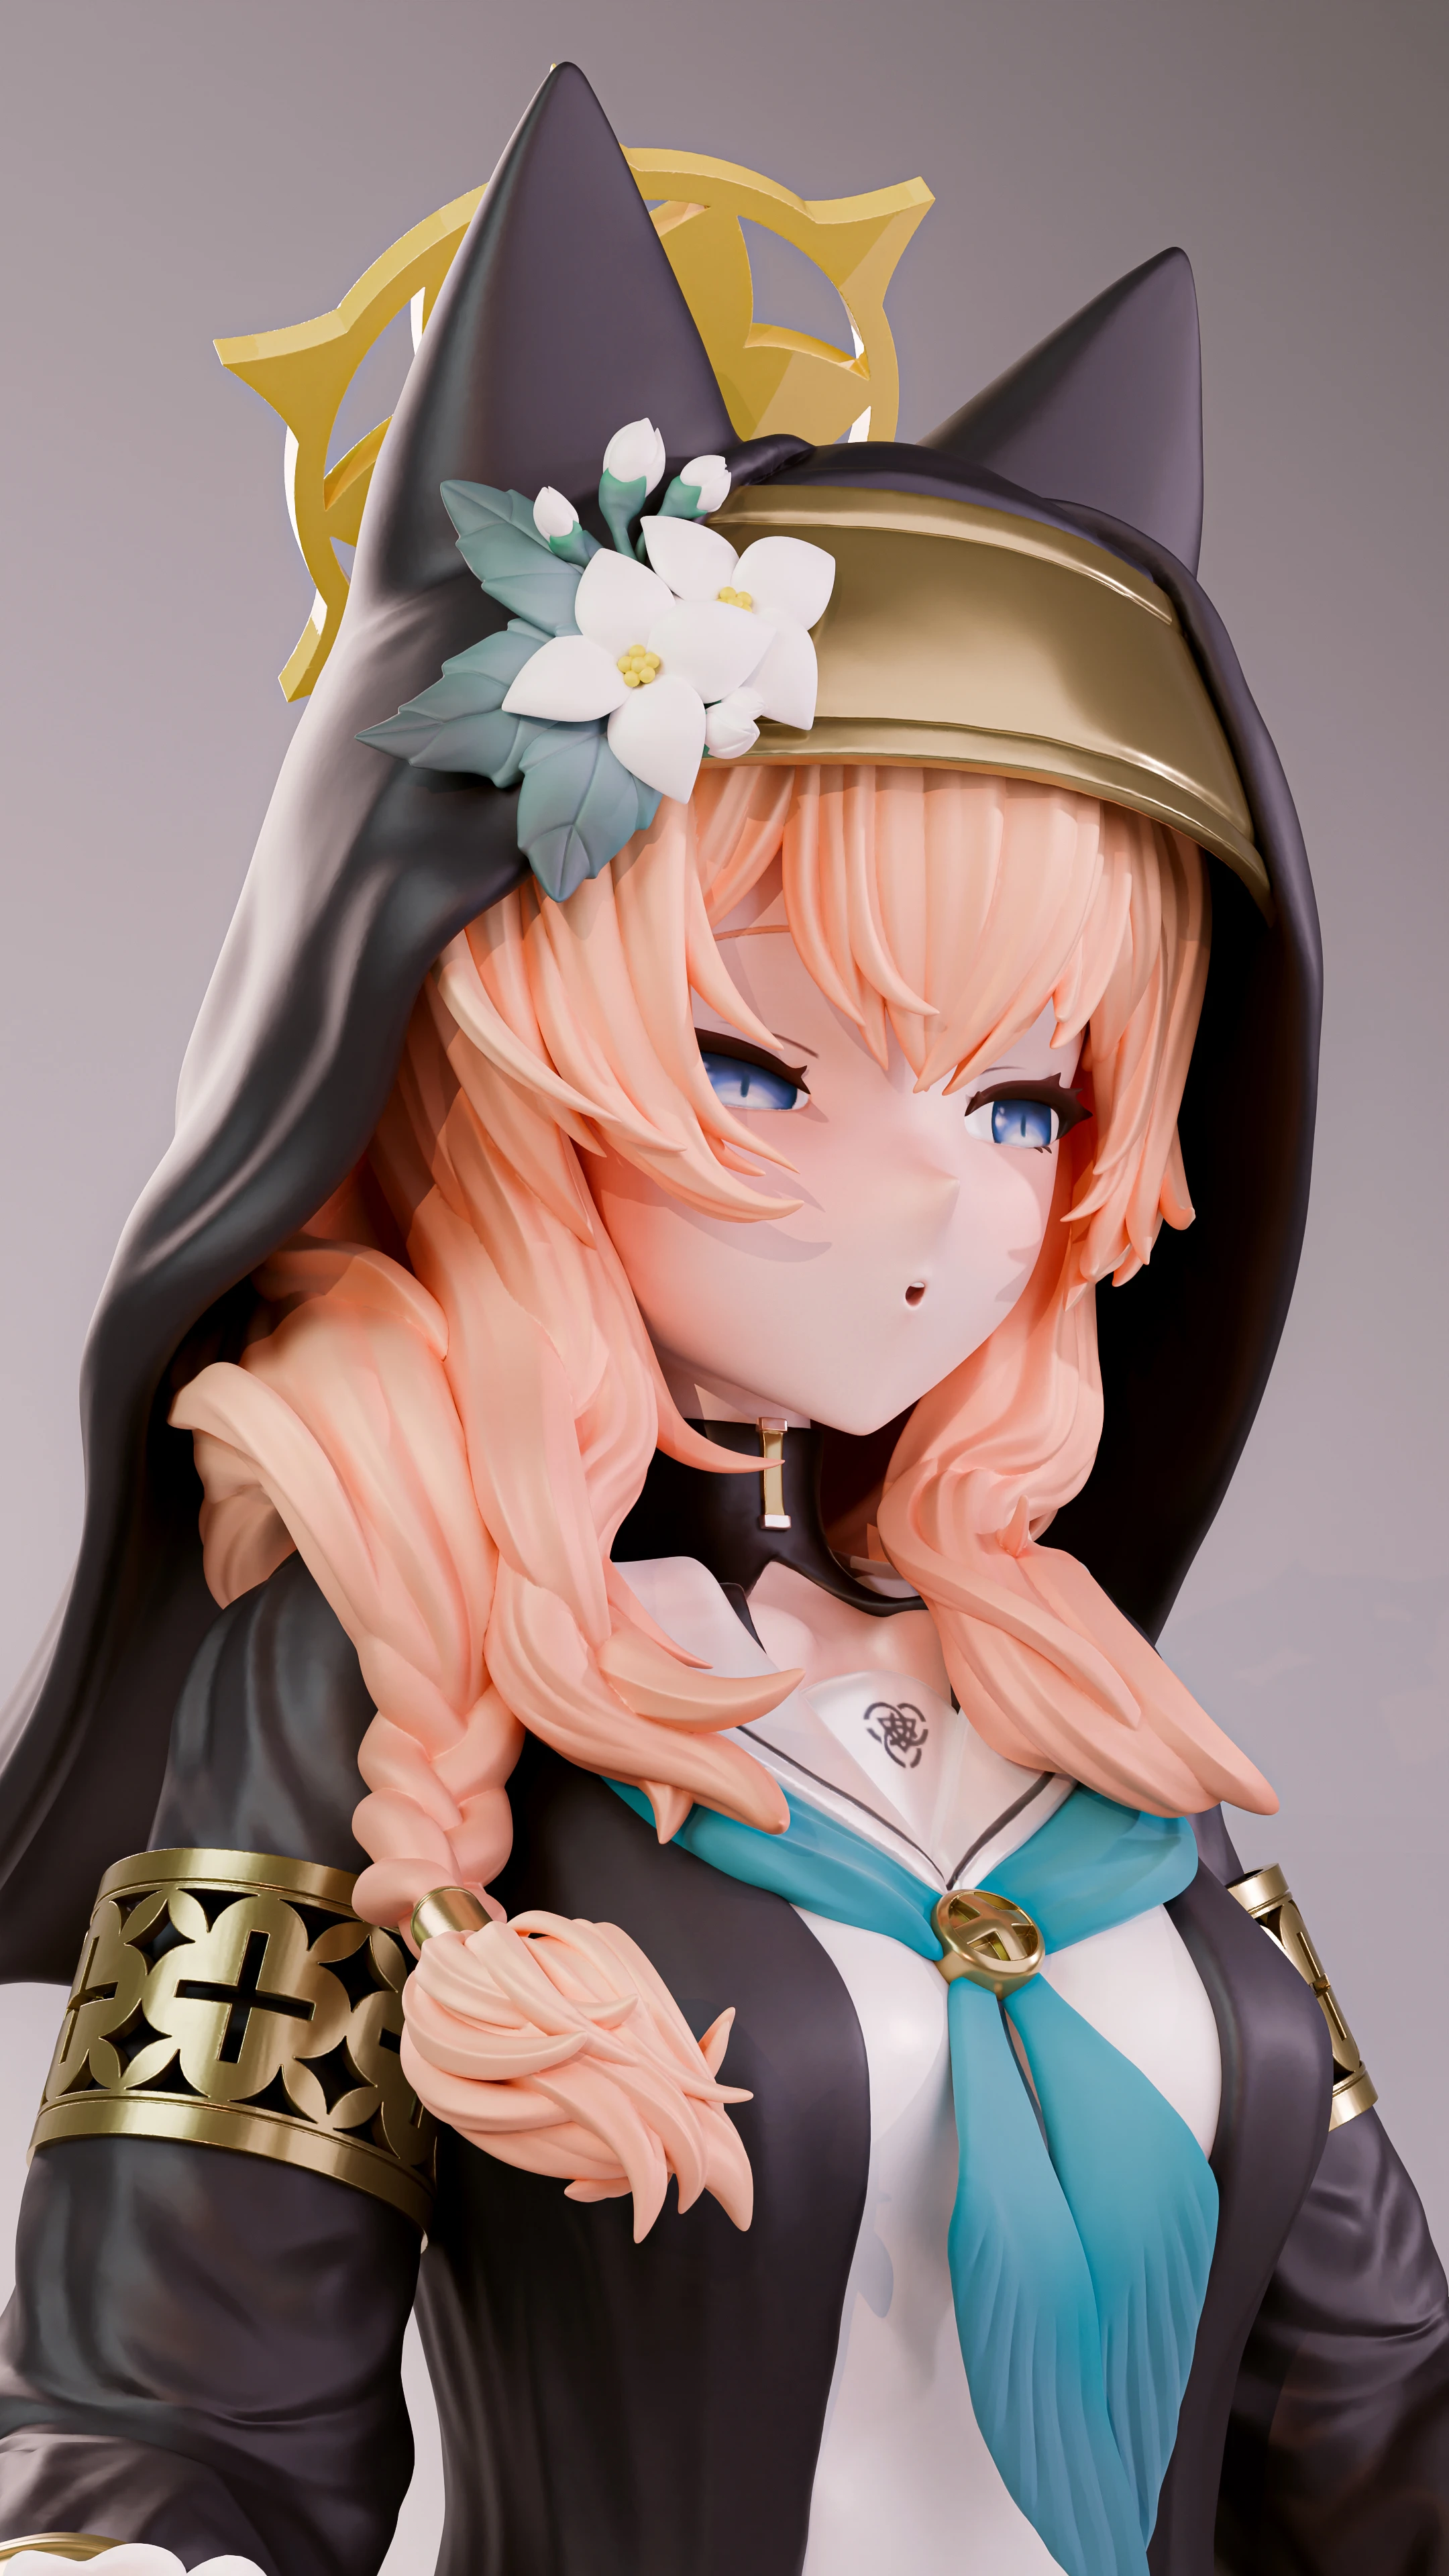
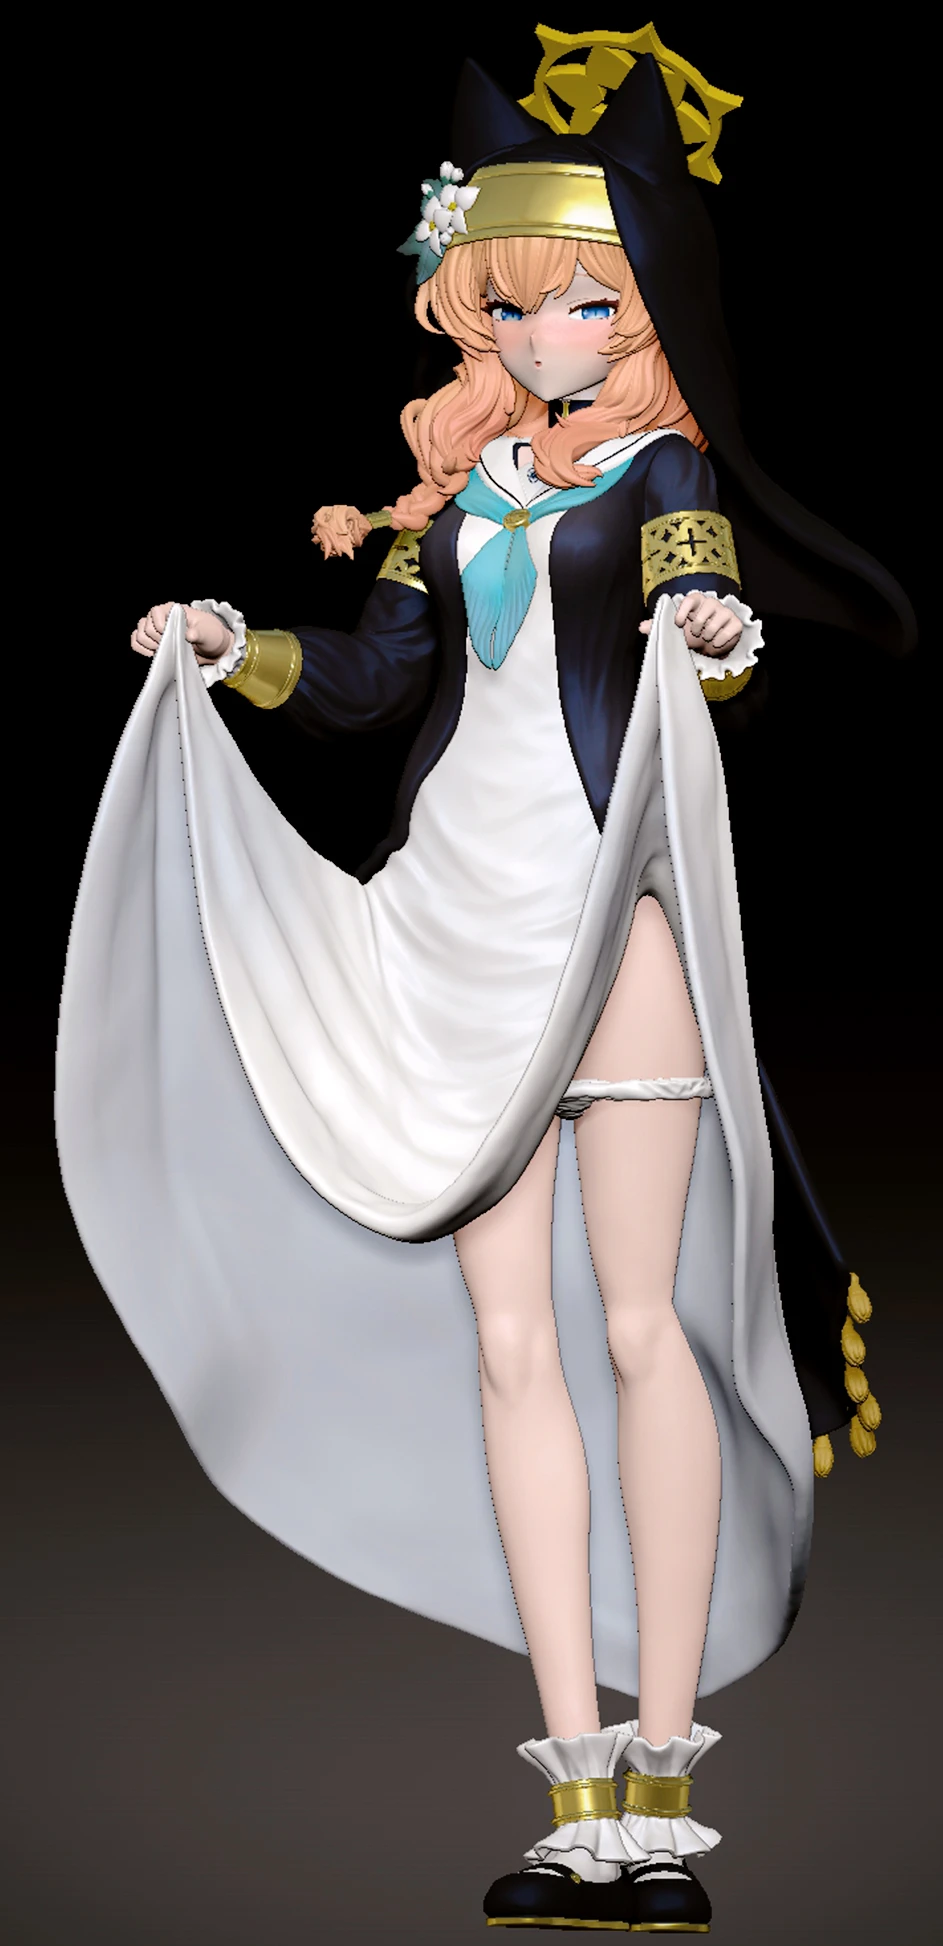
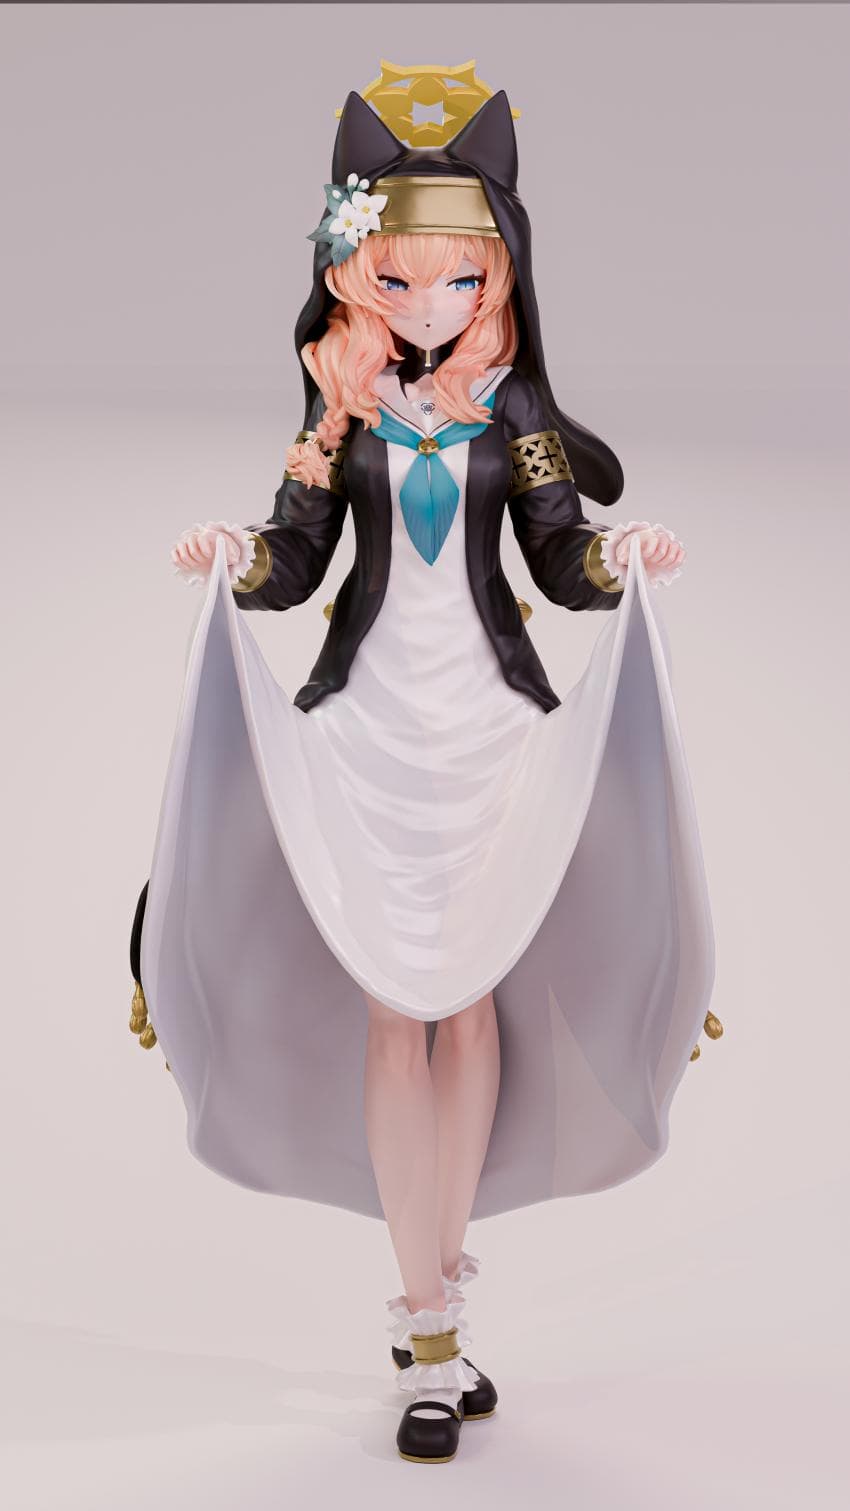
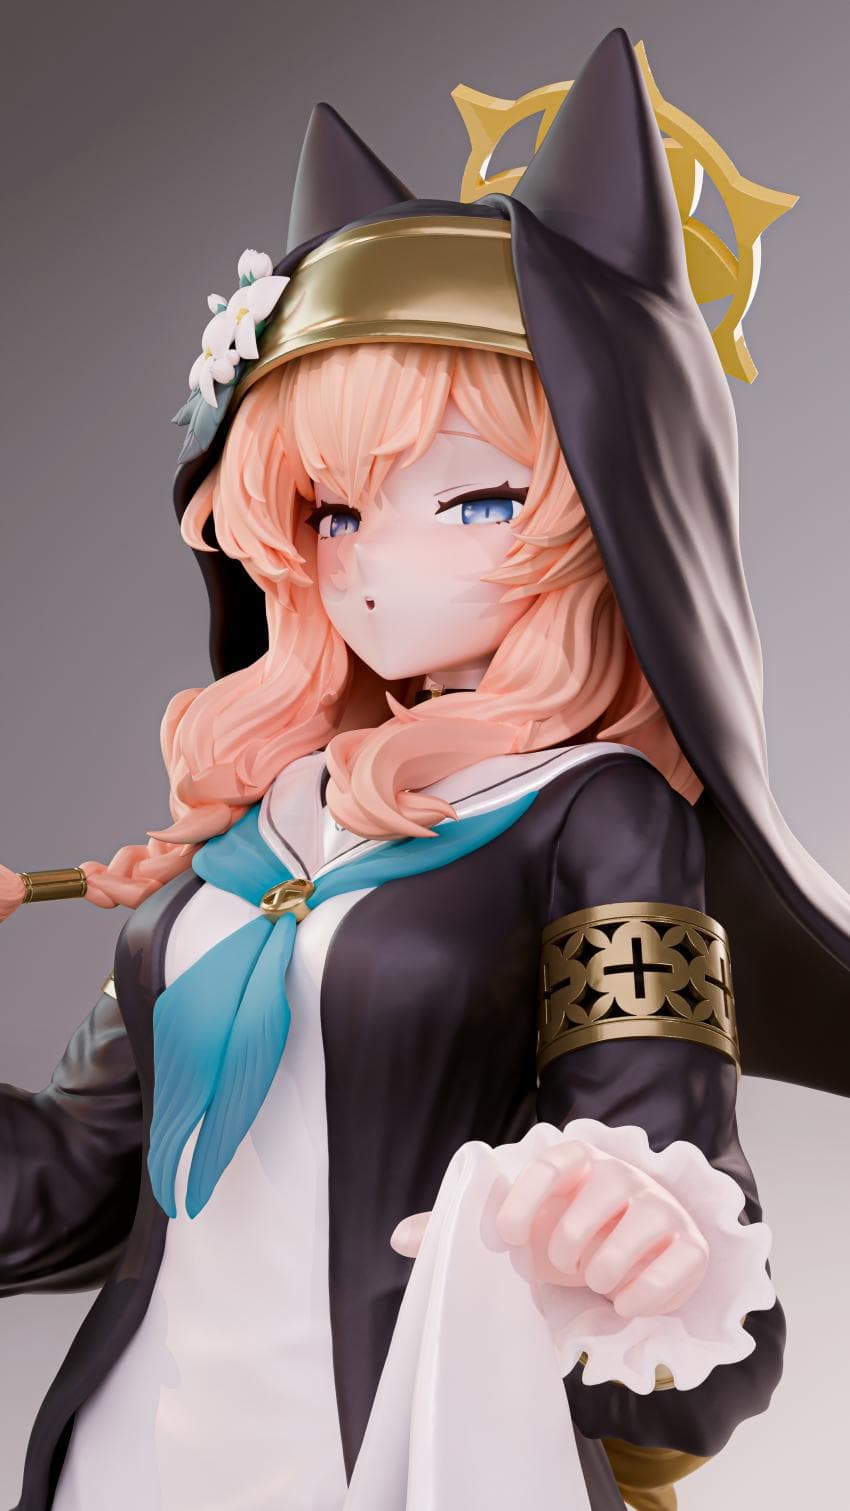
렌더링 진행한 결과물들, 역시 순수한 마리야

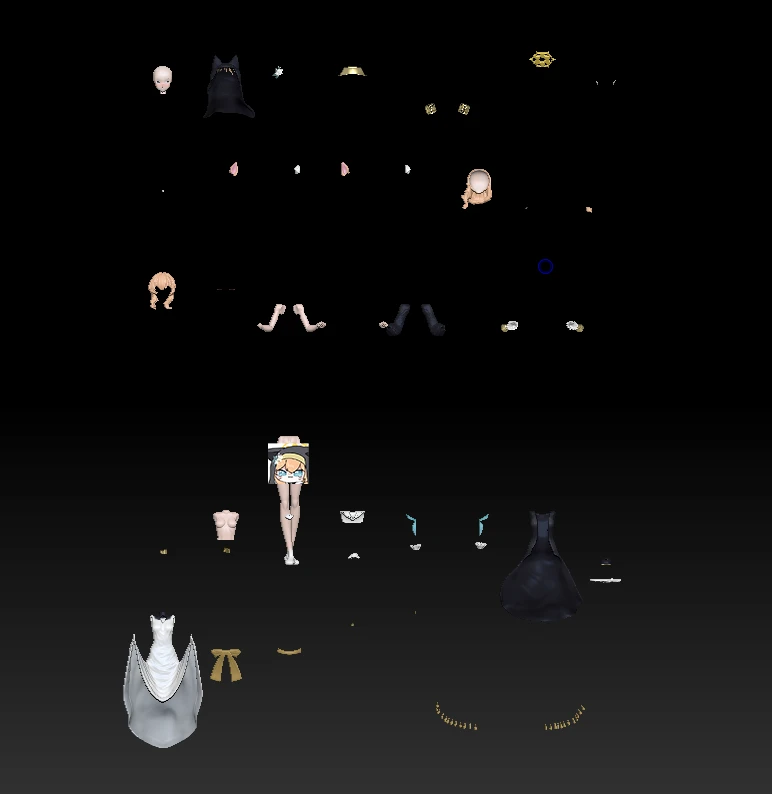
피규어 제작을 위해 분할하고
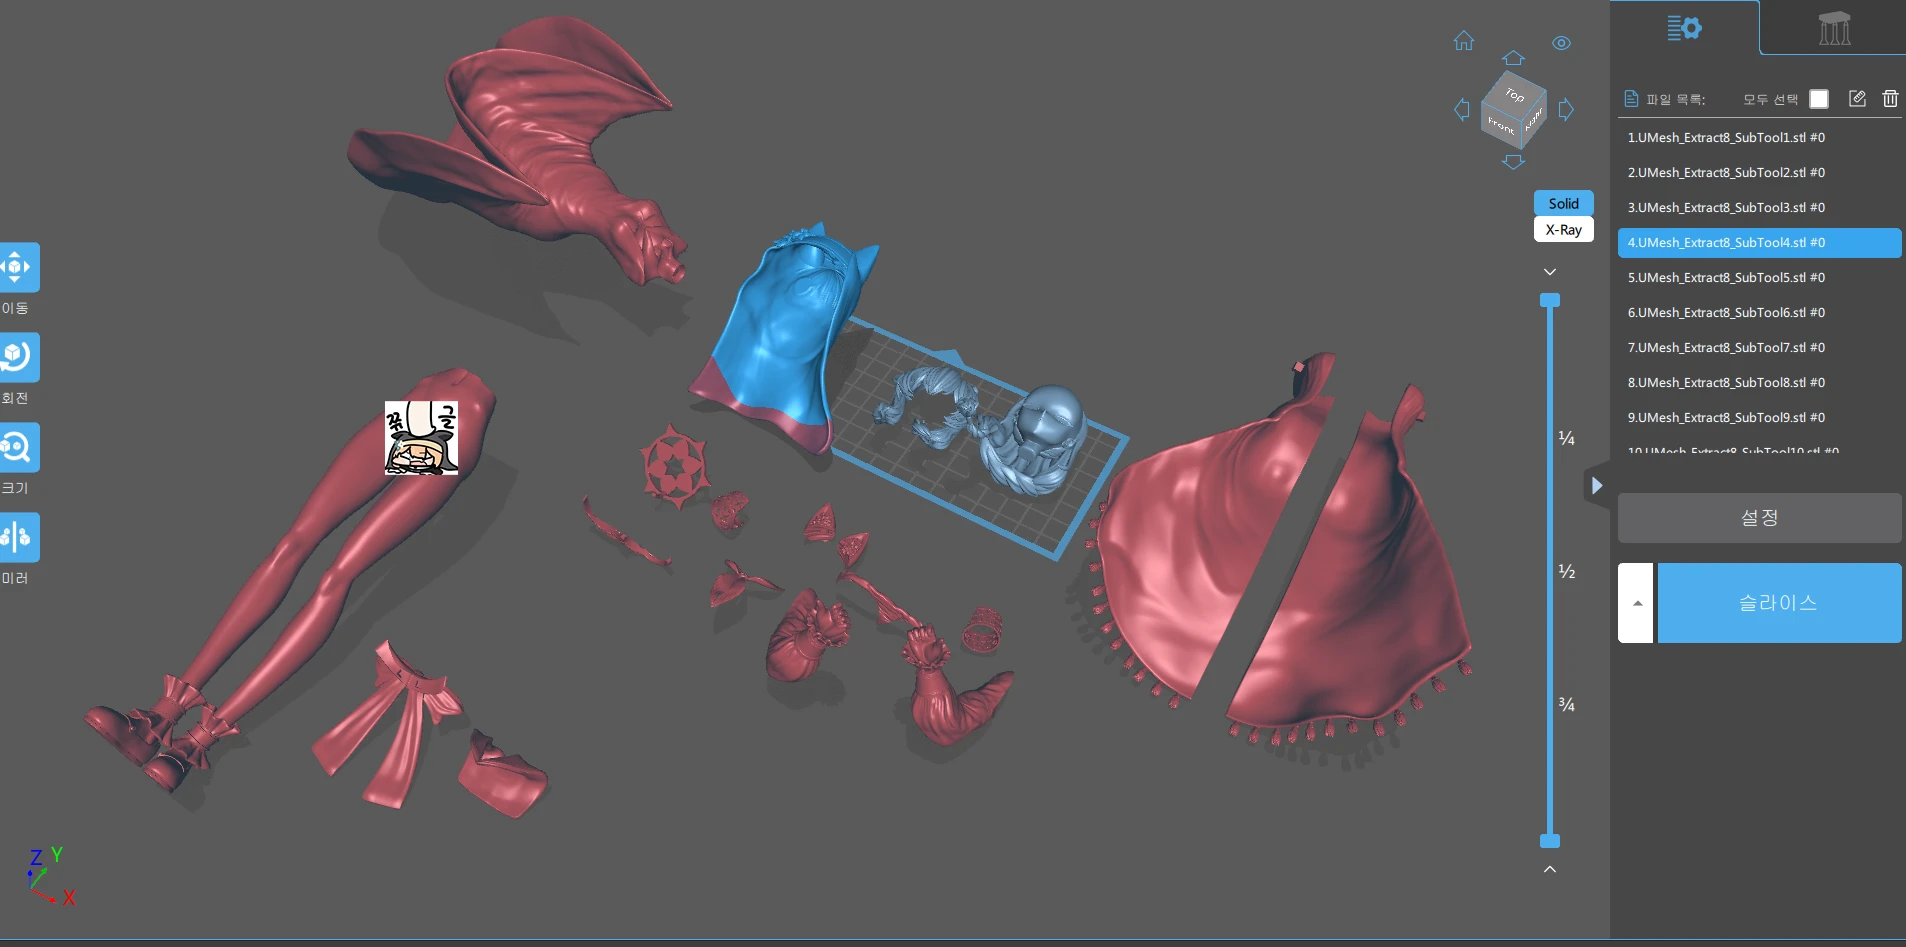
서포터 올리고
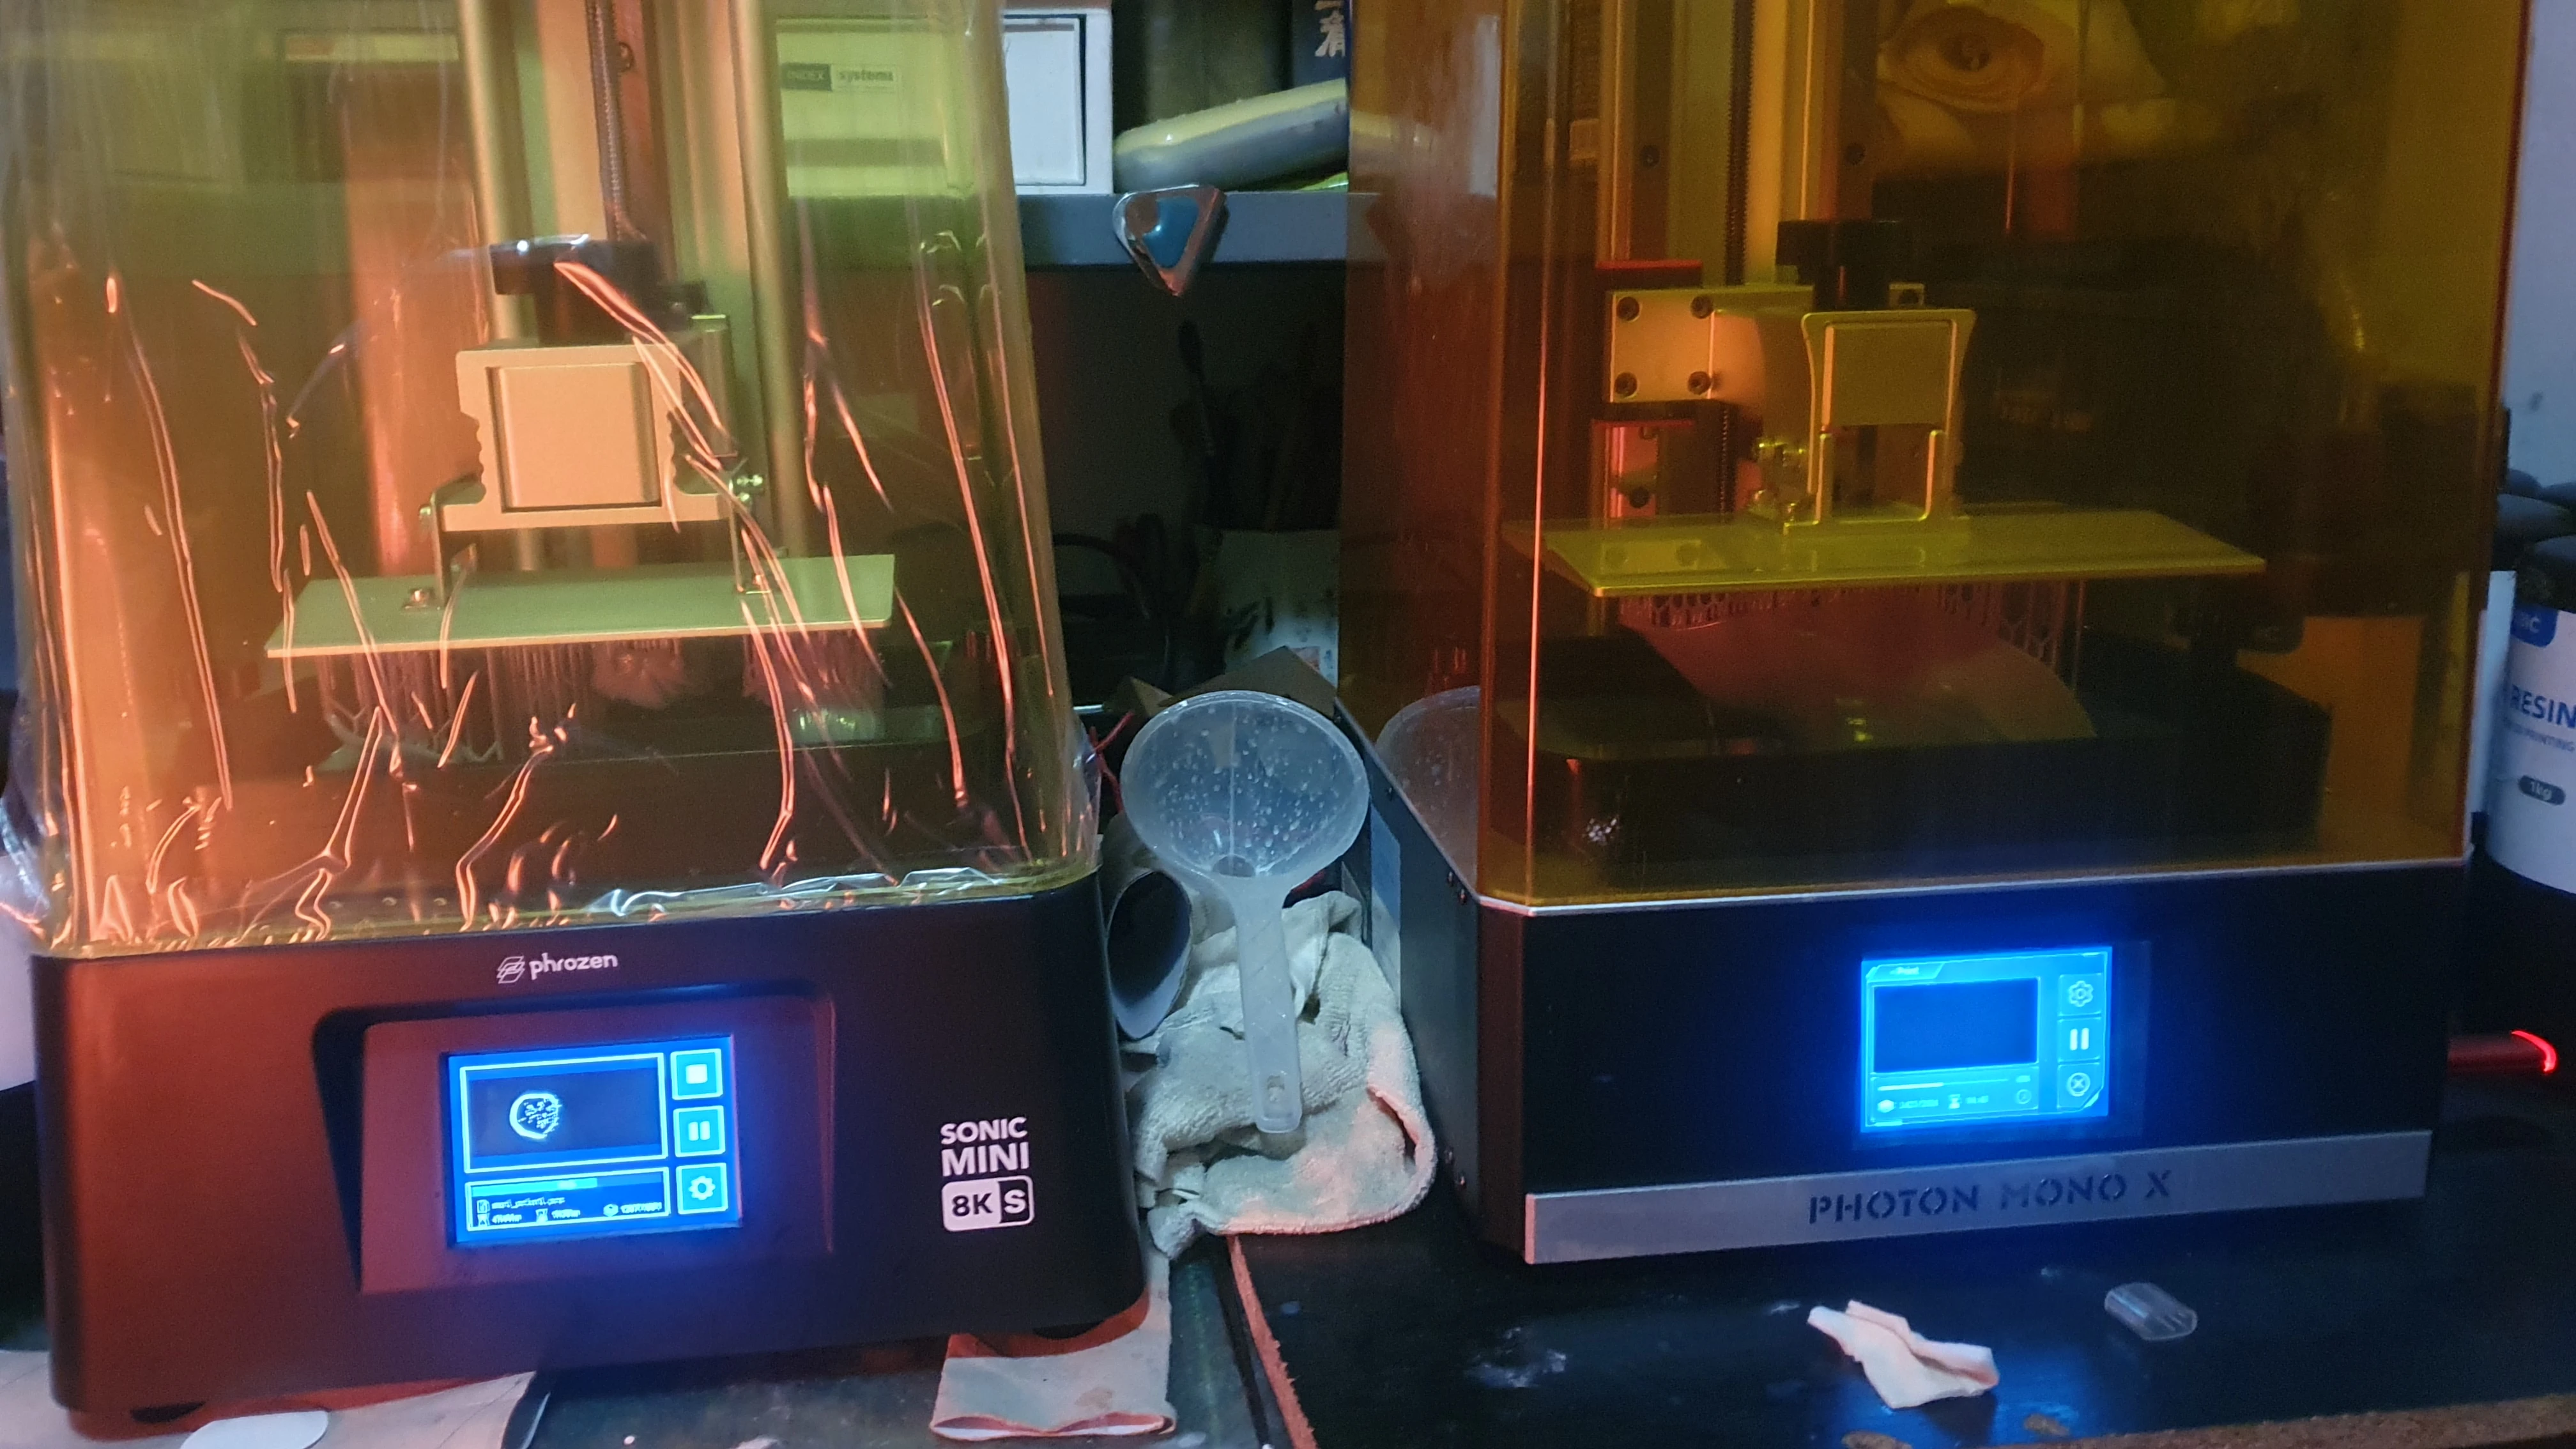
레진프린터로 동시에 출력하면 걸어놓음

다 나온 출력을을 알코올로 세척하고
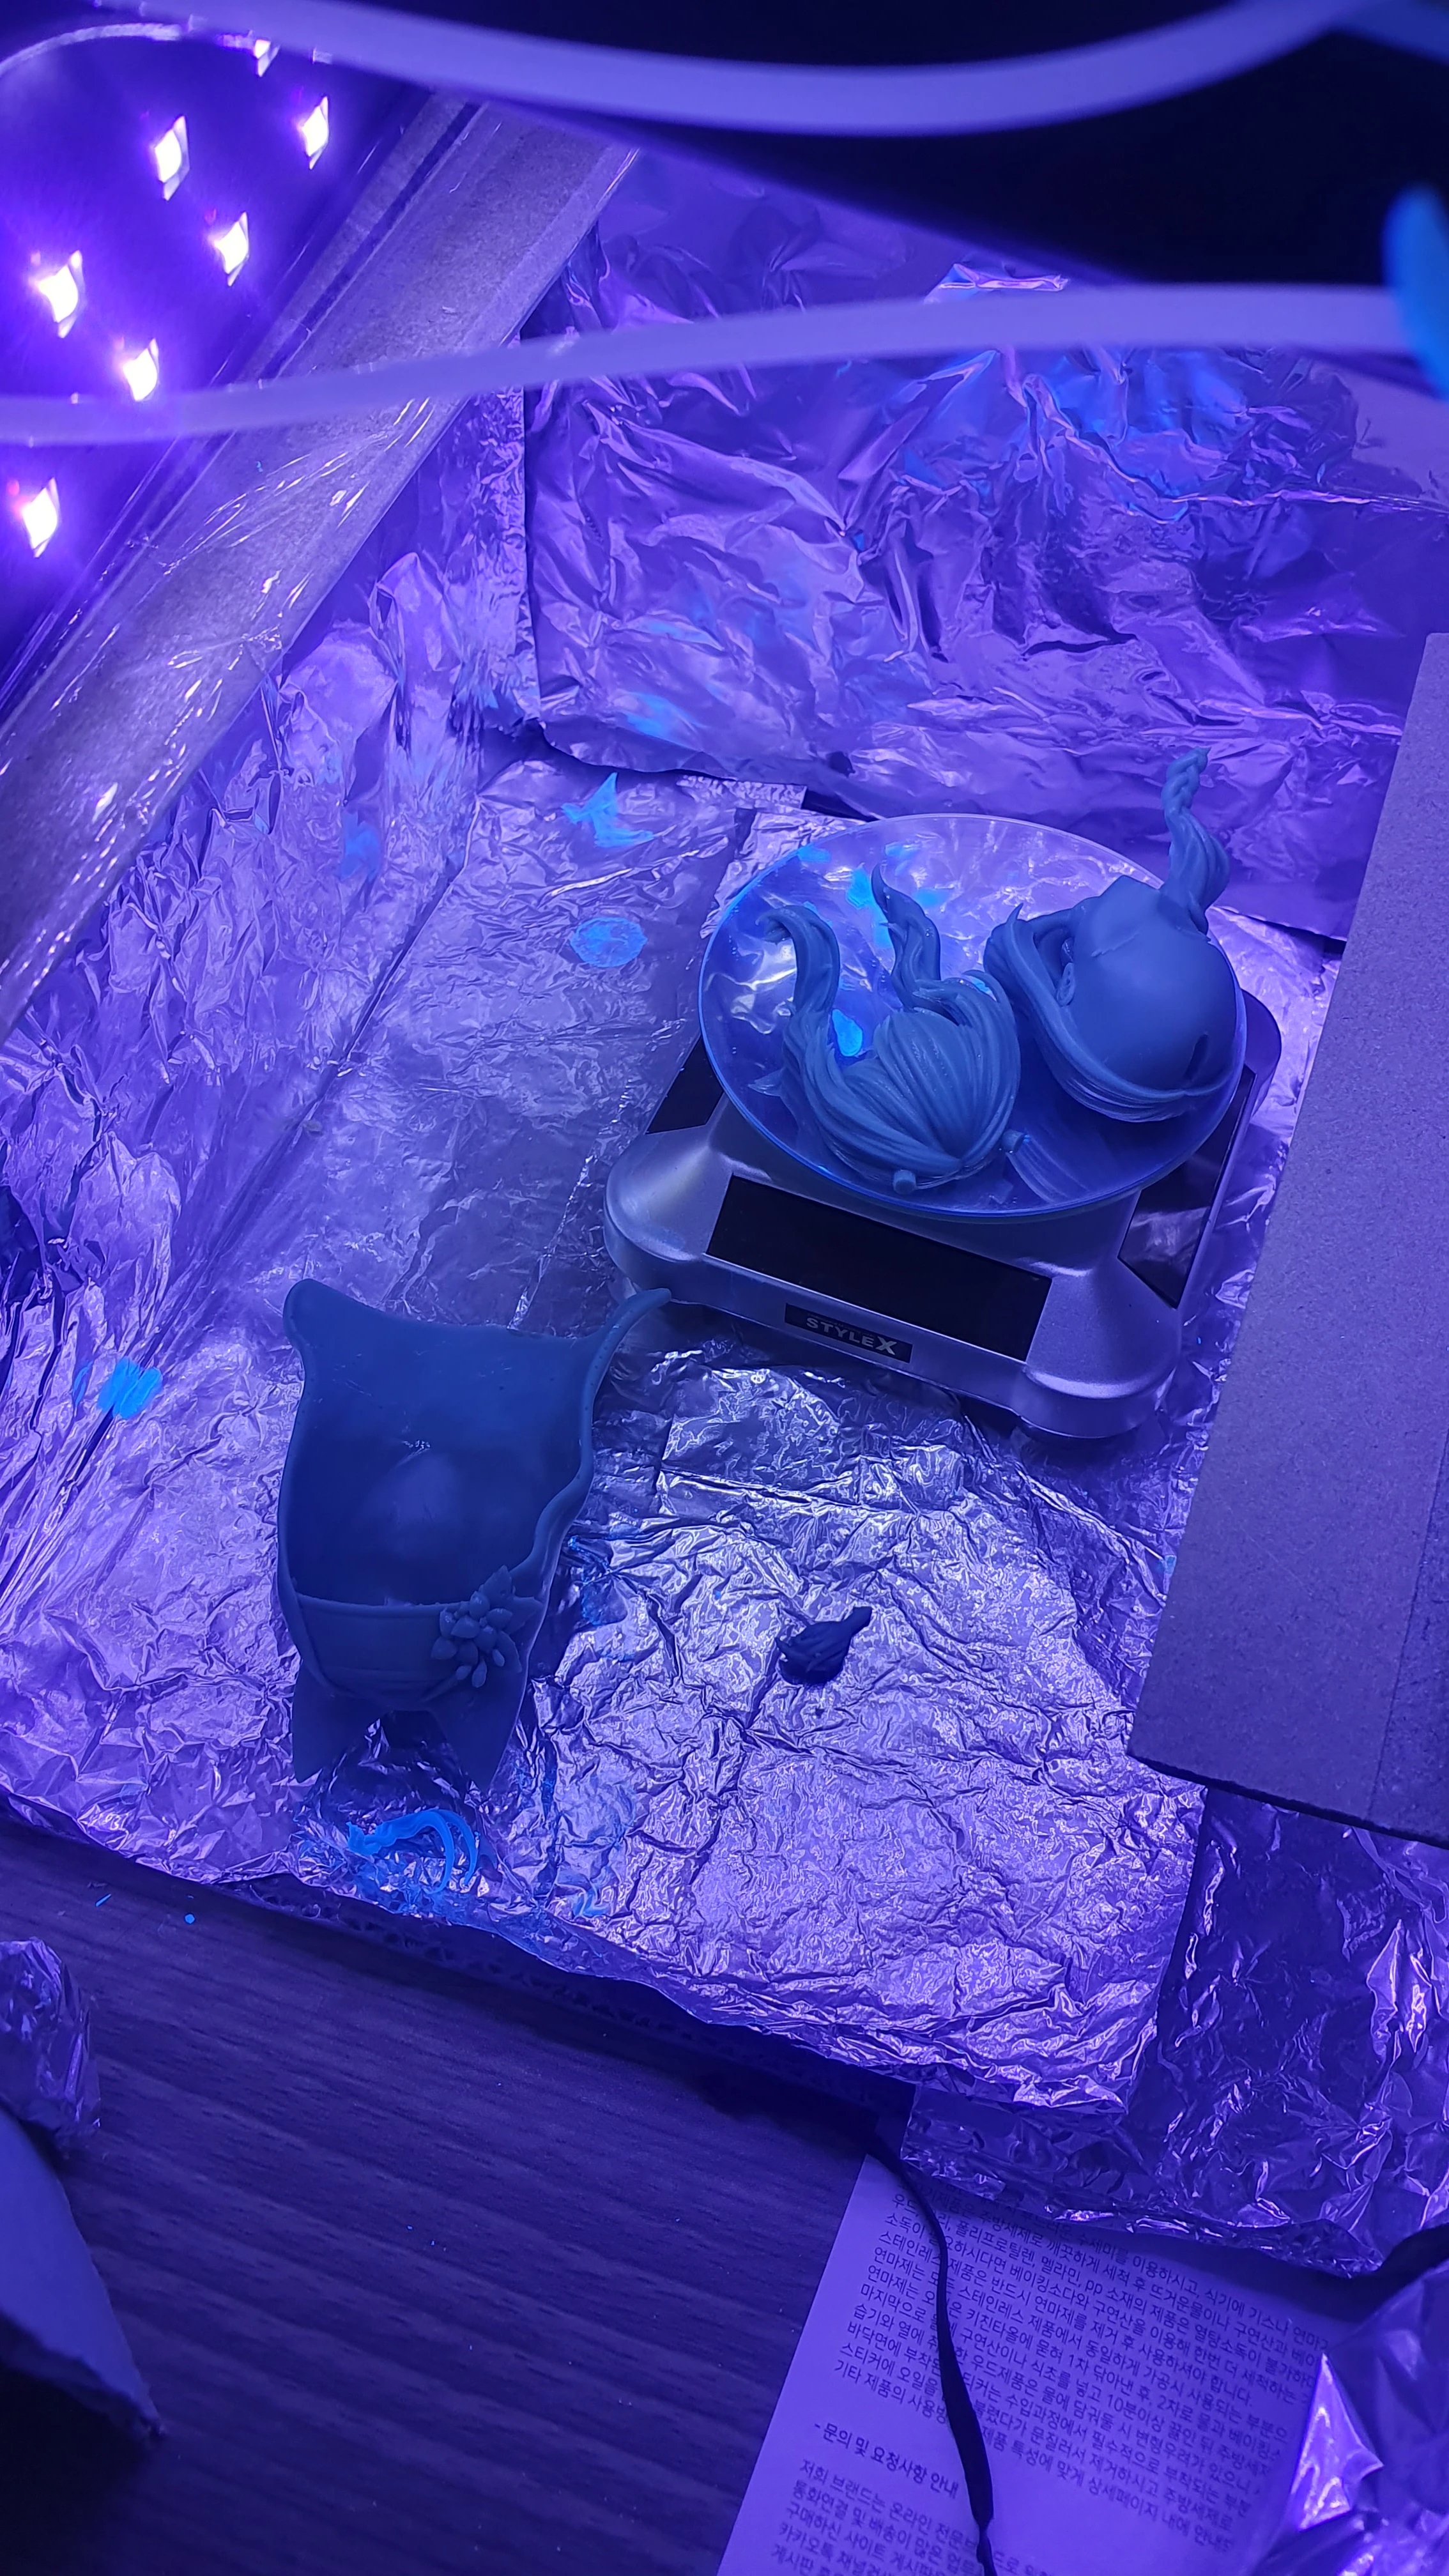
매니큐어 경화기로 경화시키면 조립 준비 완료
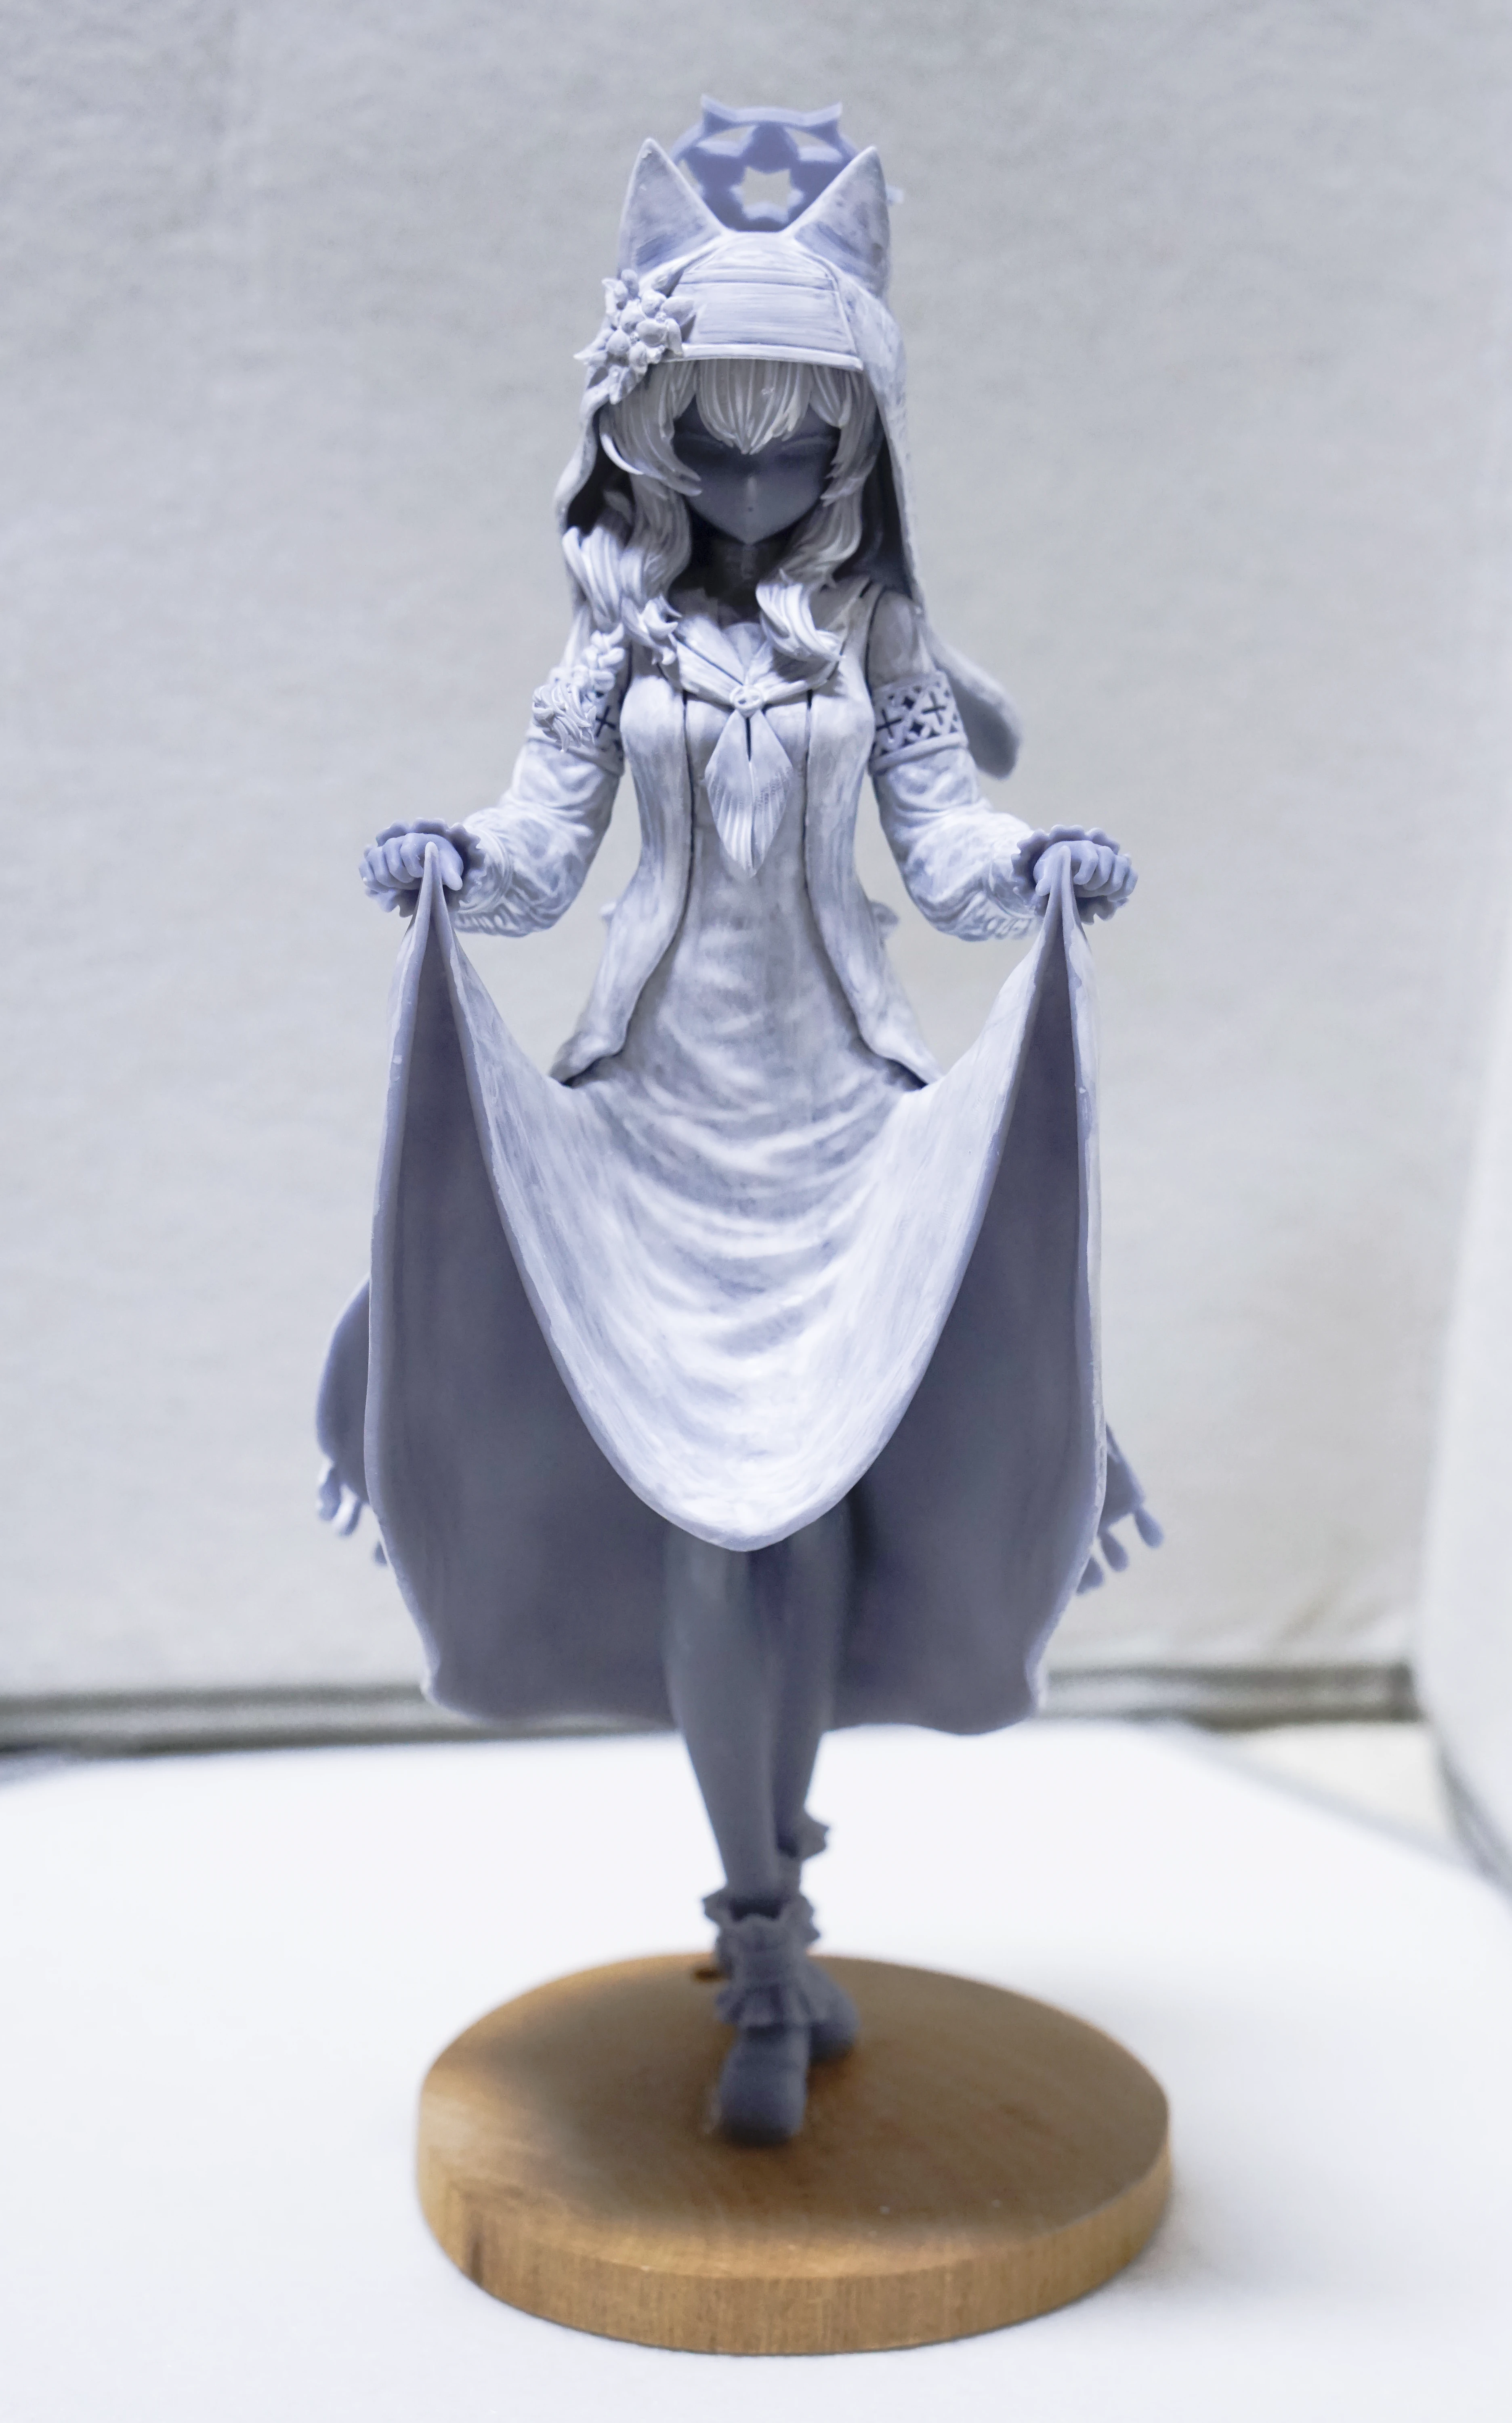
조립완

계속 만들어가면서 새로운 것도 배우고 더 니즈에 맞게 제작하다 보니 재밌었다.
다음 작업물도 이번년도 안에 더 멋진 거 만들어서 돌아올게
혹시 다음 피규어 제작과정이나 이전 작업물 궁금하면 트위터도 놀러와줘
트위터


 커뮤맨 작성